ecplise使用maven
下载maven
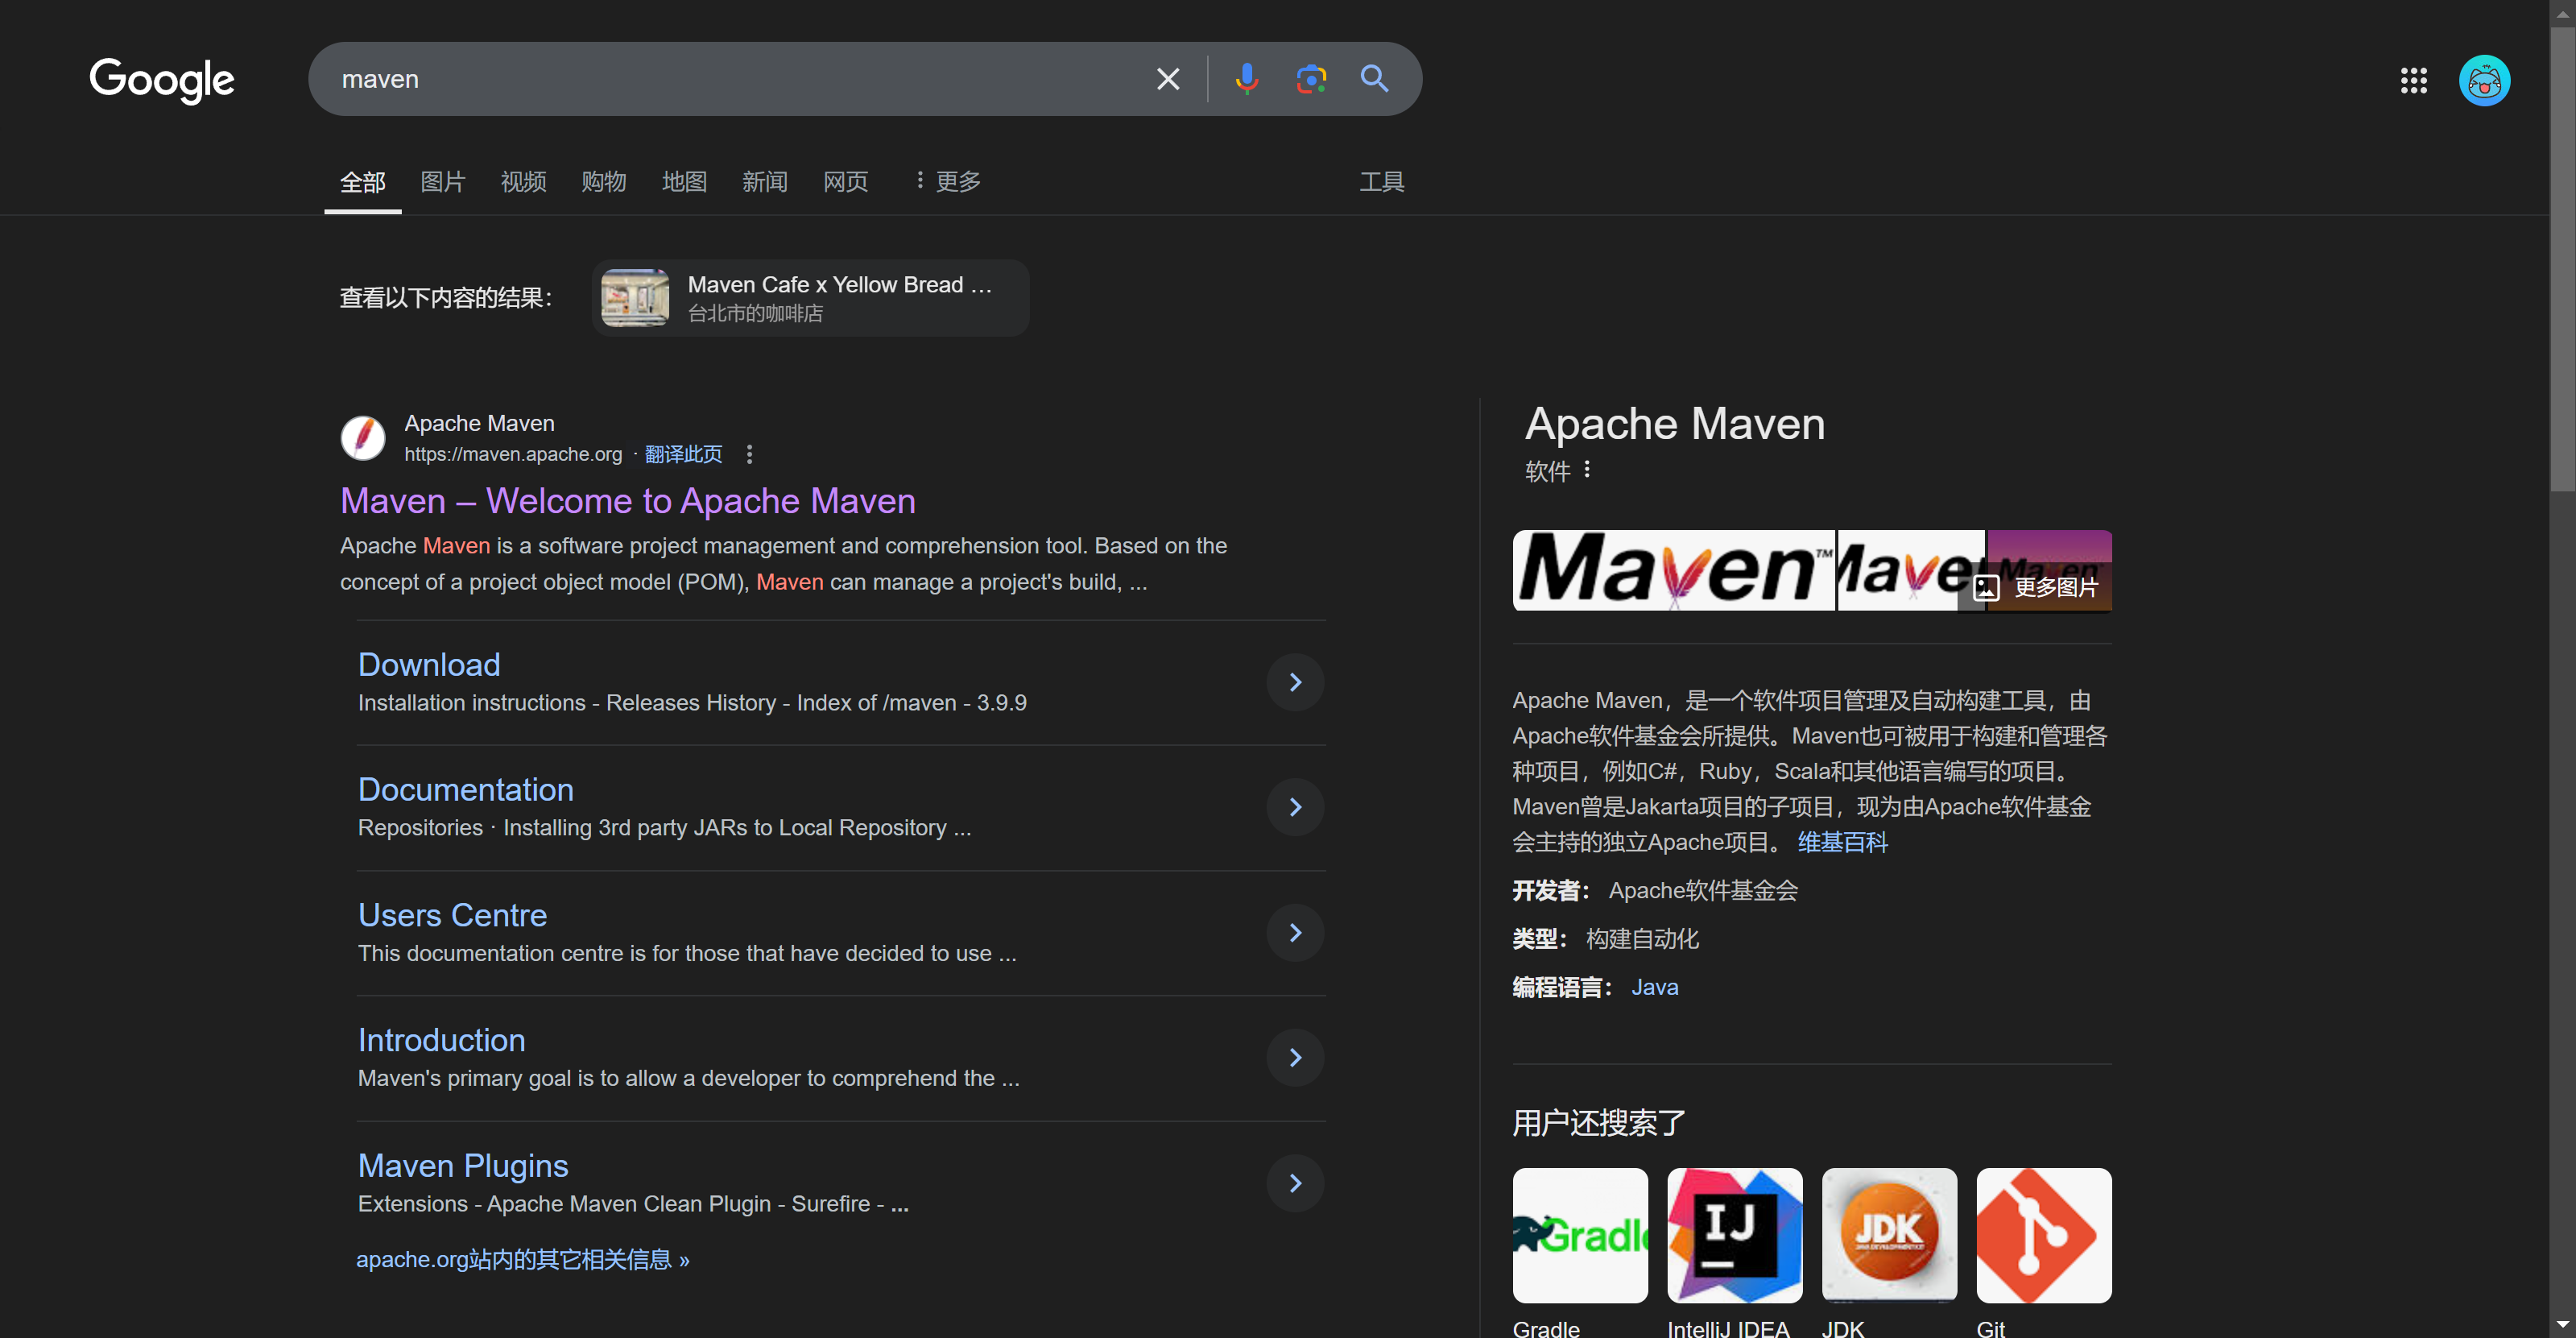
点击Download
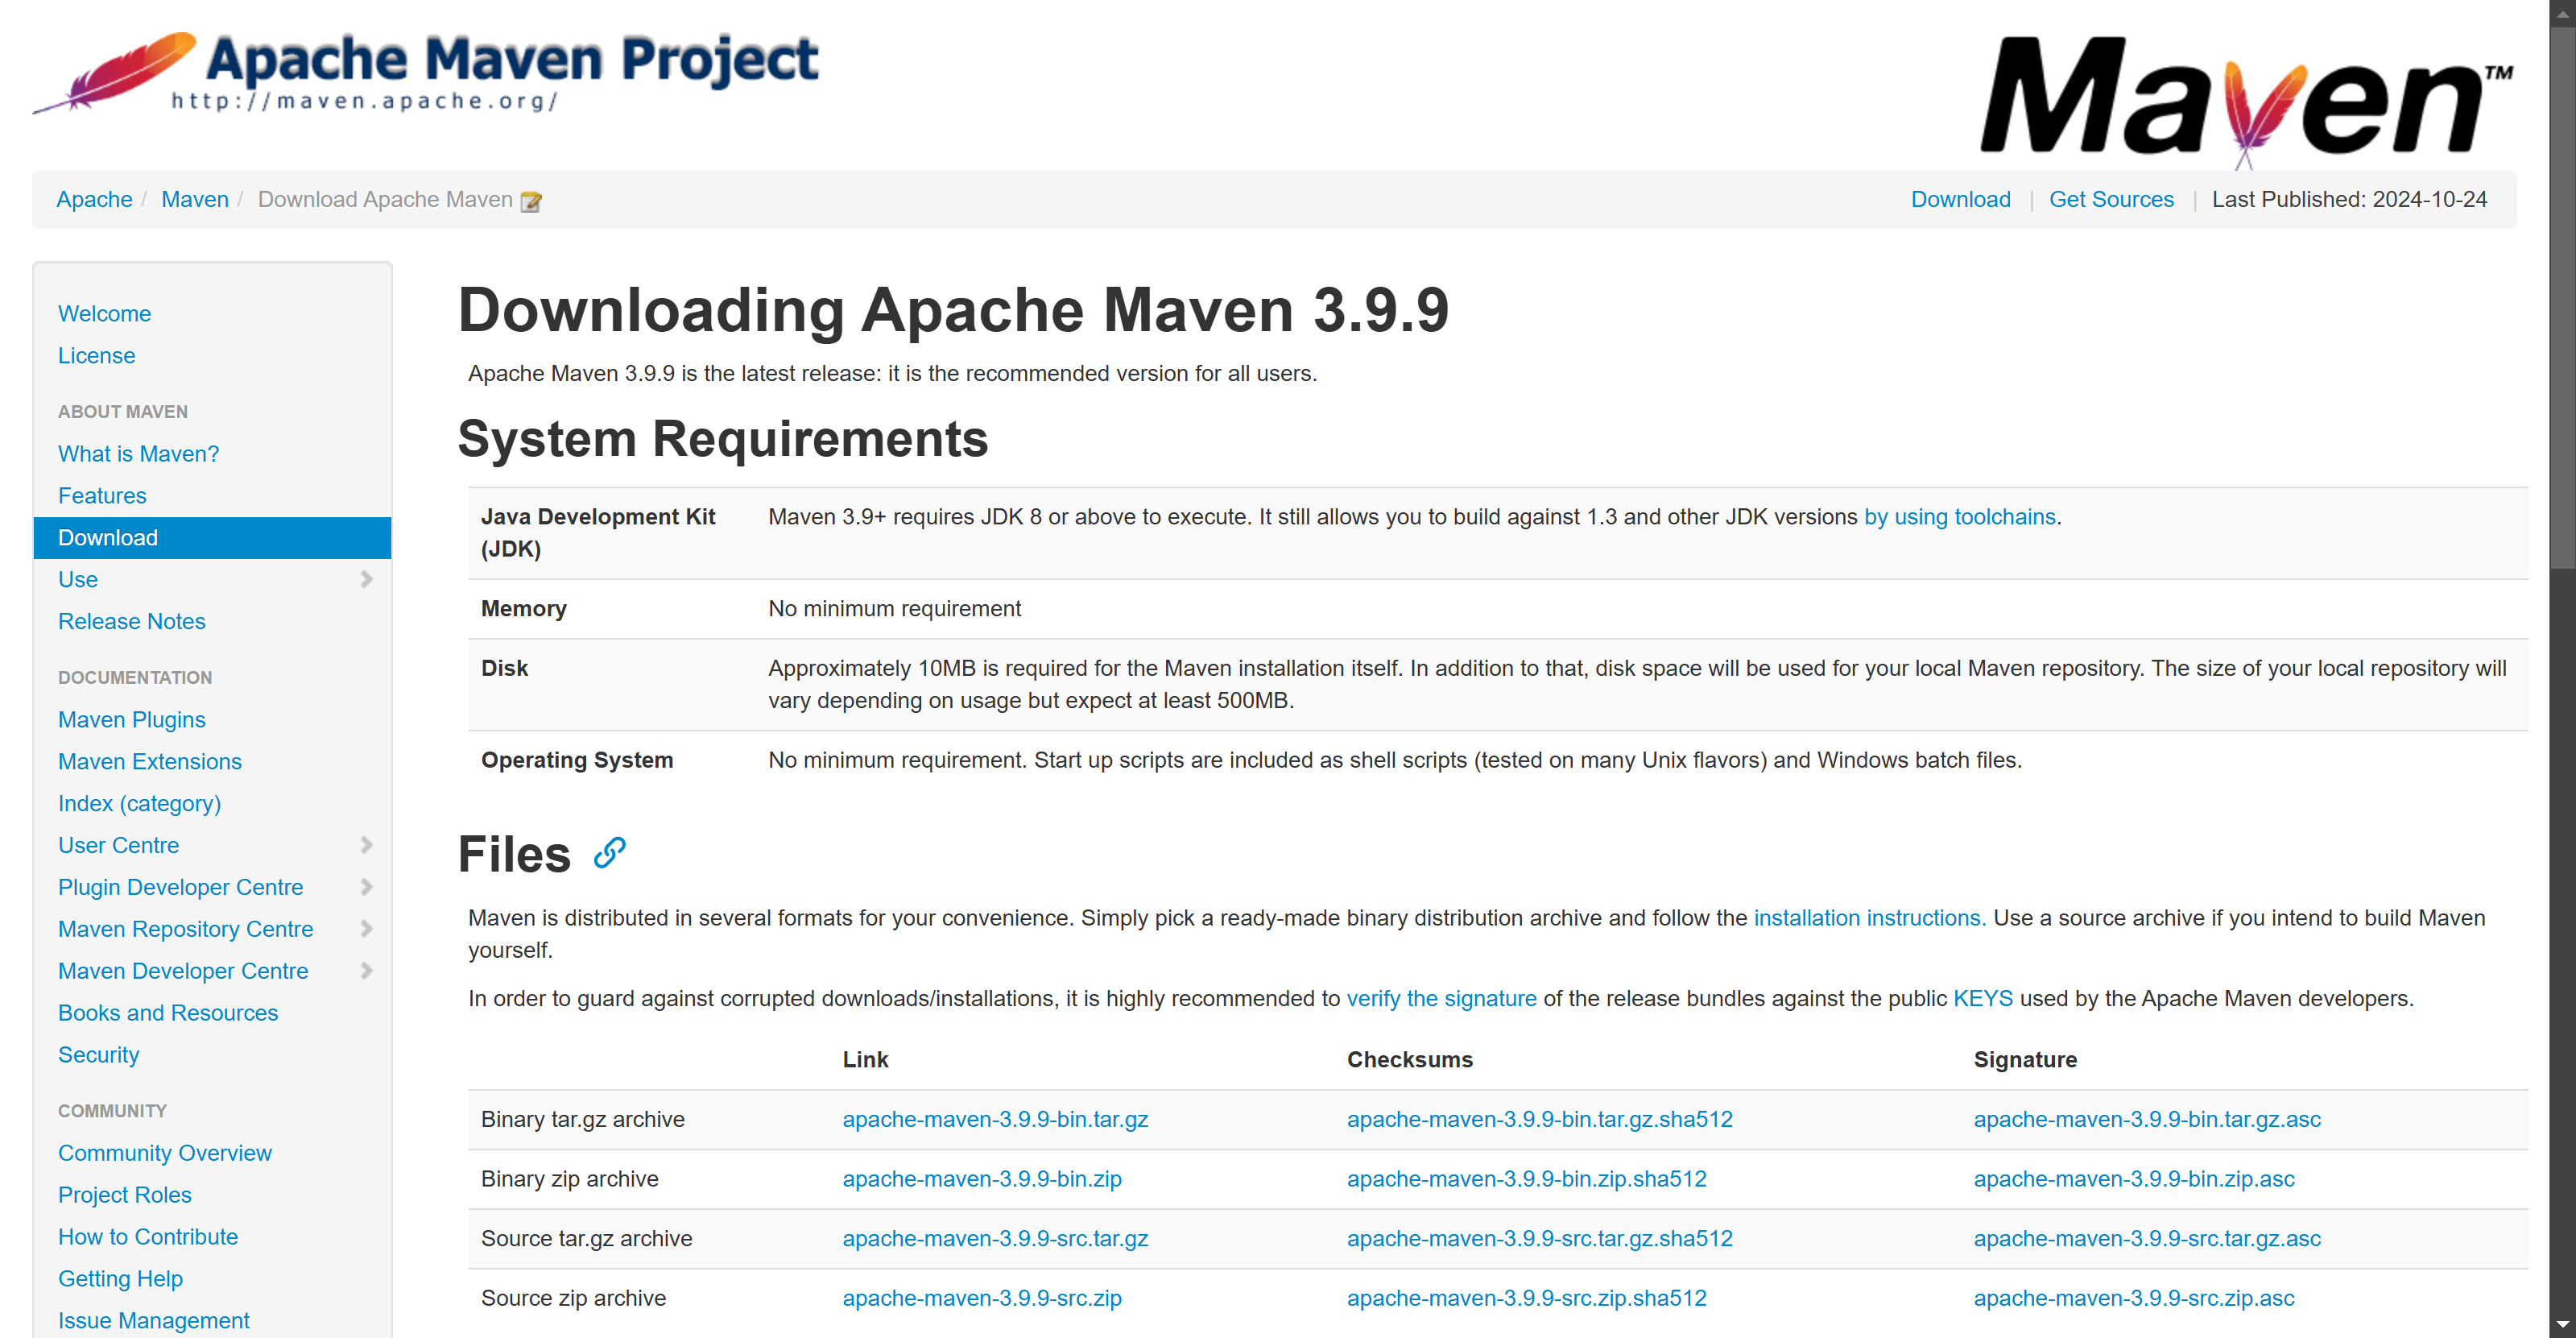
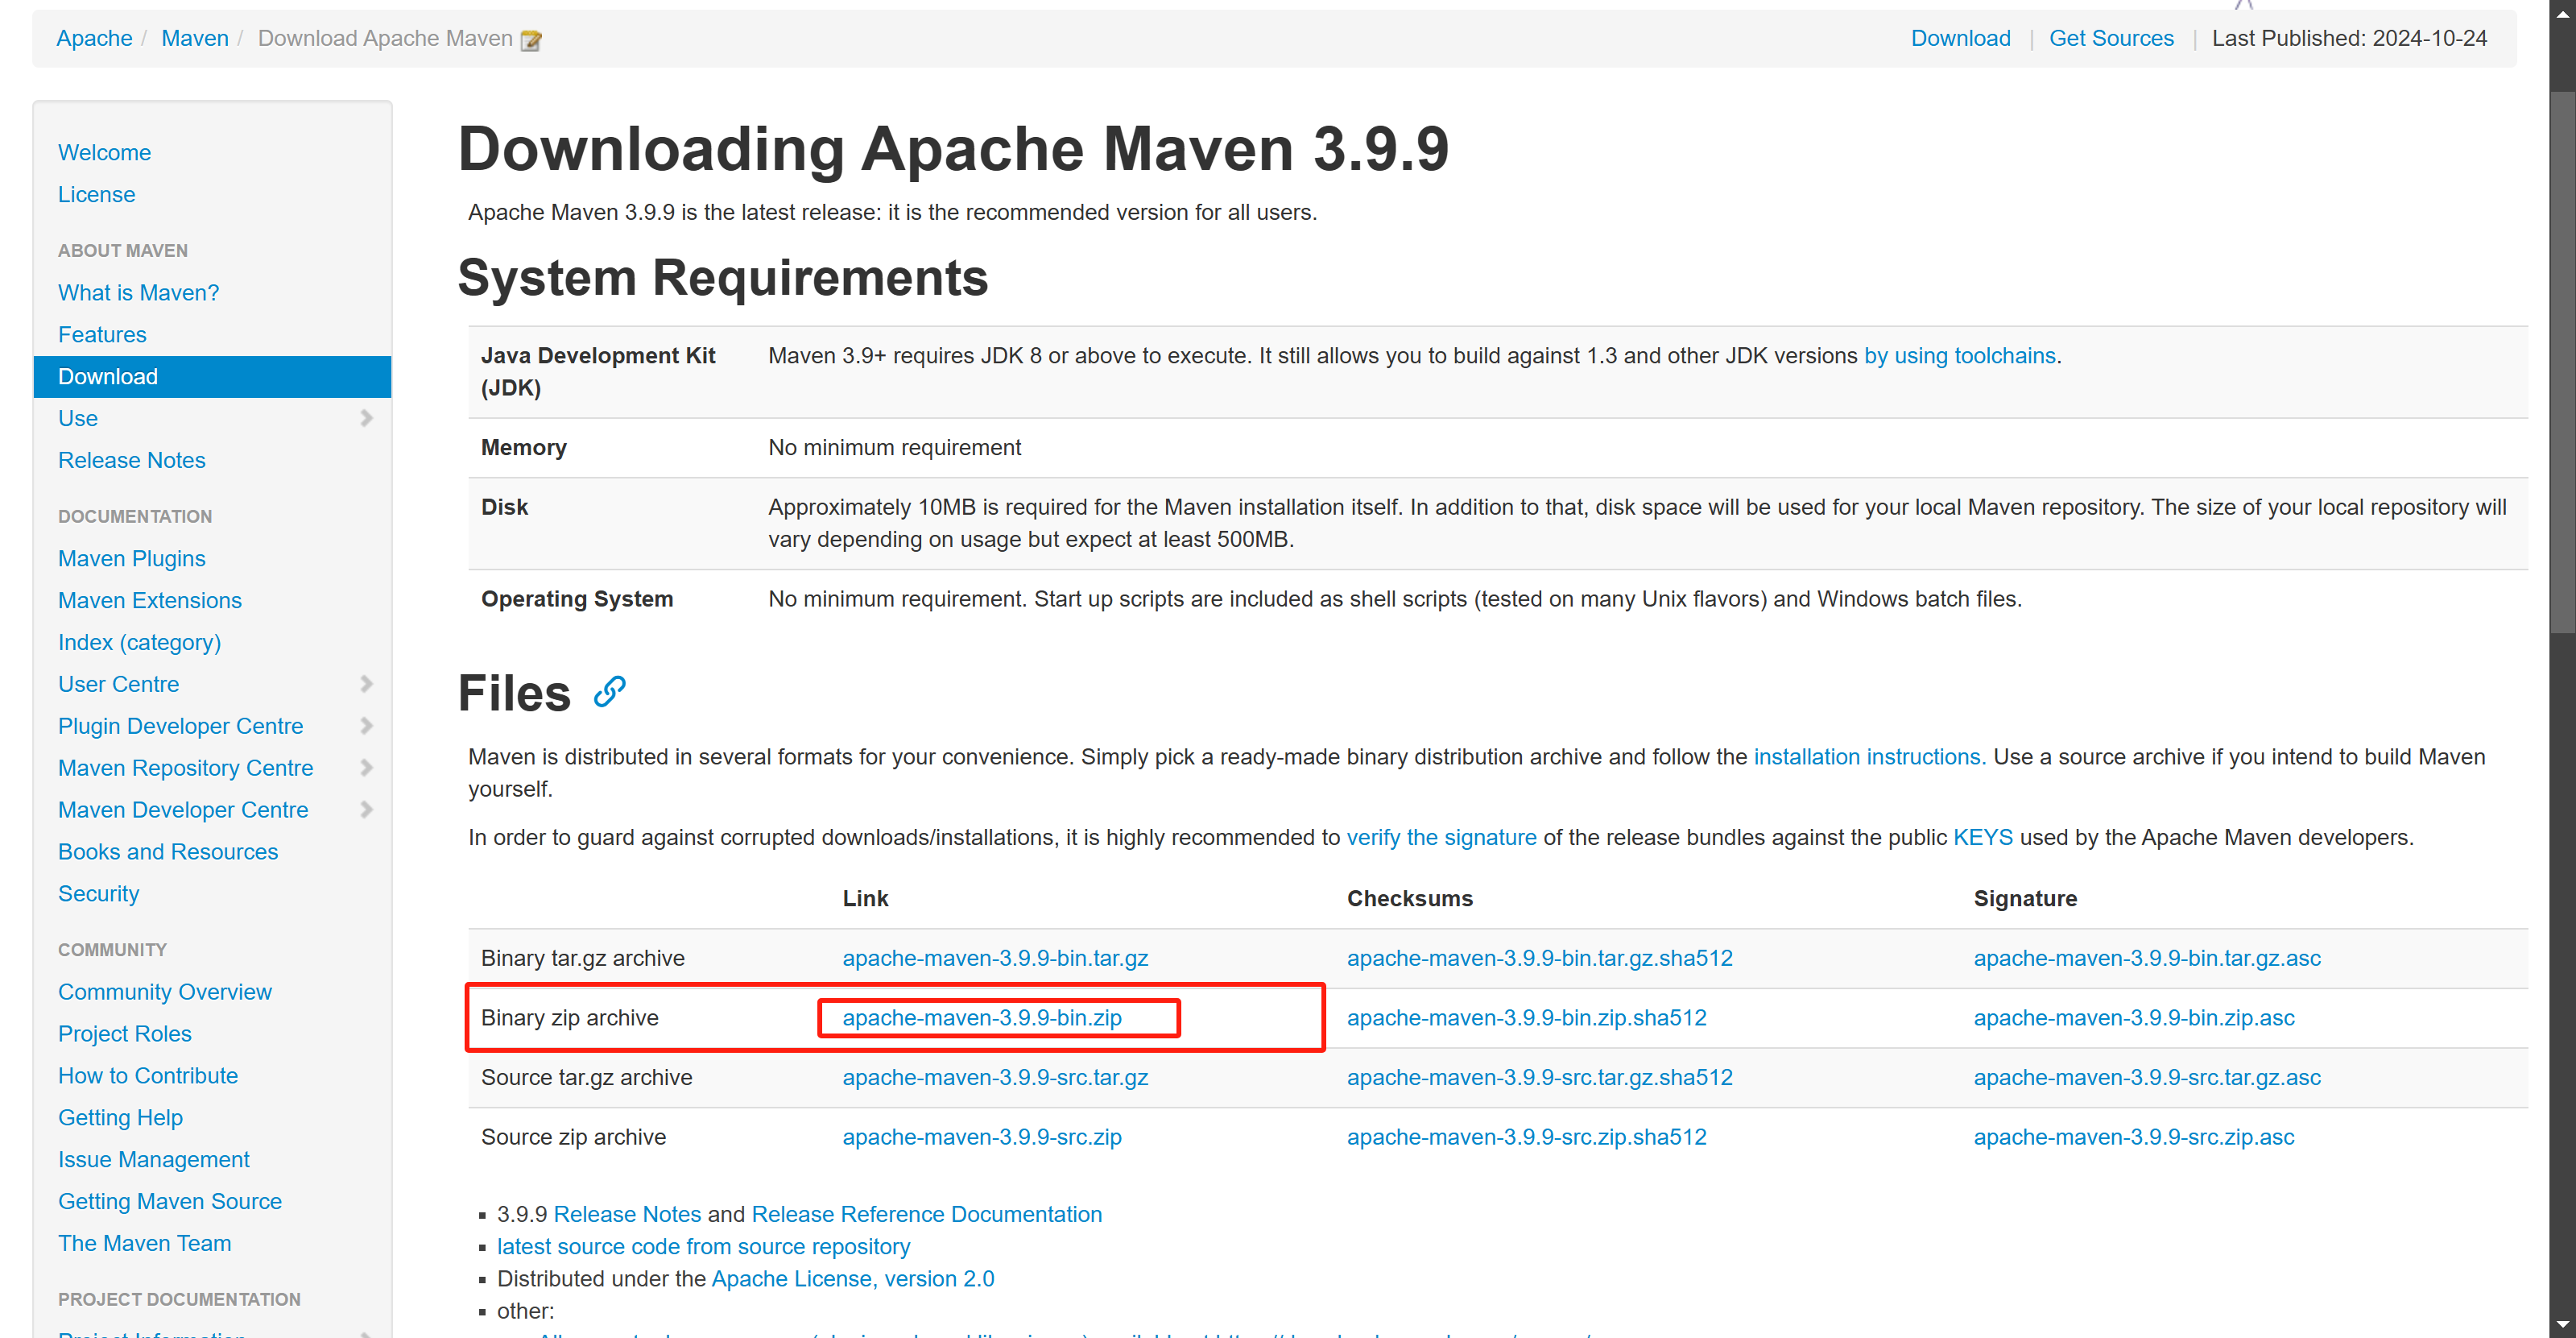
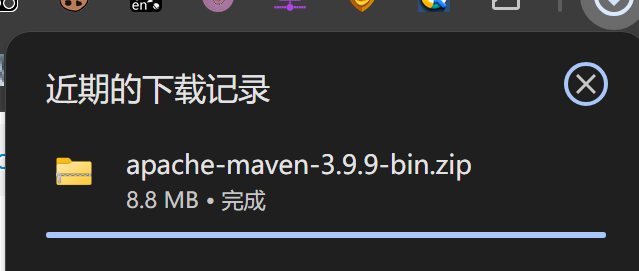
移动压缩包到
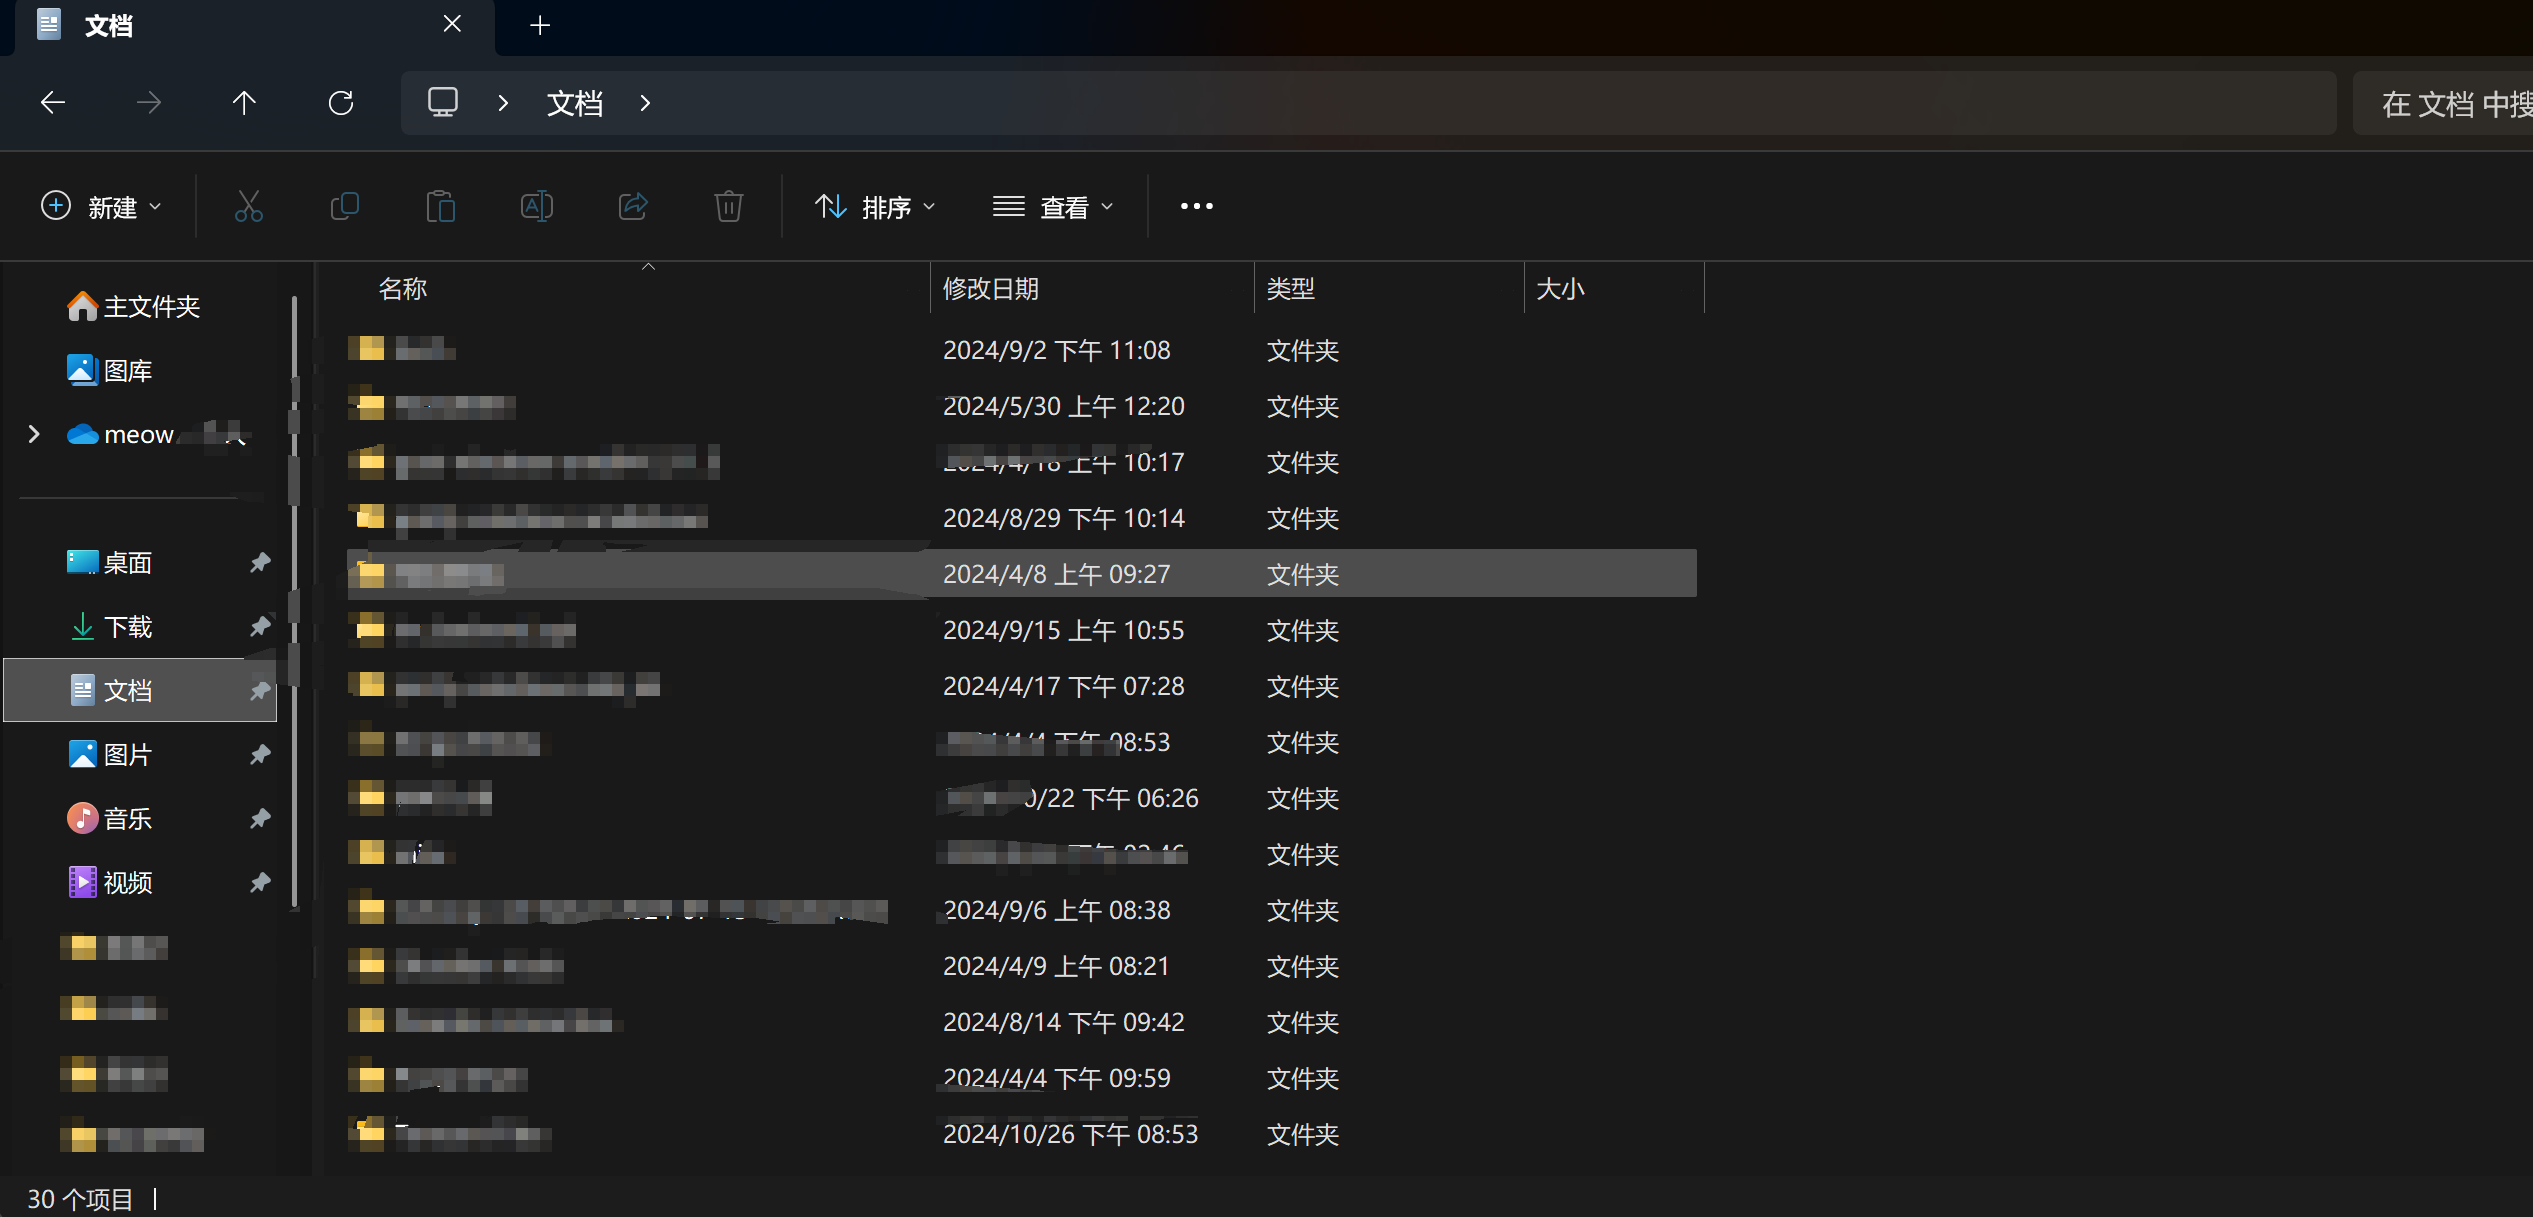
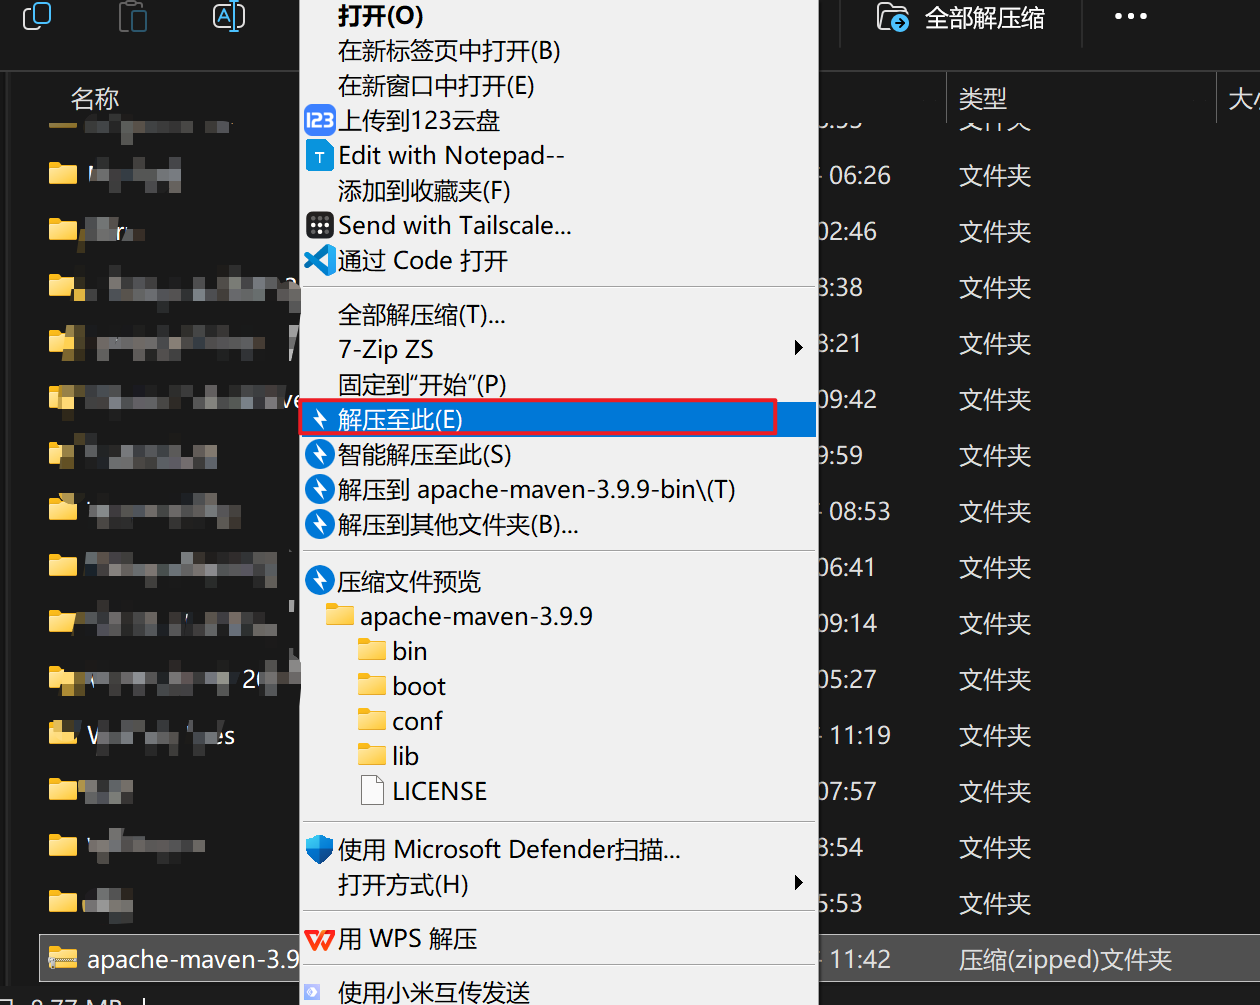

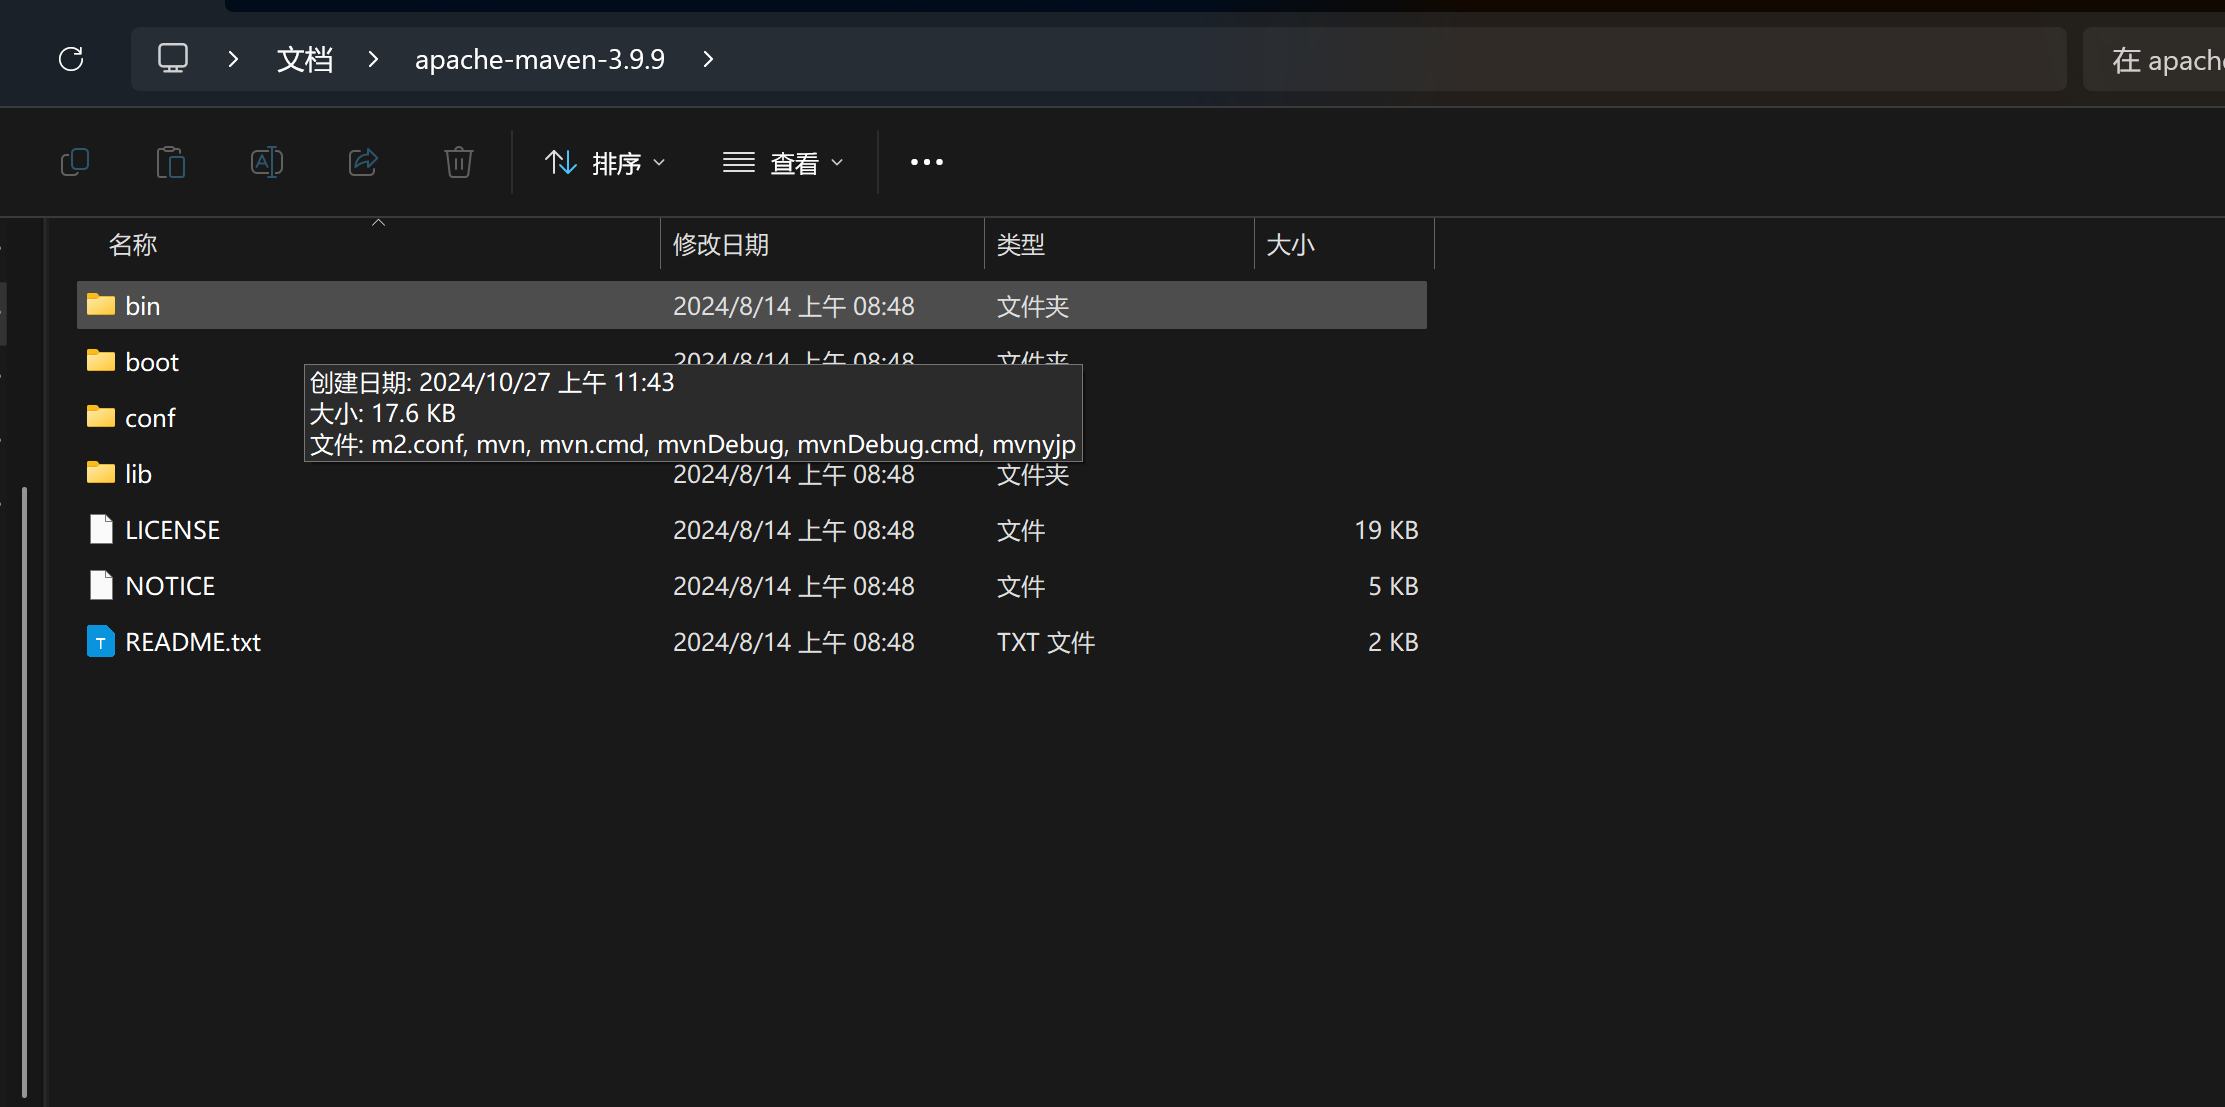

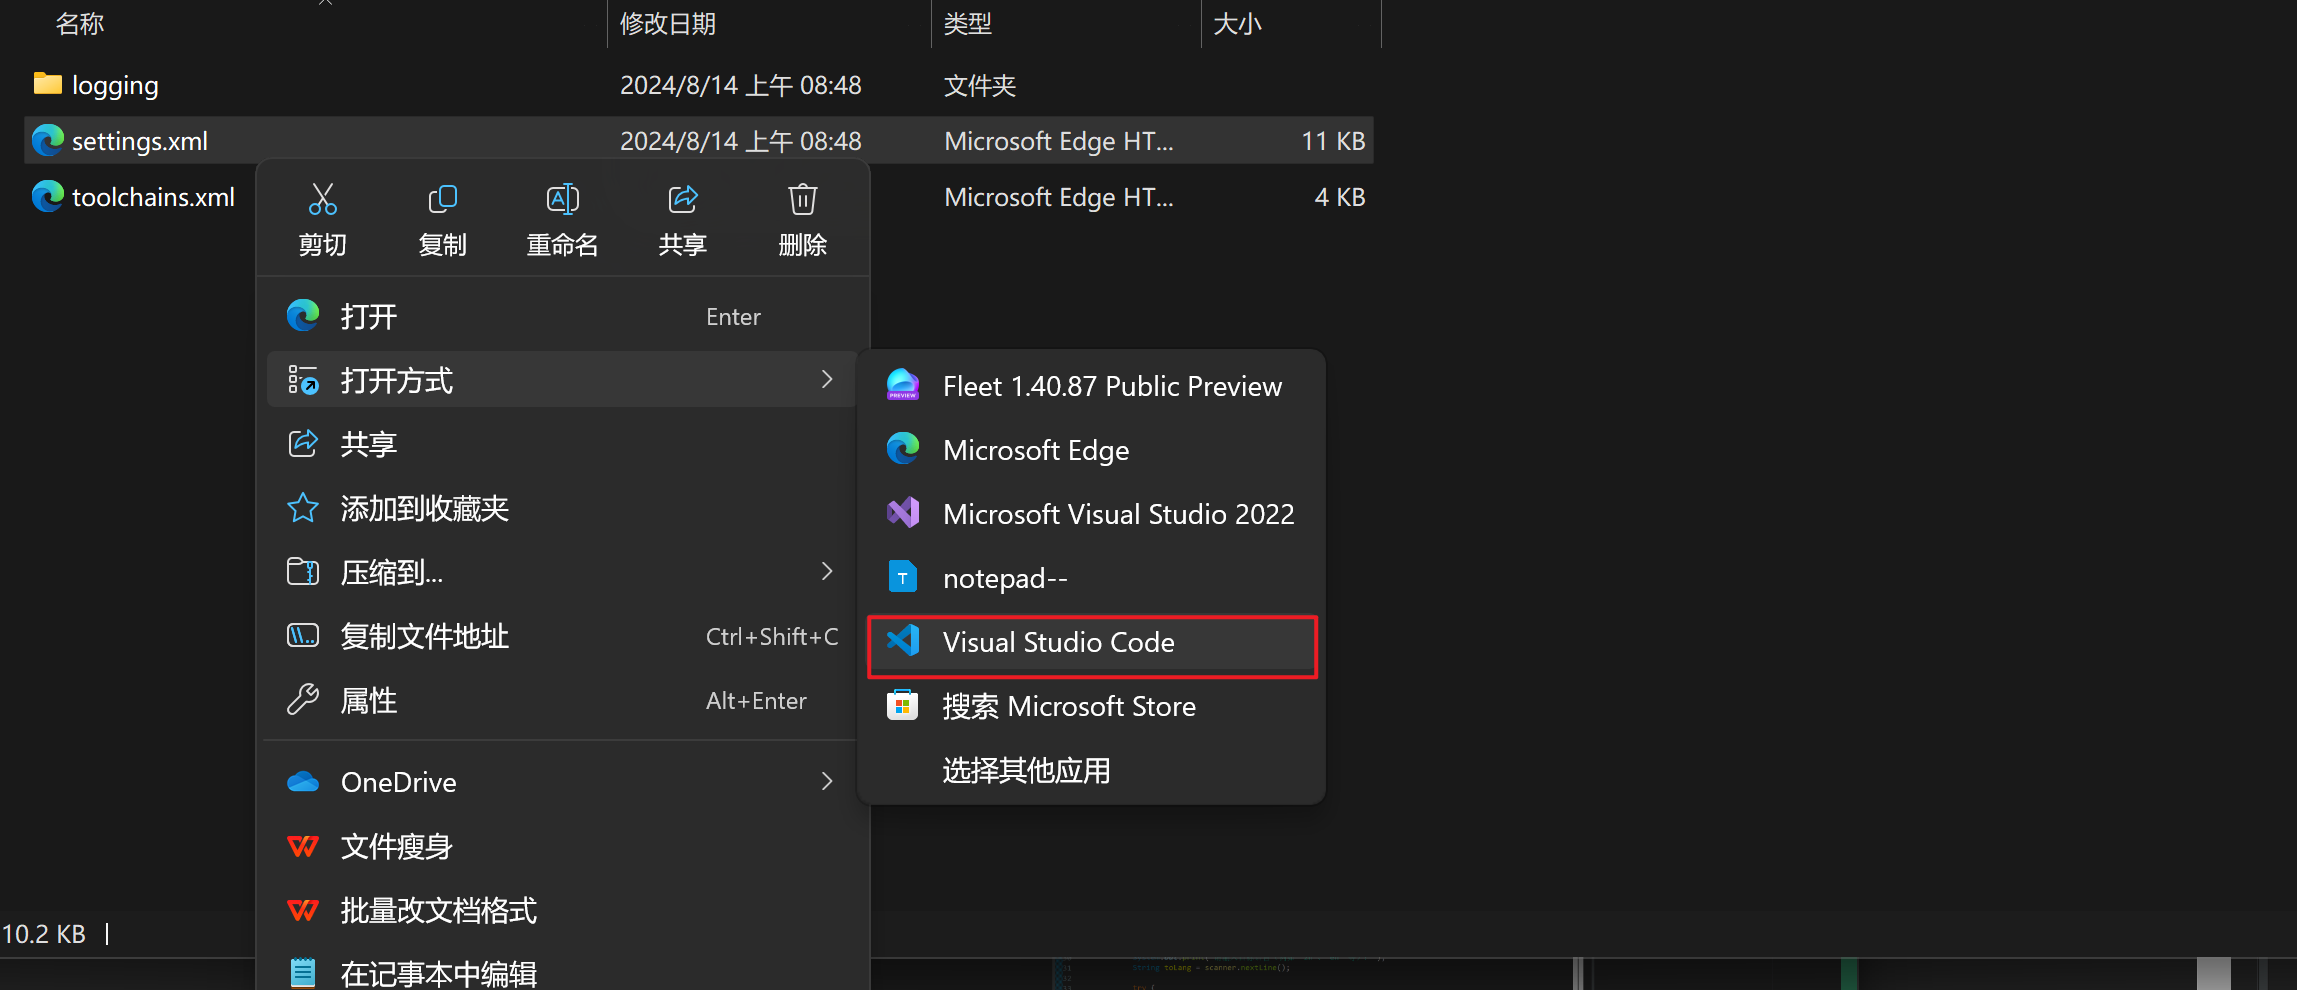
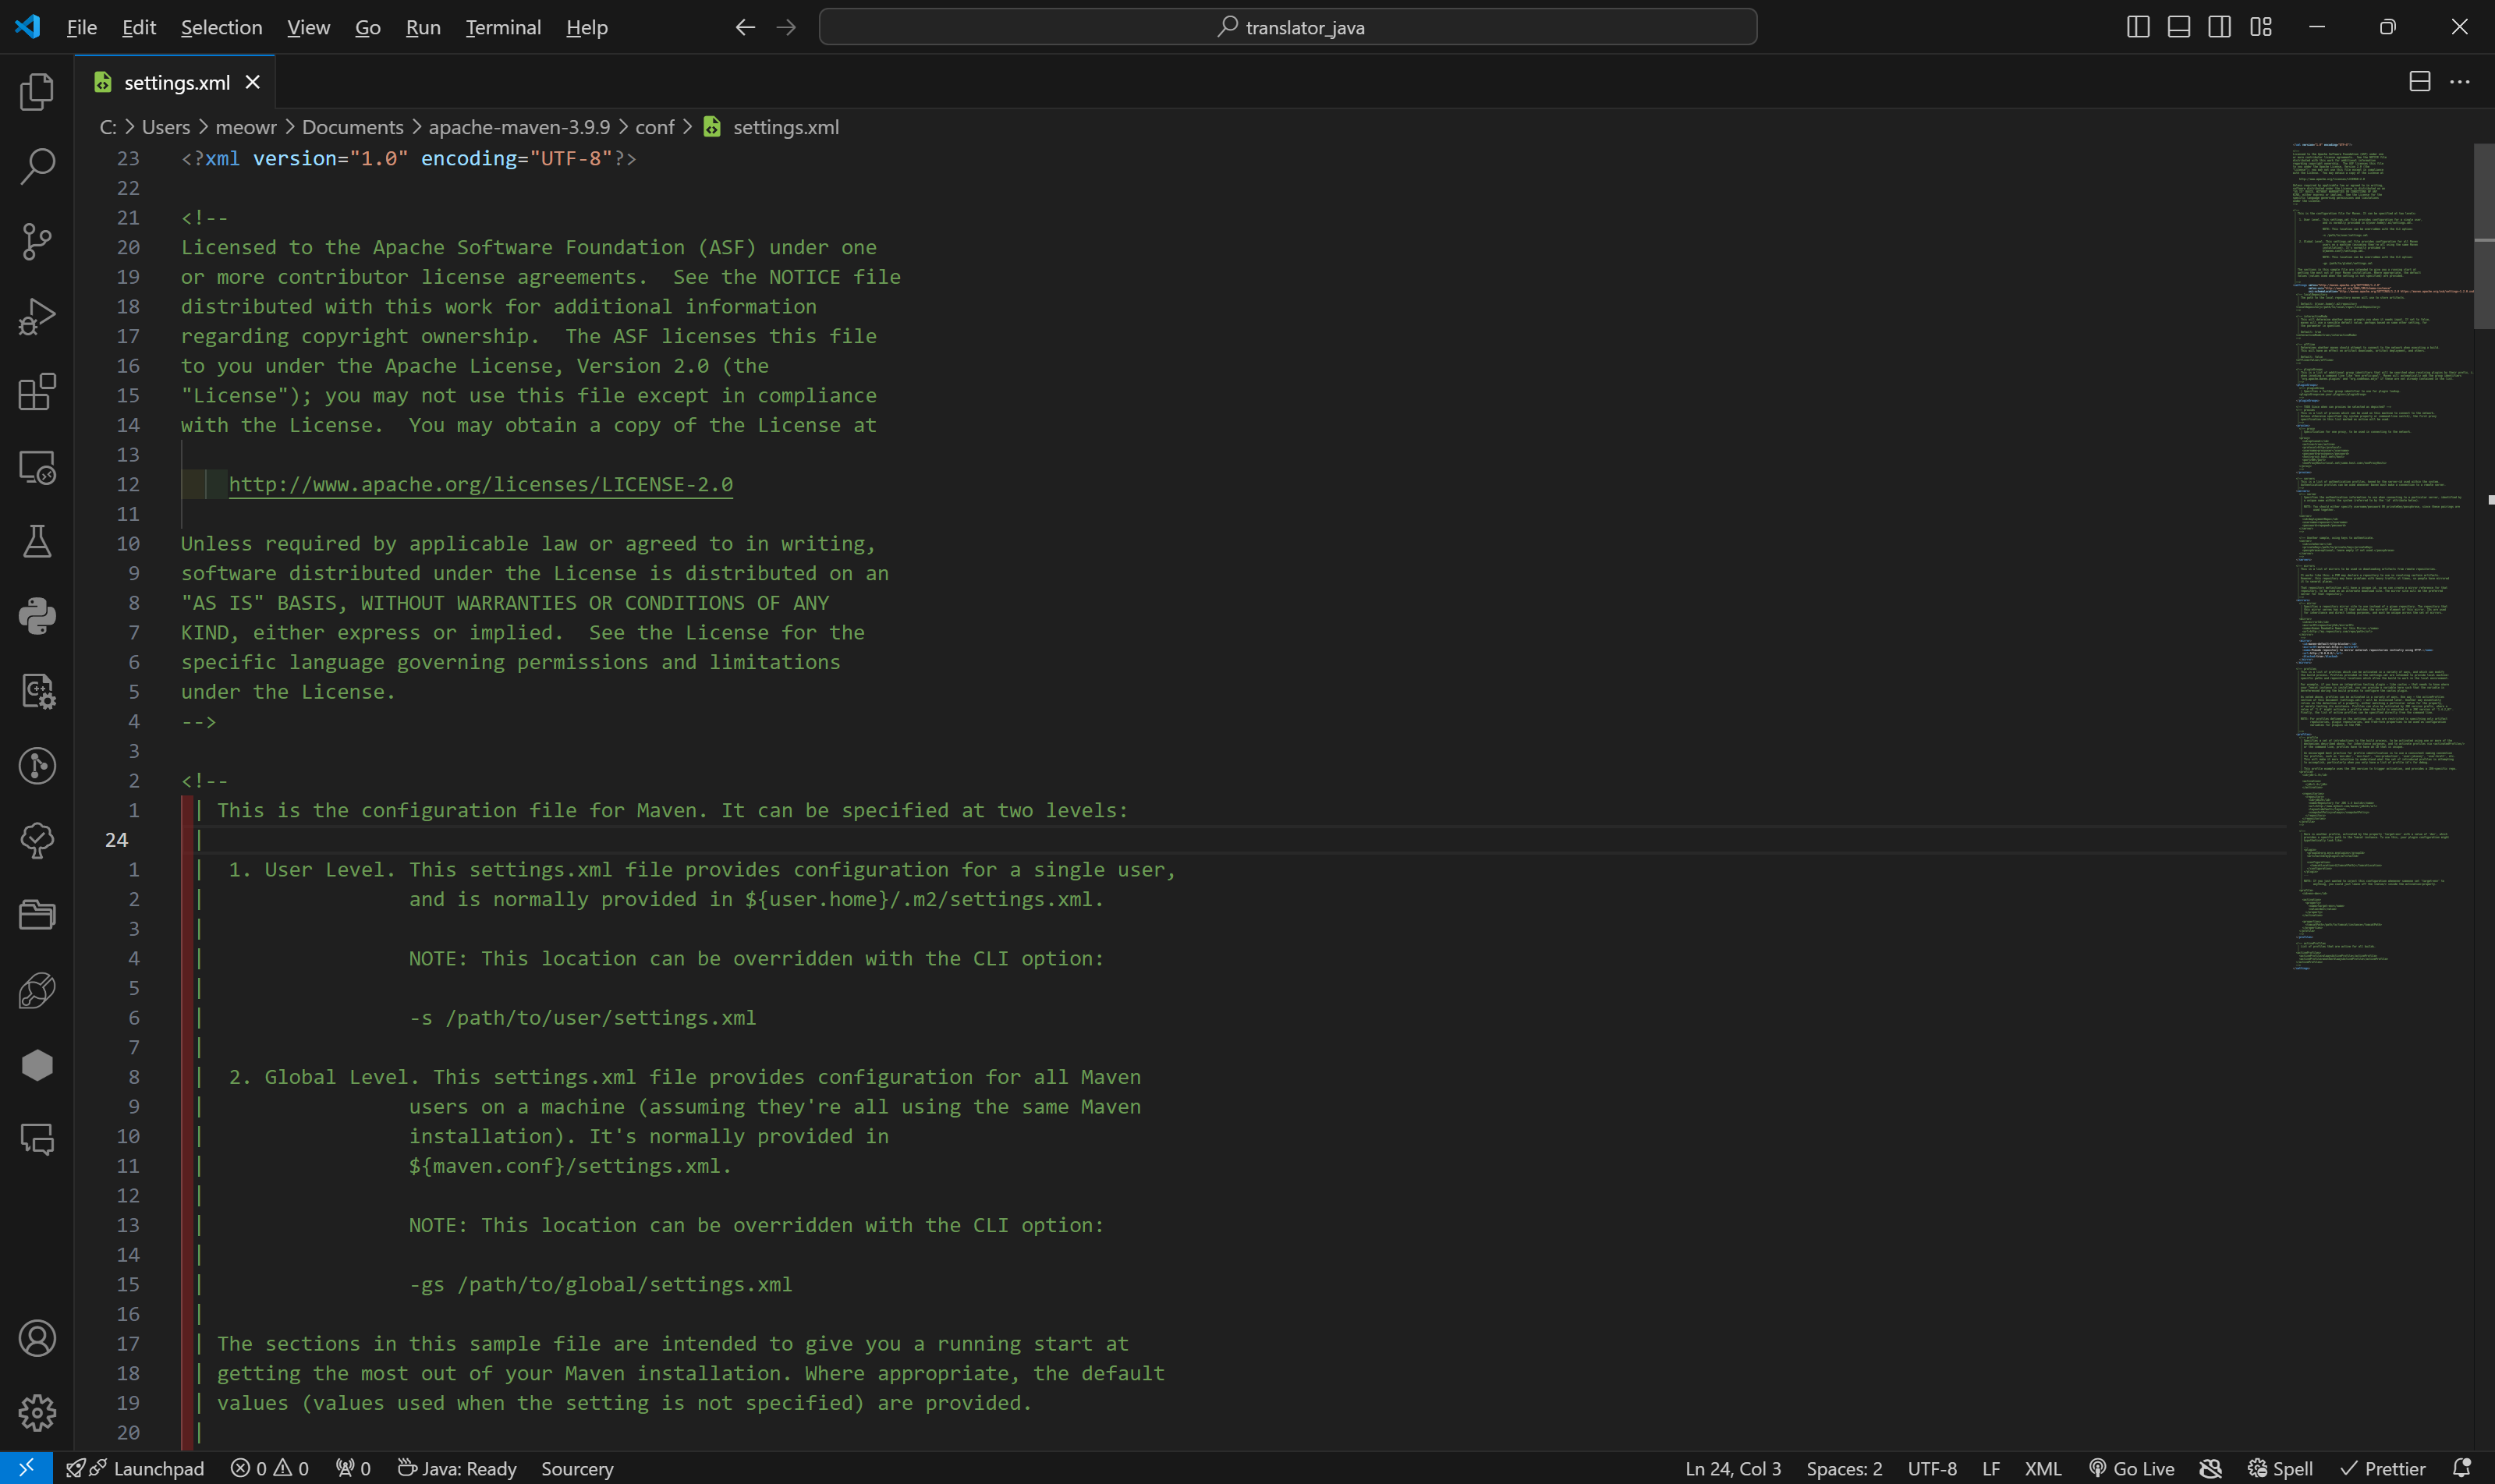
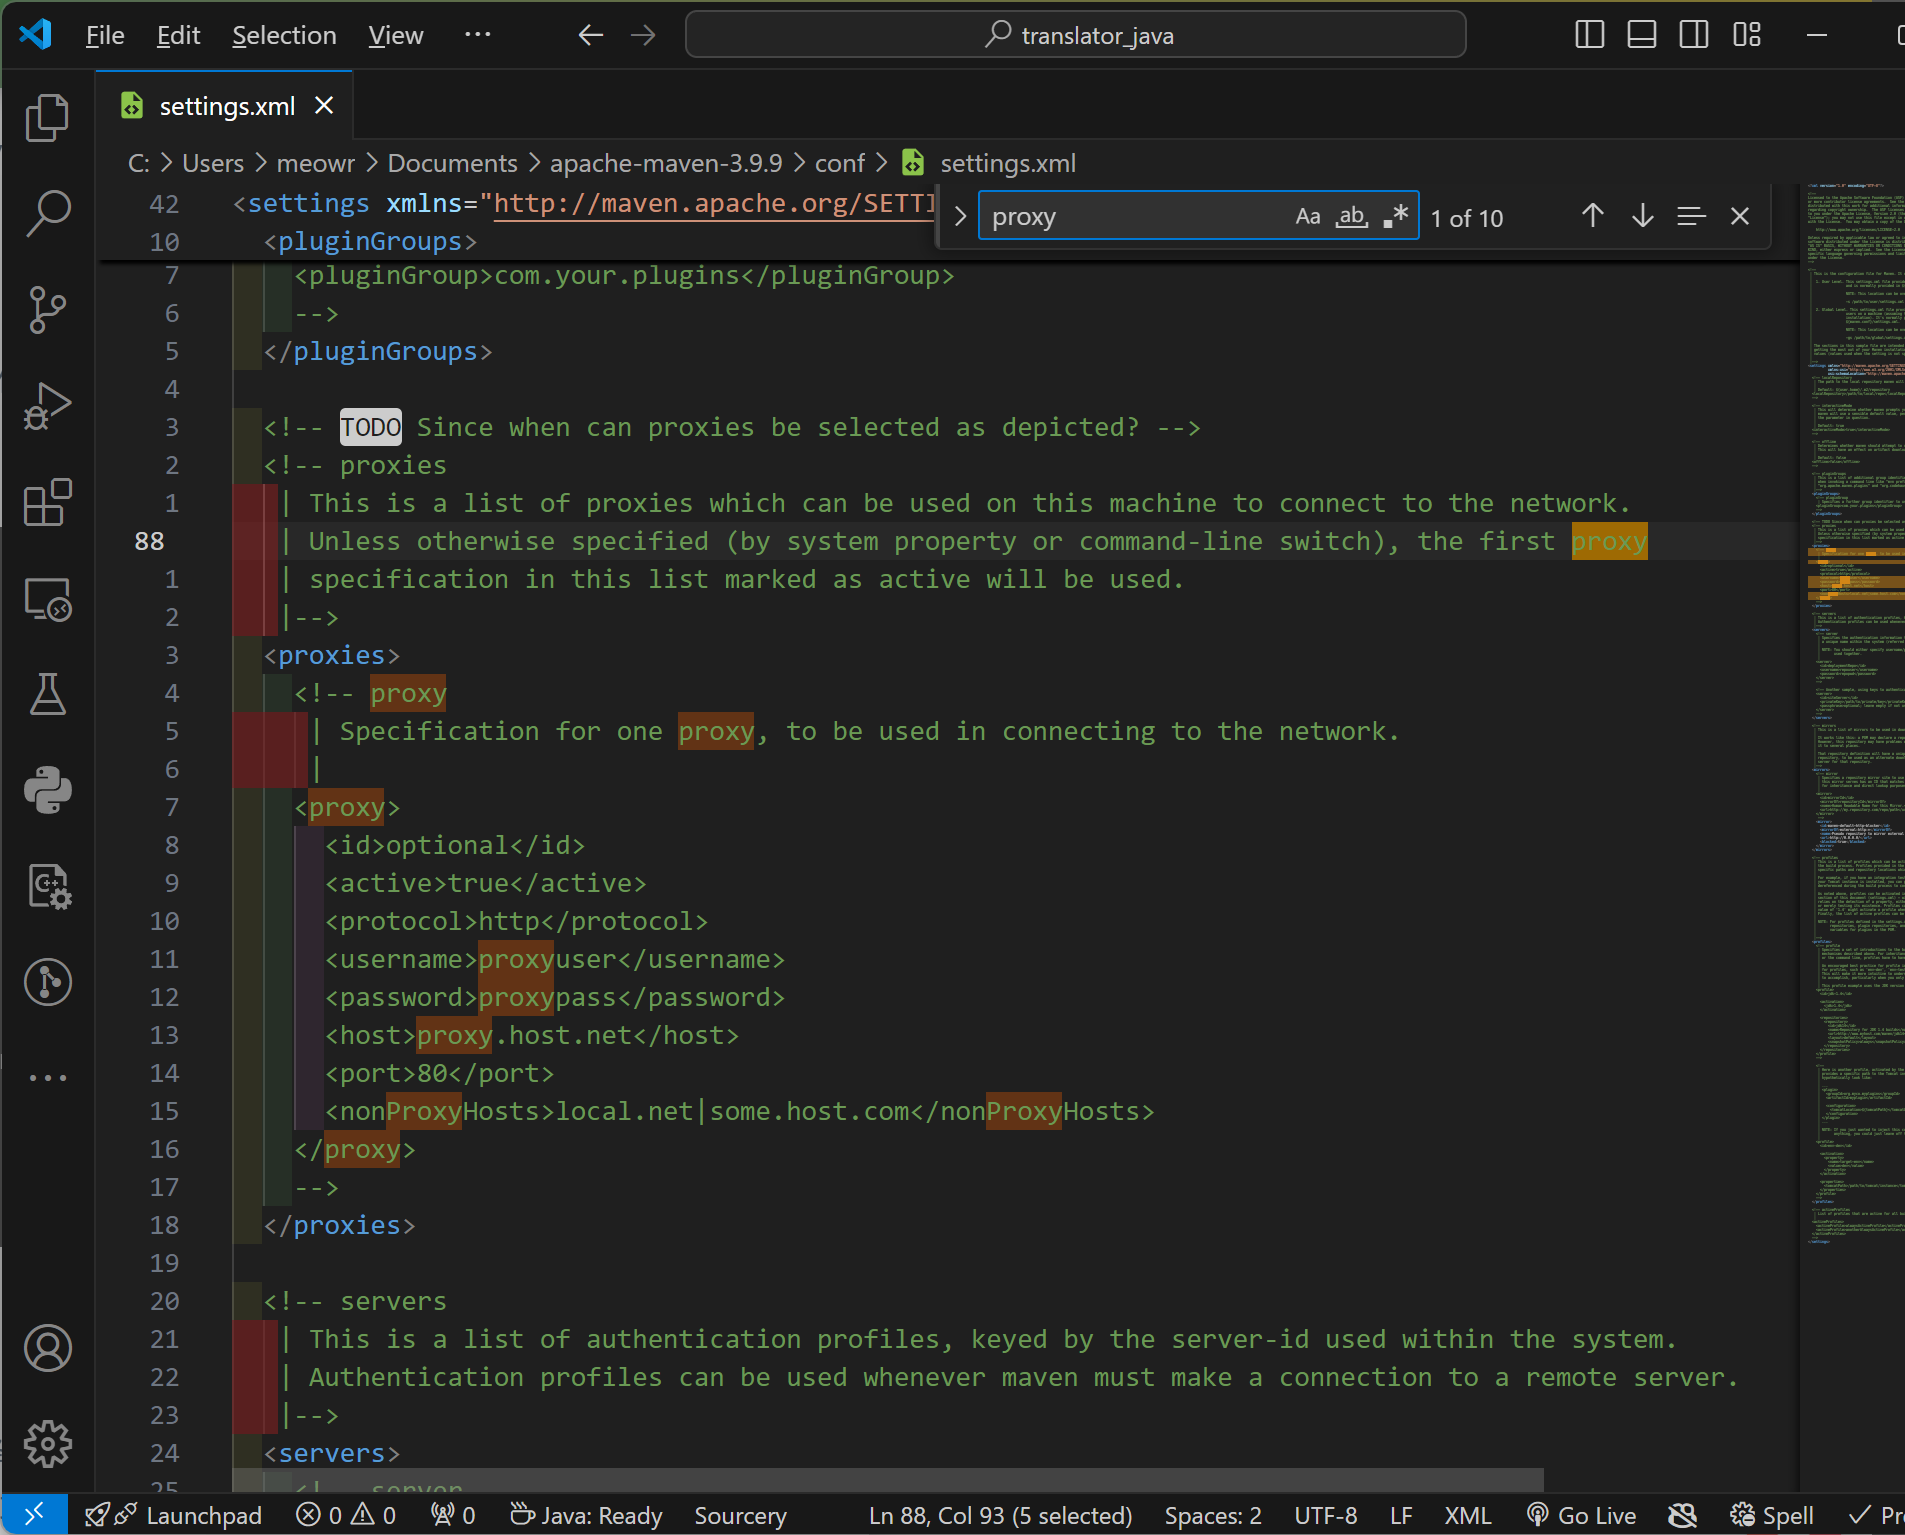
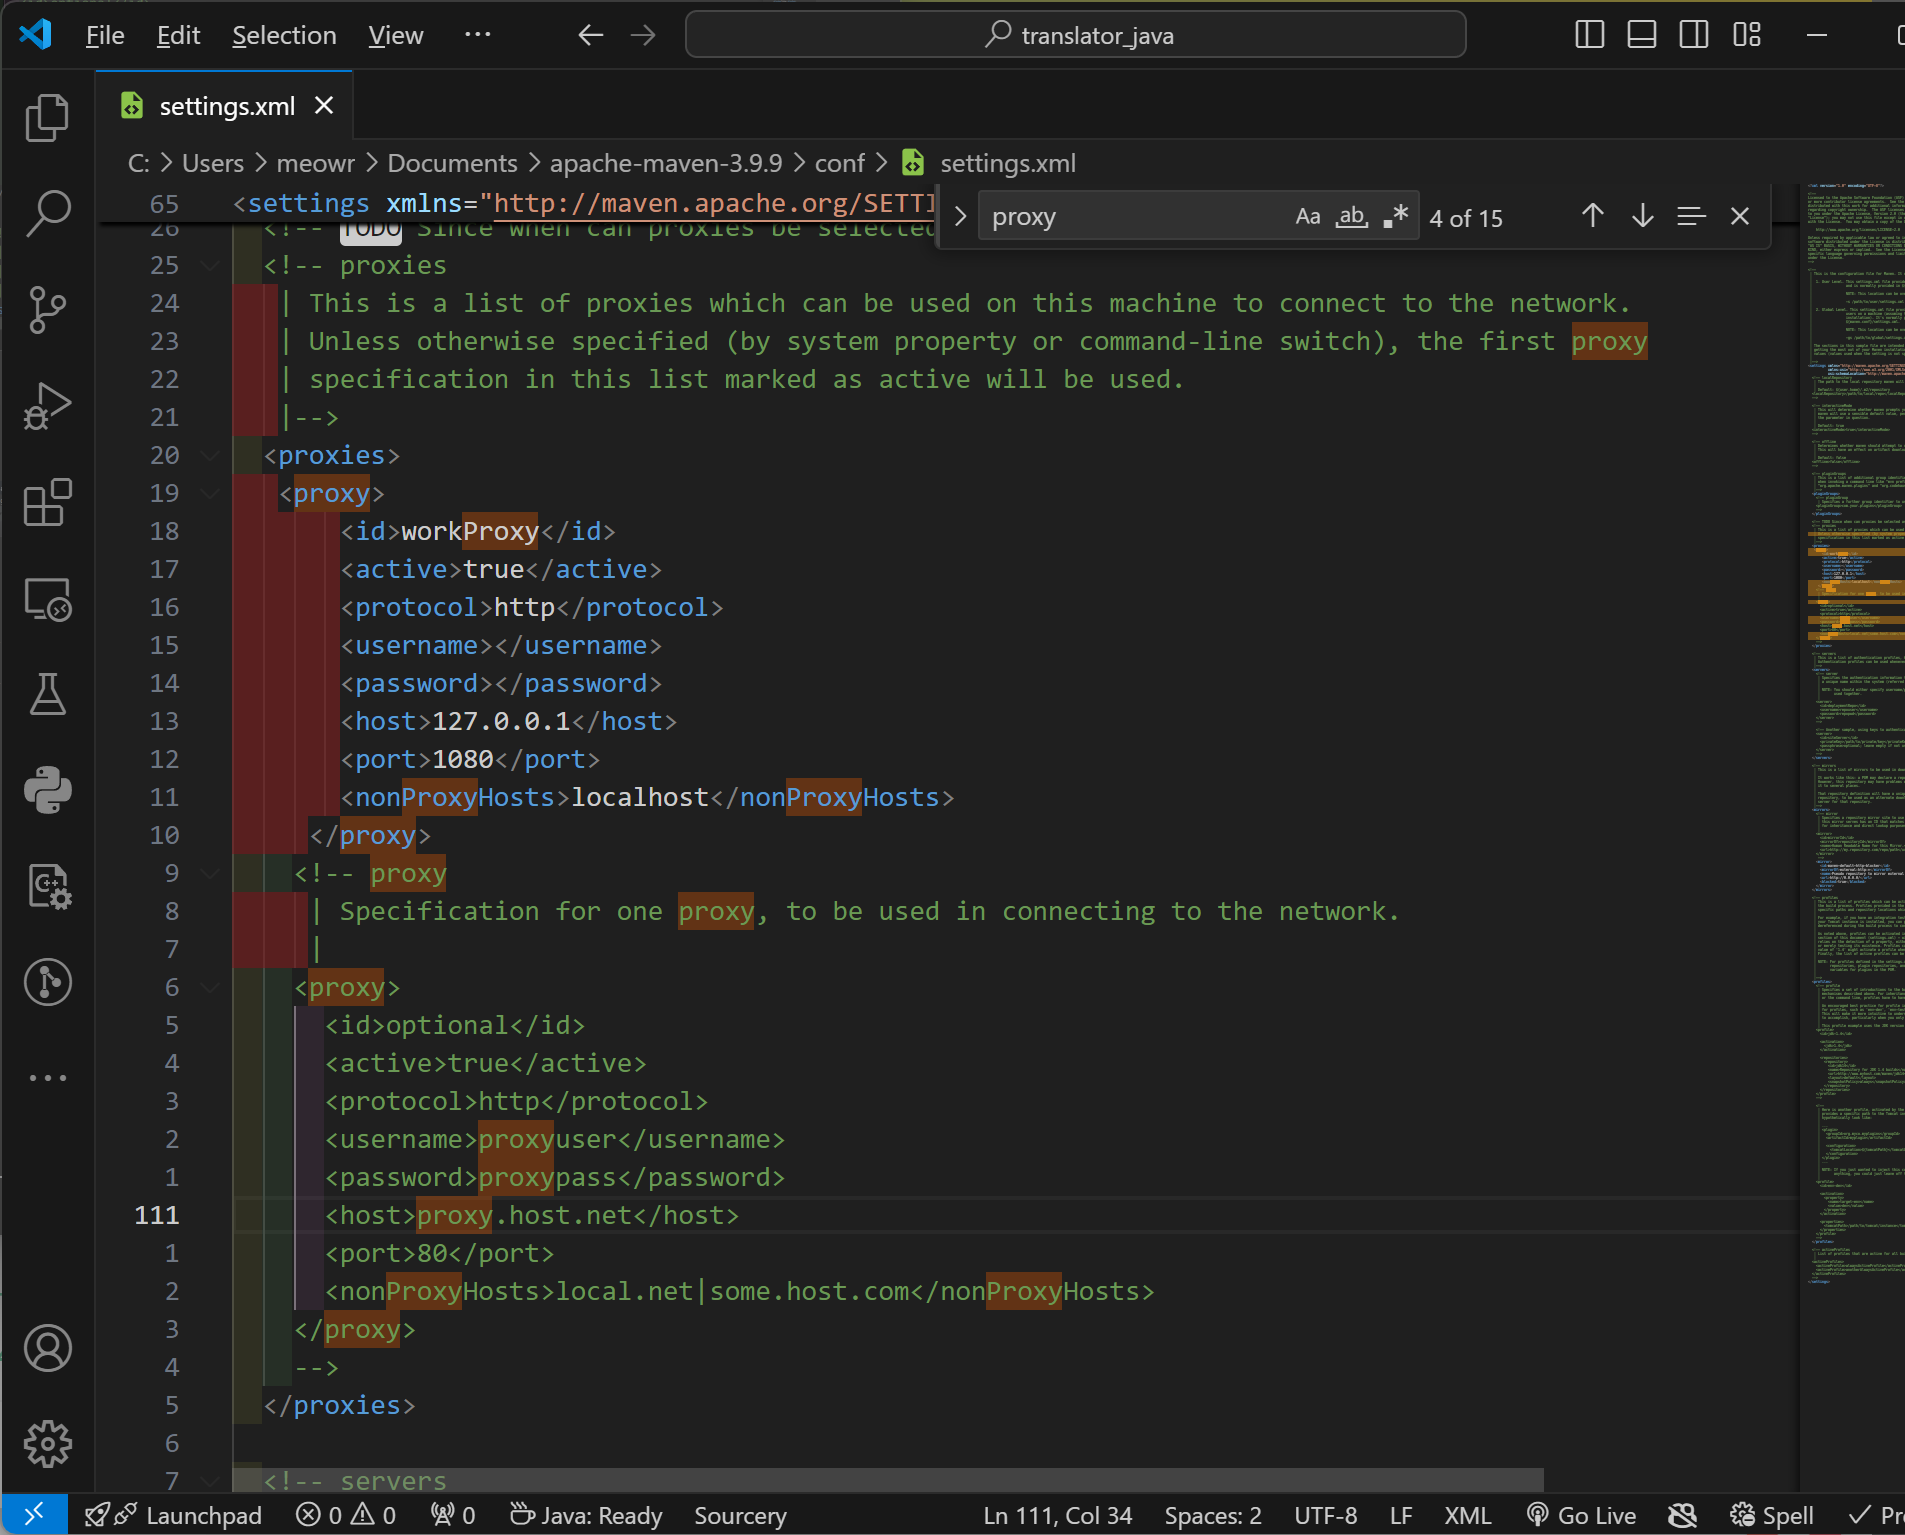
找到proxy这一段,在proxies里面添加
   <proxy>
       <id>workProxy</id>
       <active>true</active>
       <protocol>http</protocol>
       <username></username>
       <password></password>
       <host>127.0.0.1</host>
       <port>1080</port>
       <nonProxyHosts>localhost</nonProxyHosts>
     </proxy>
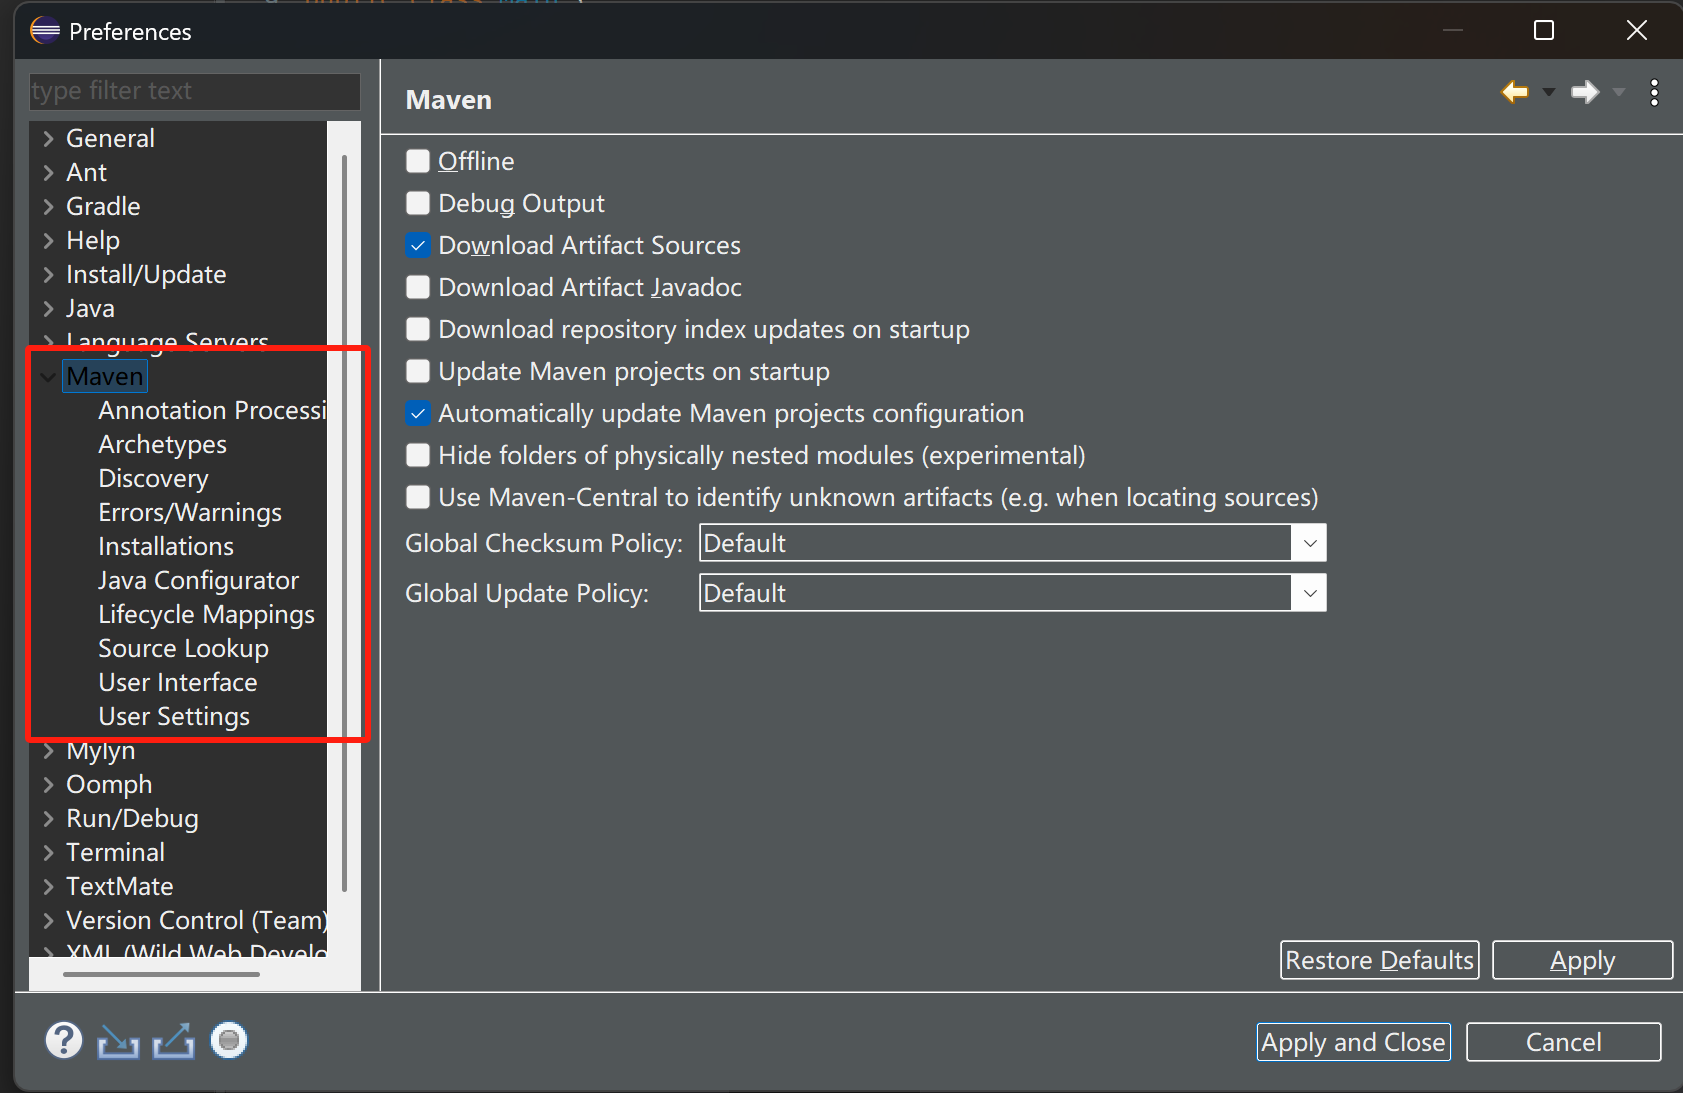
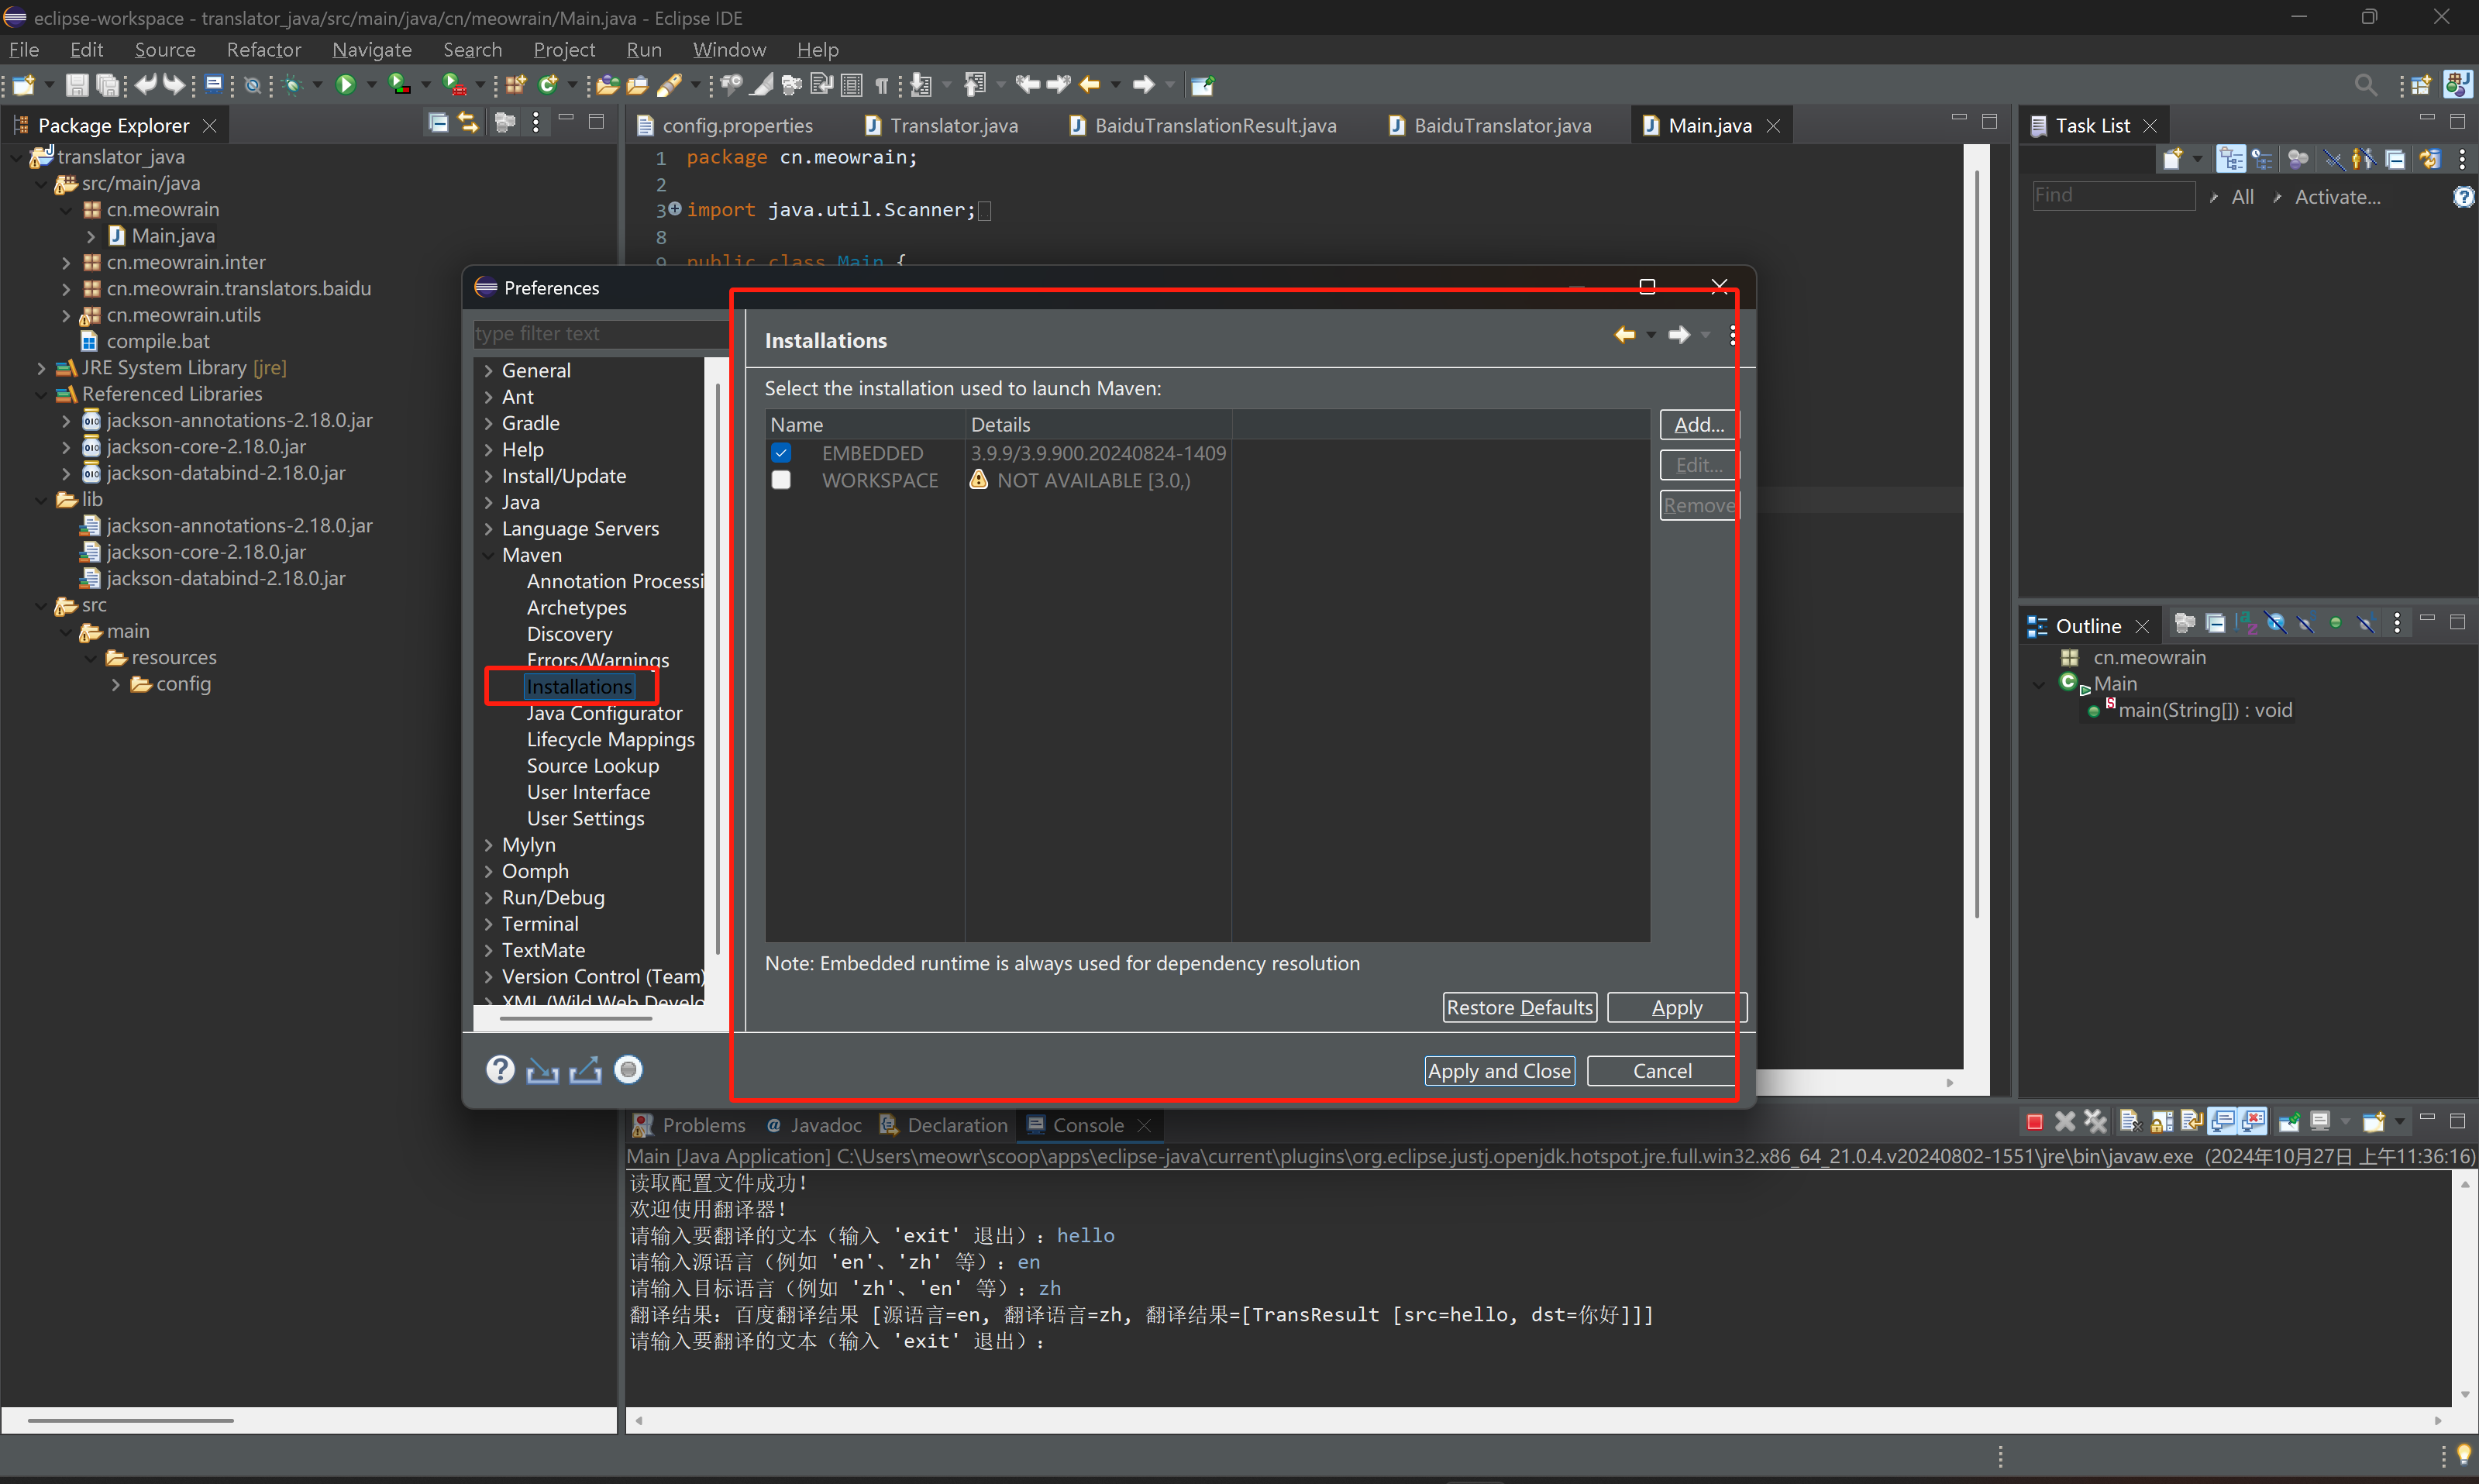
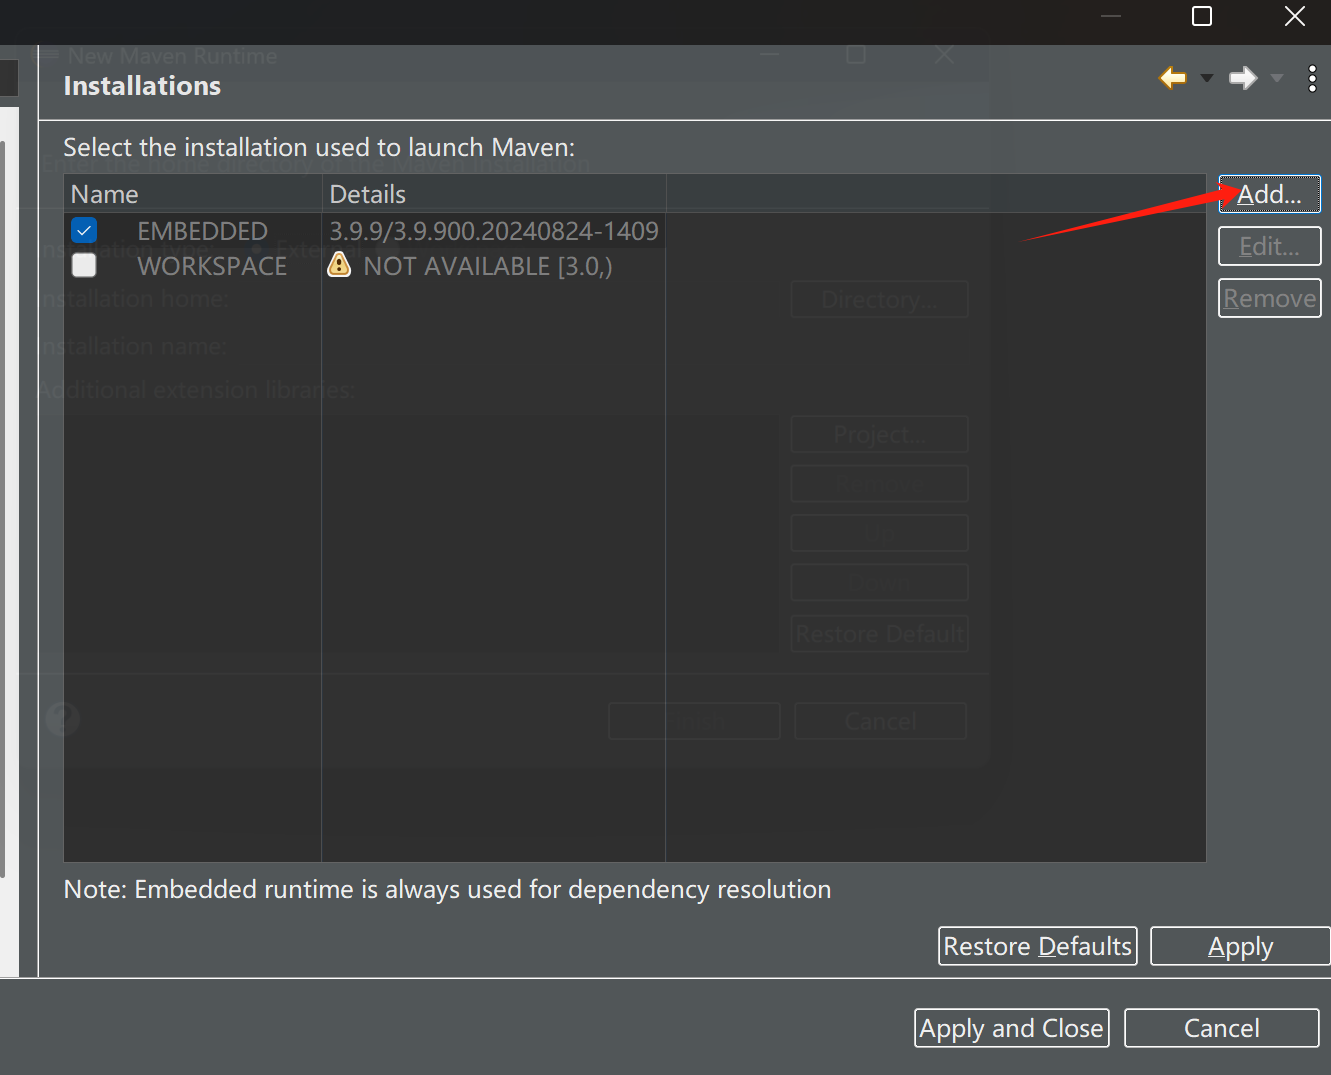
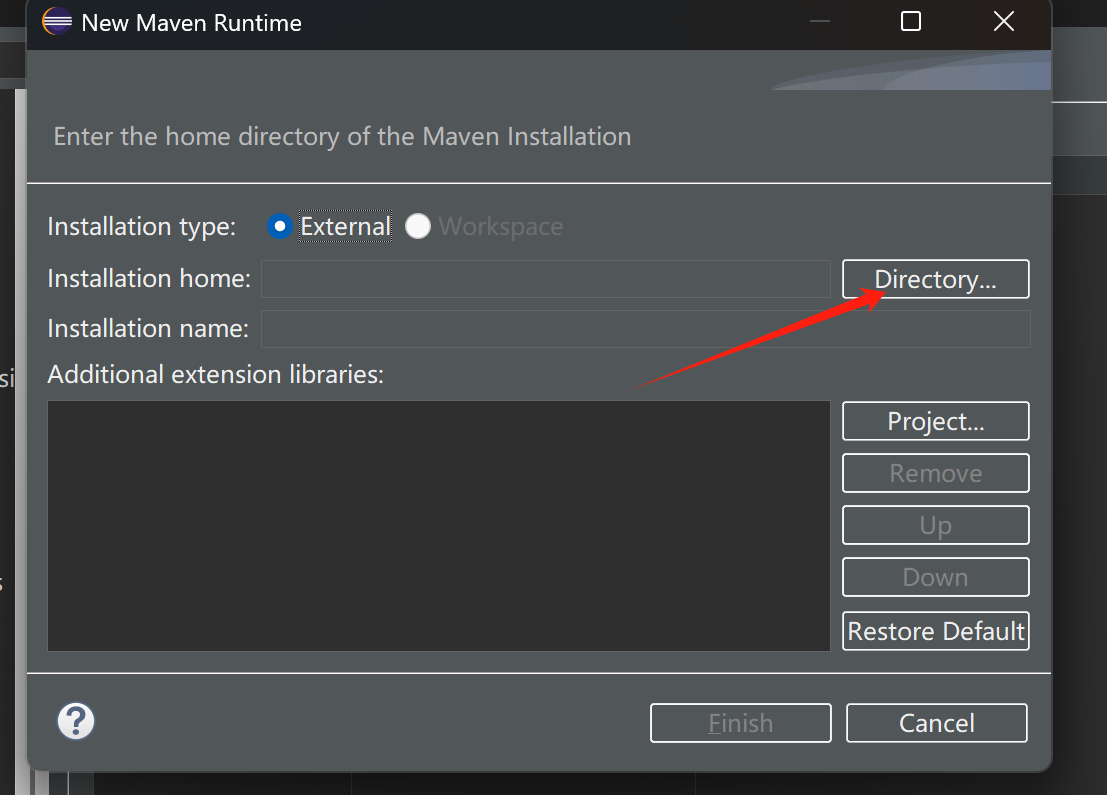
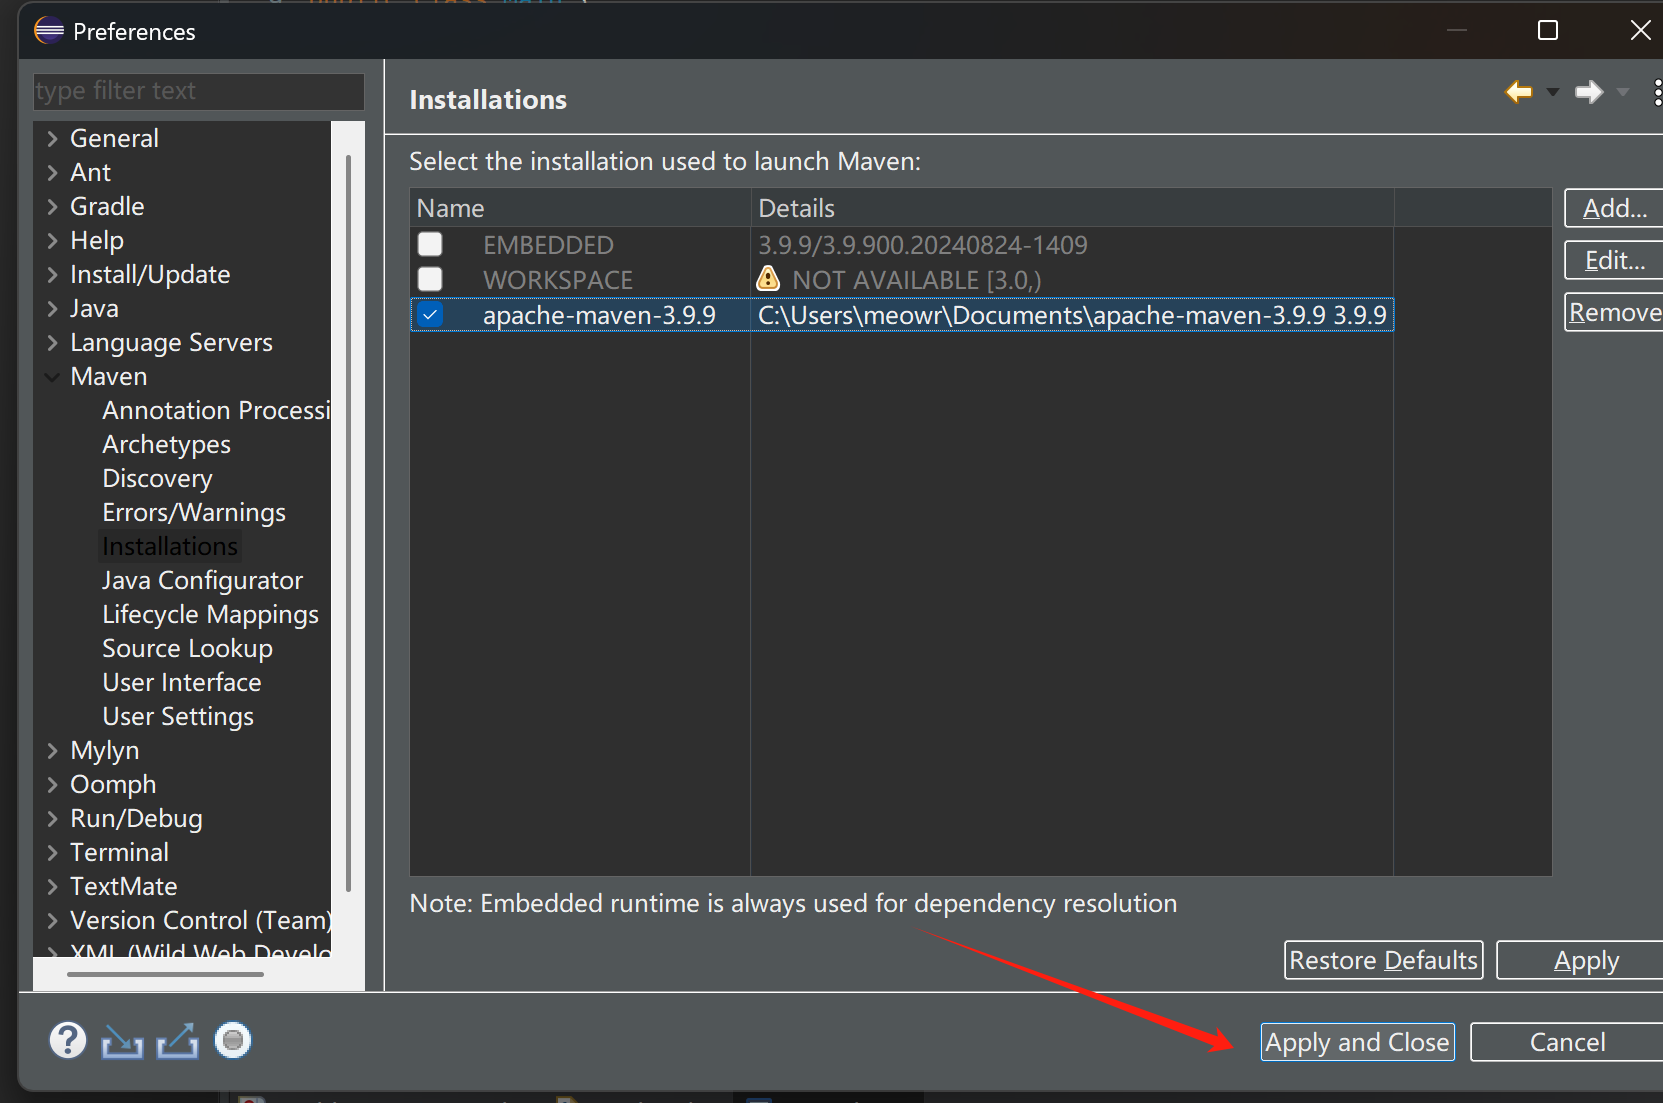
配置ecplise
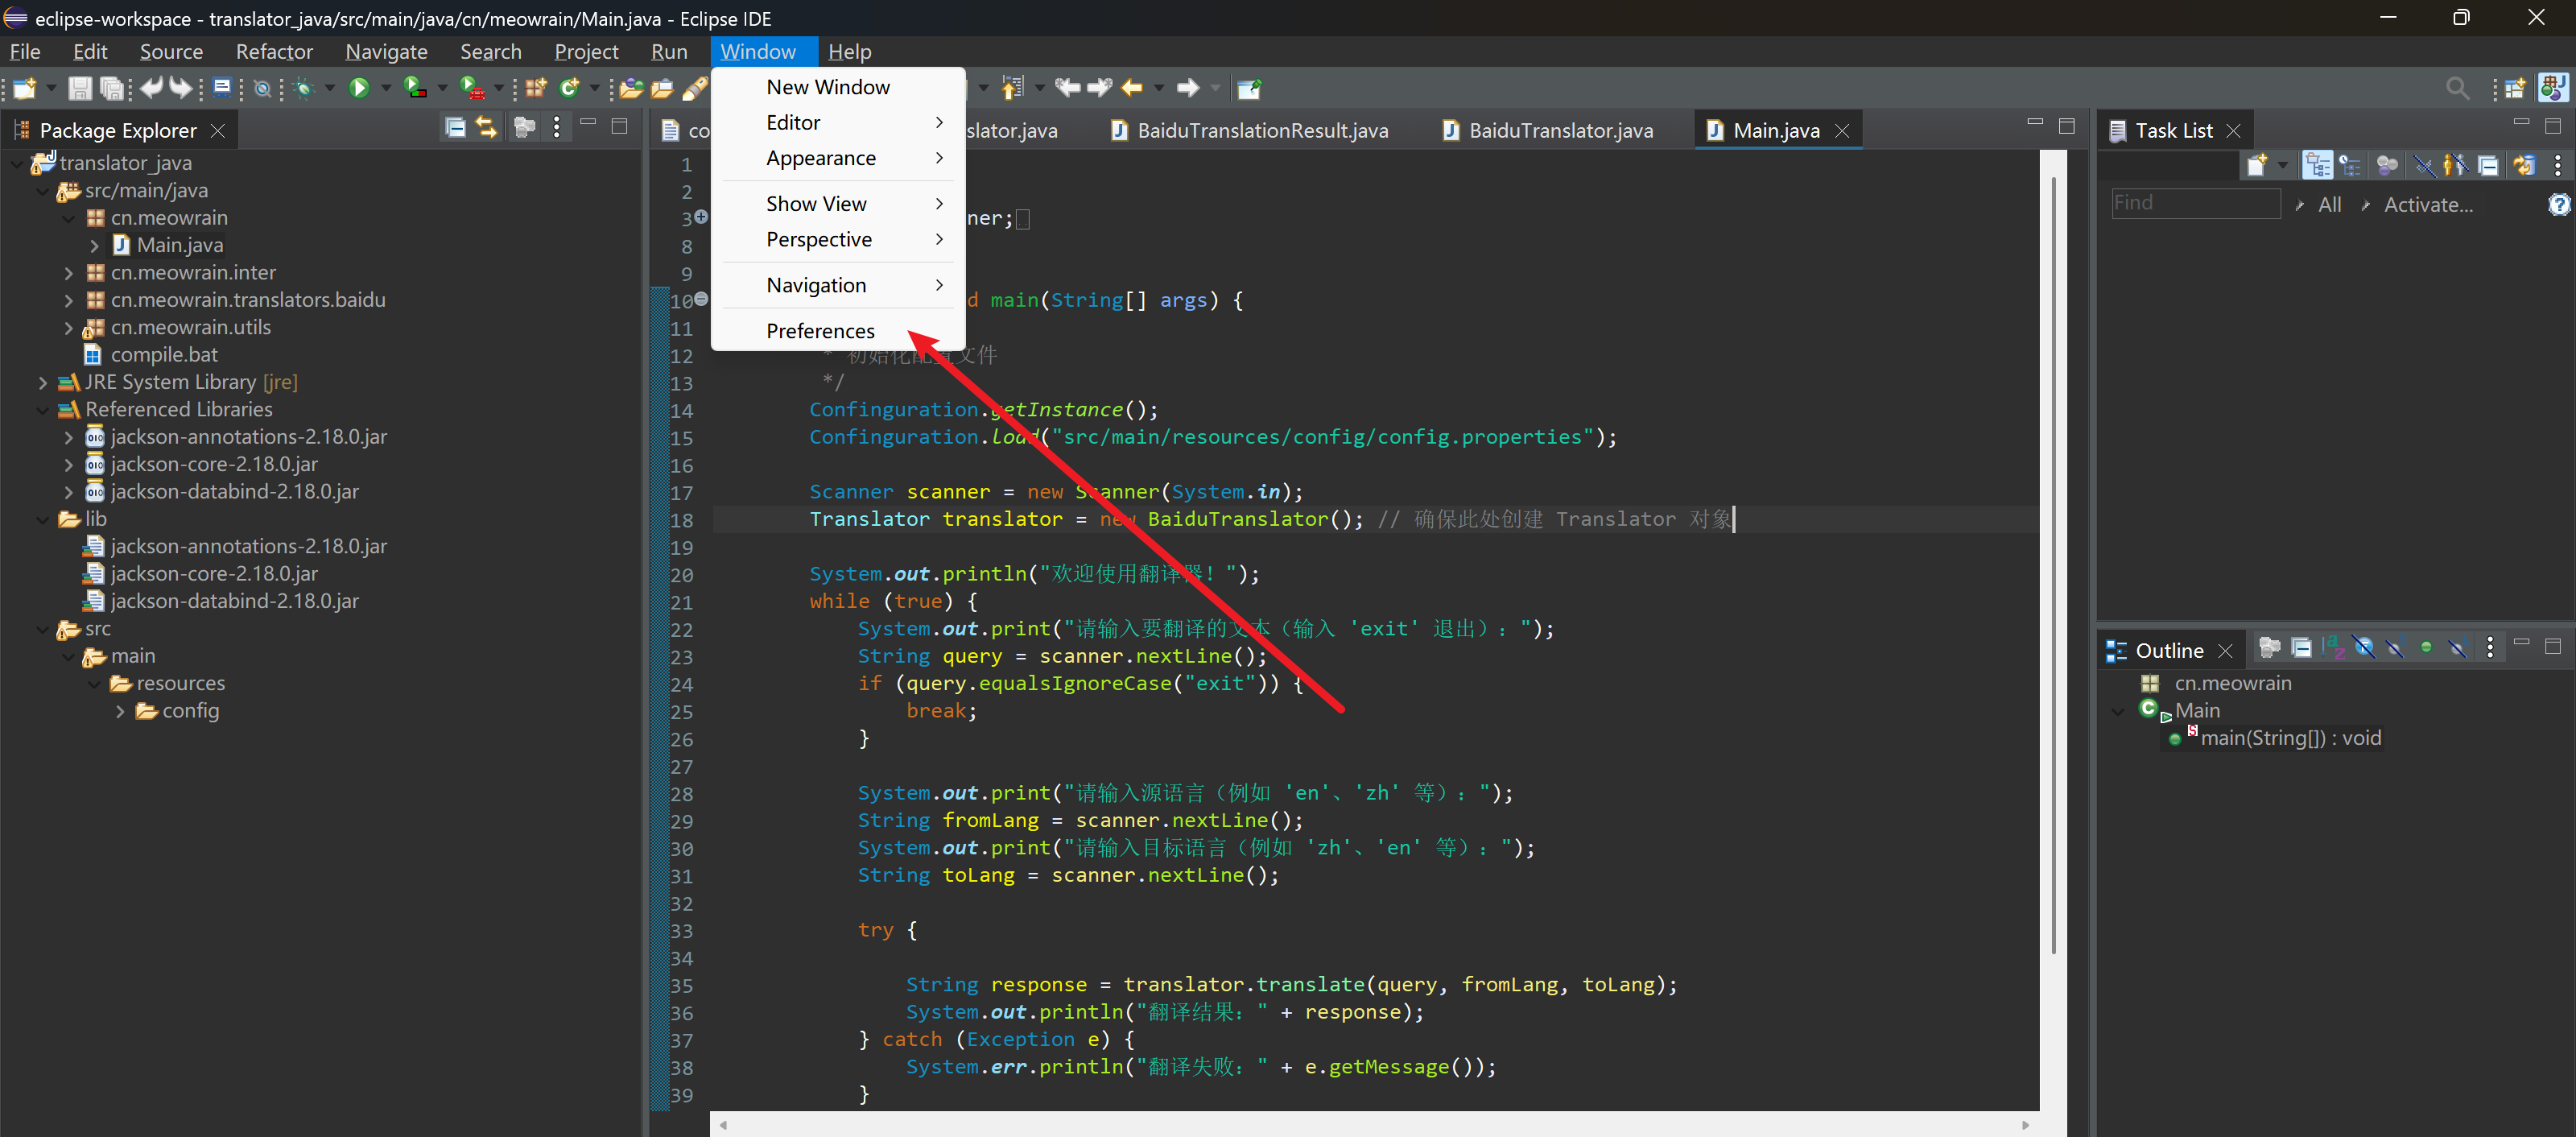
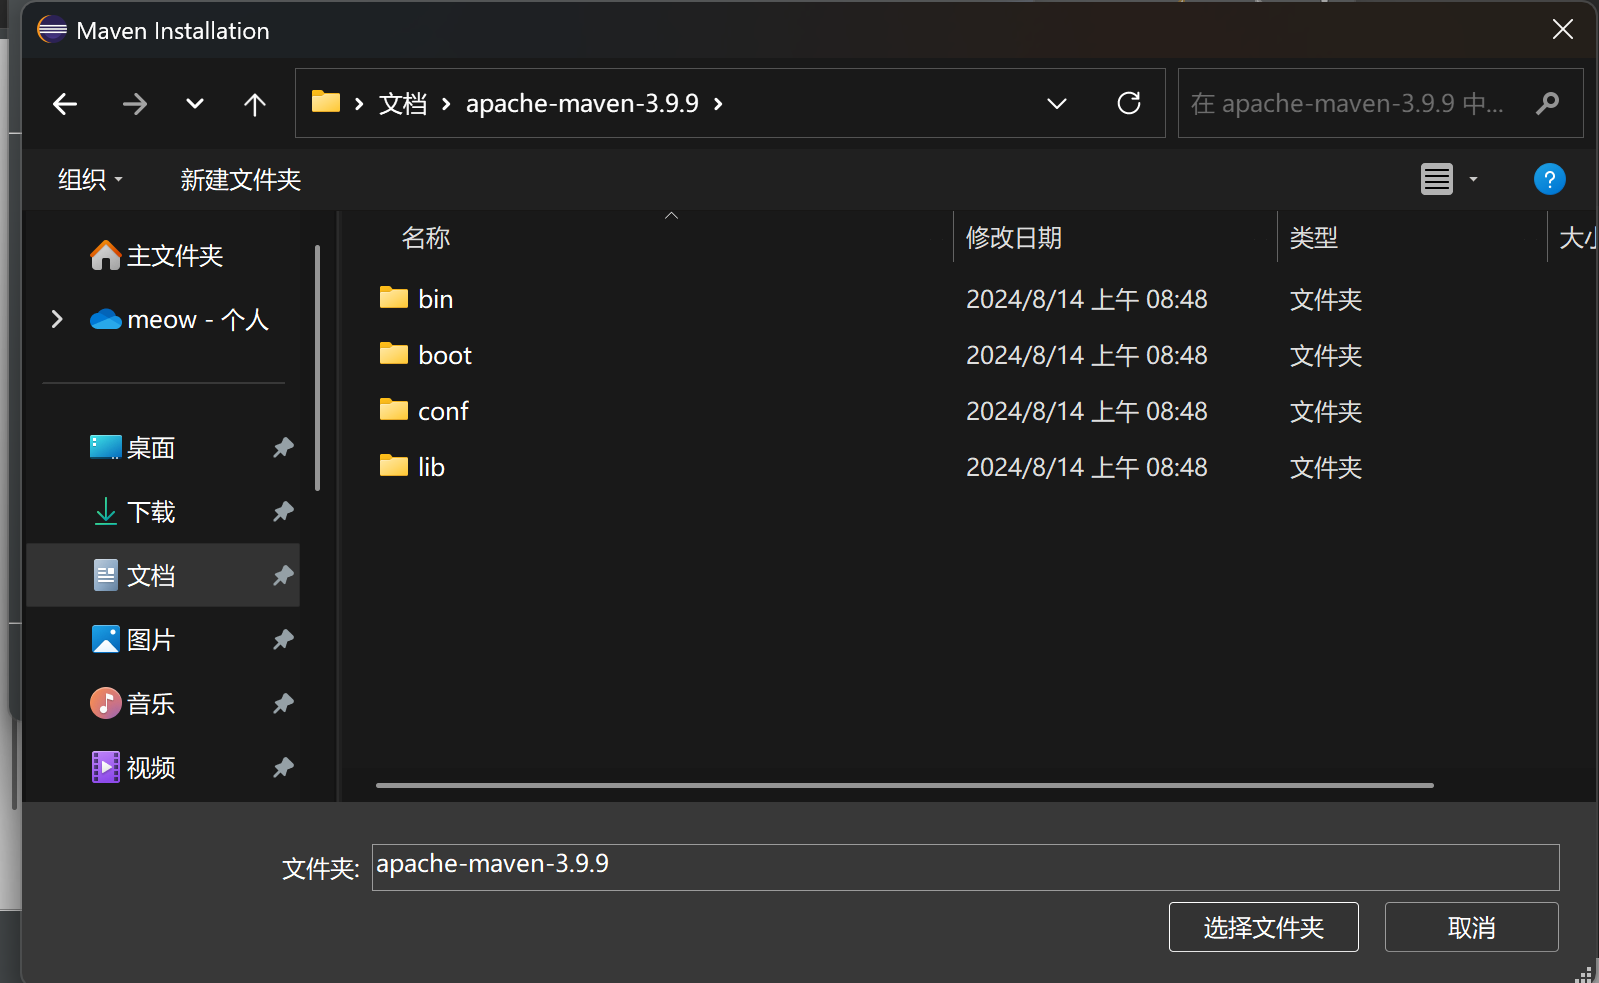
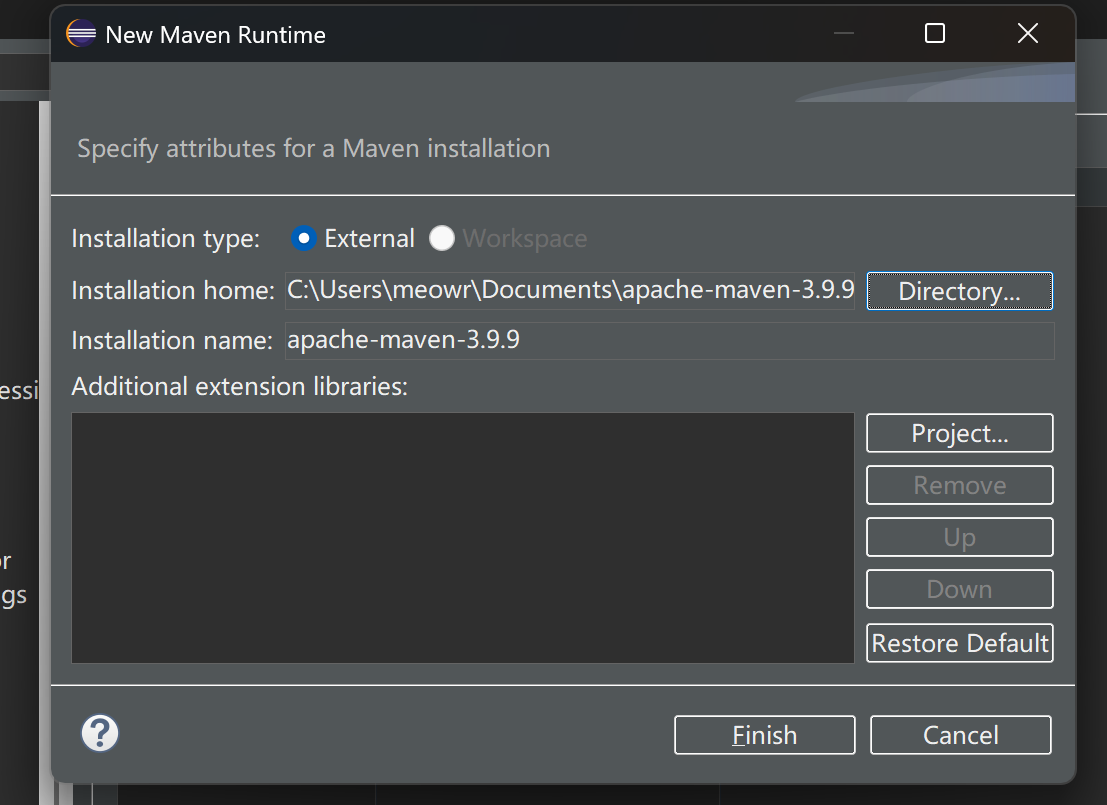
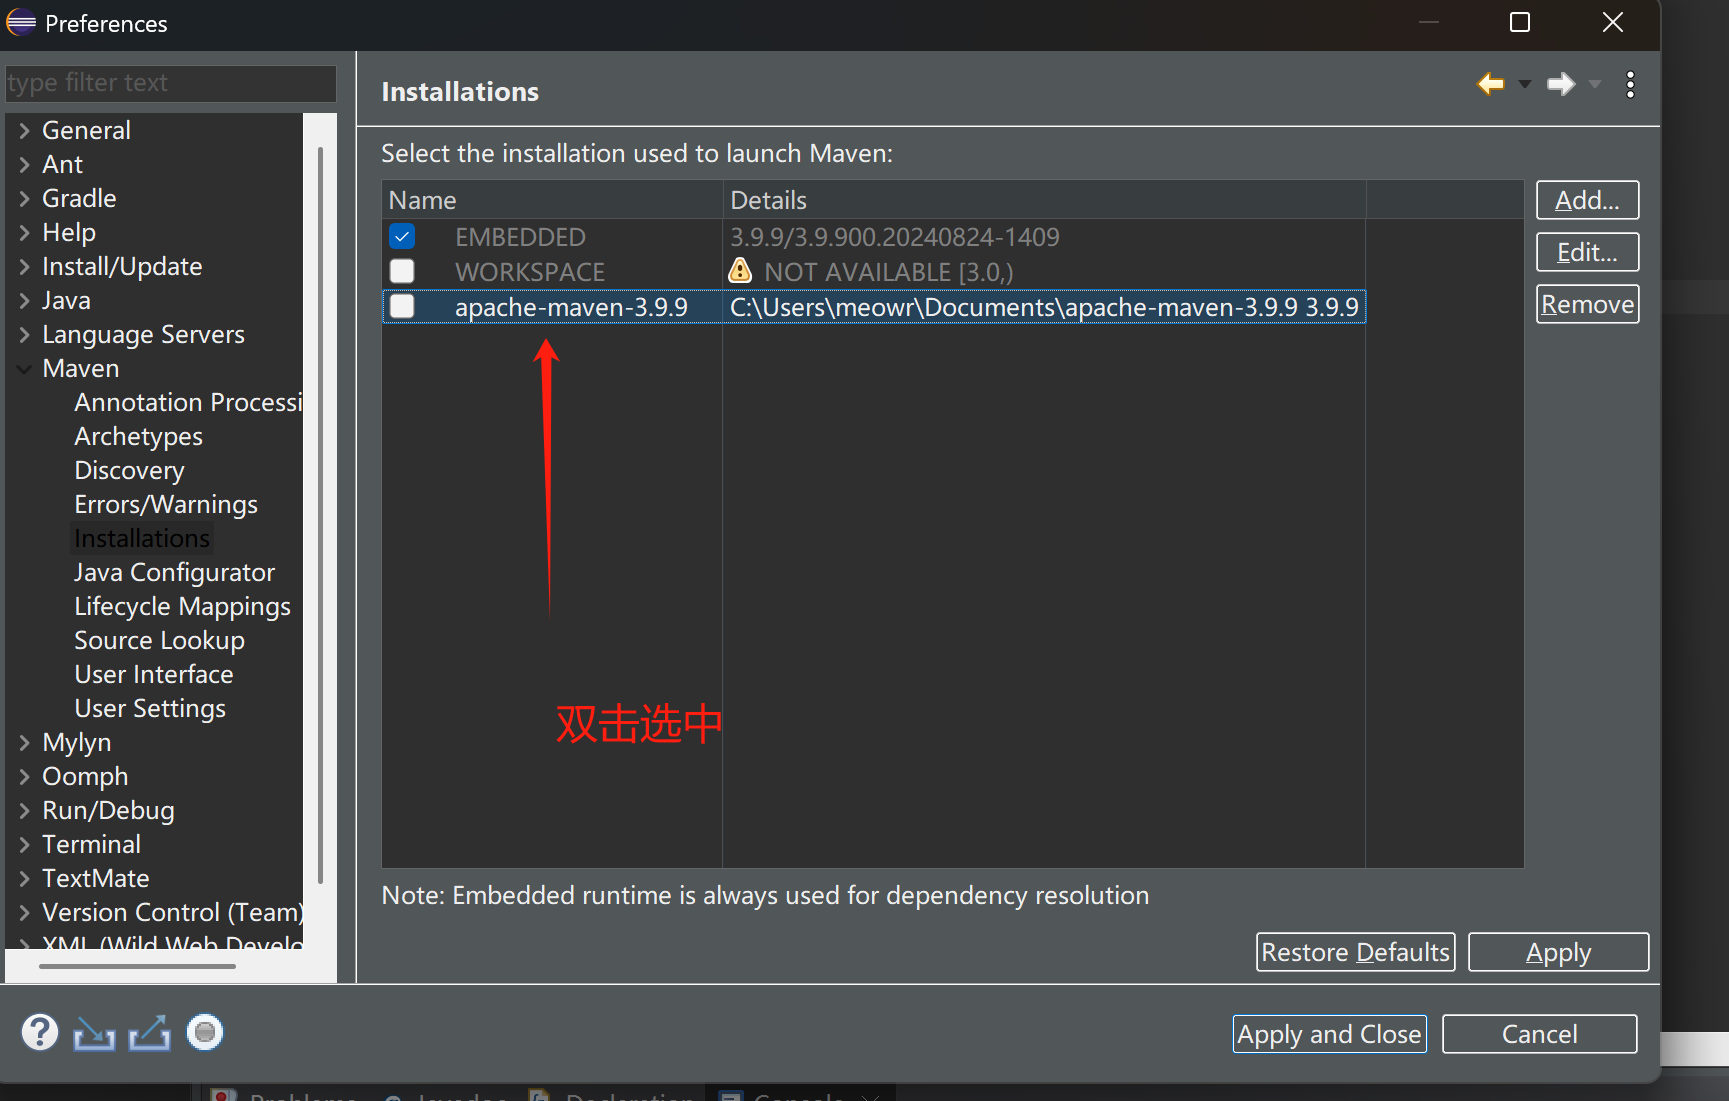
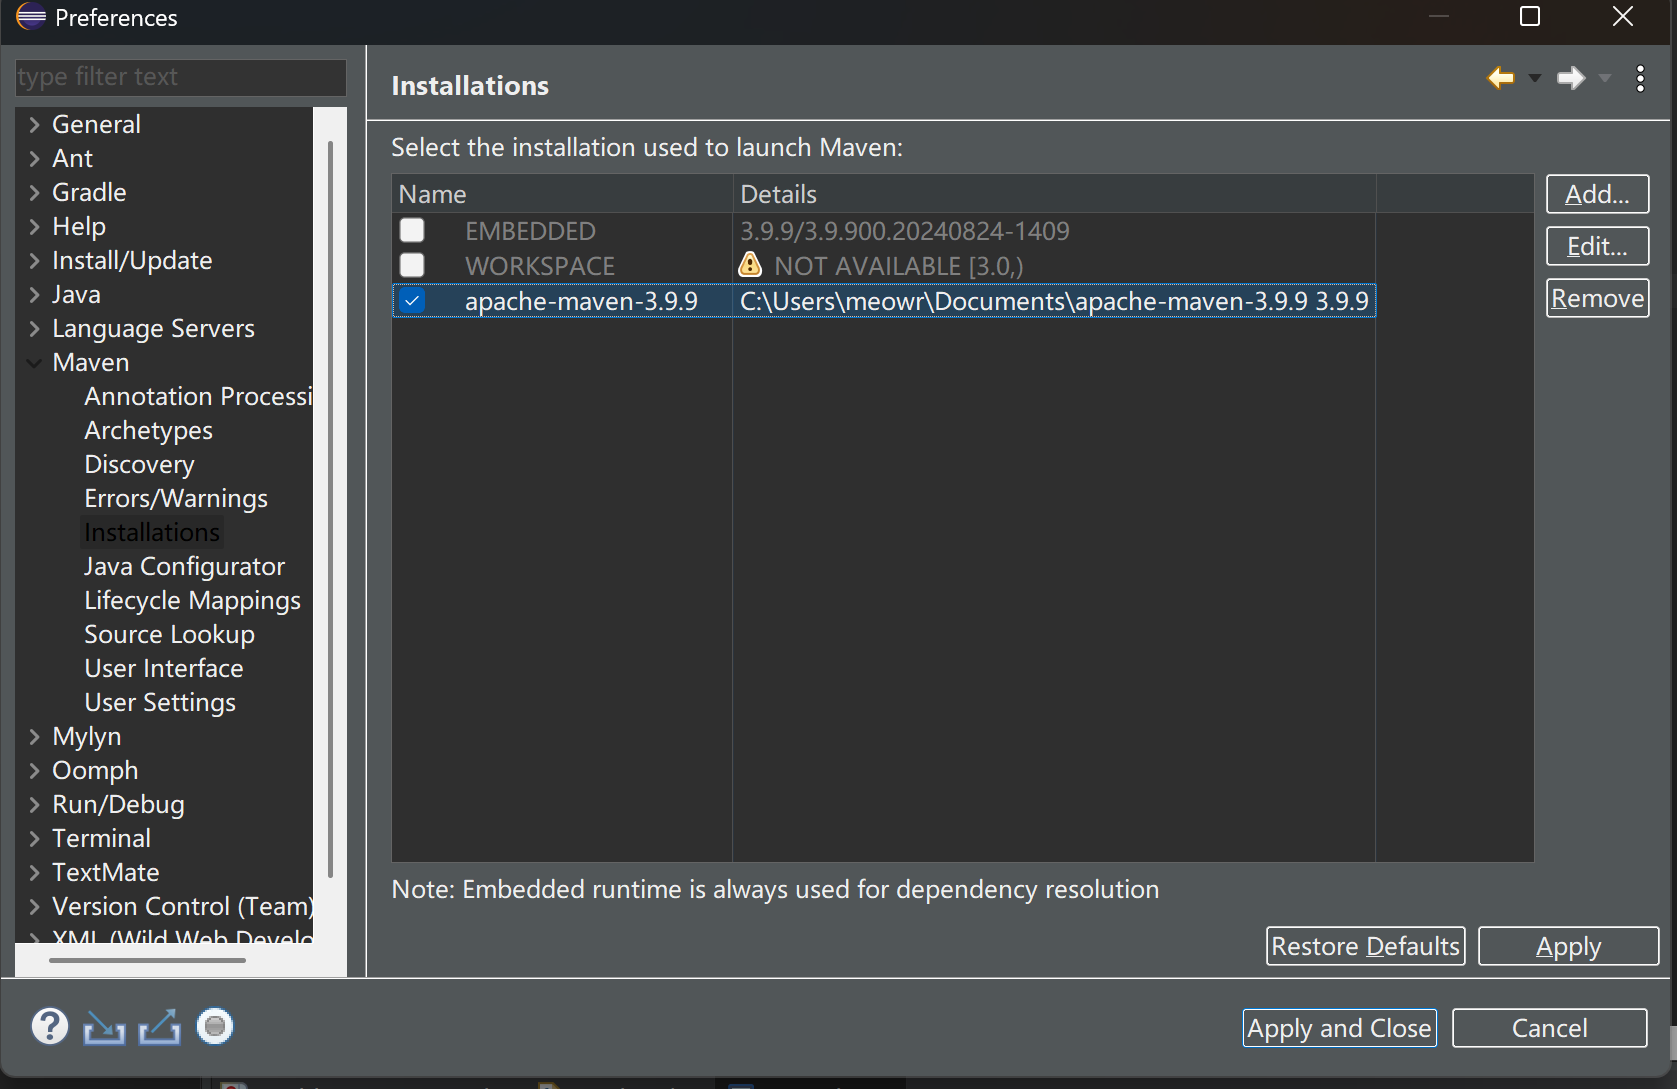
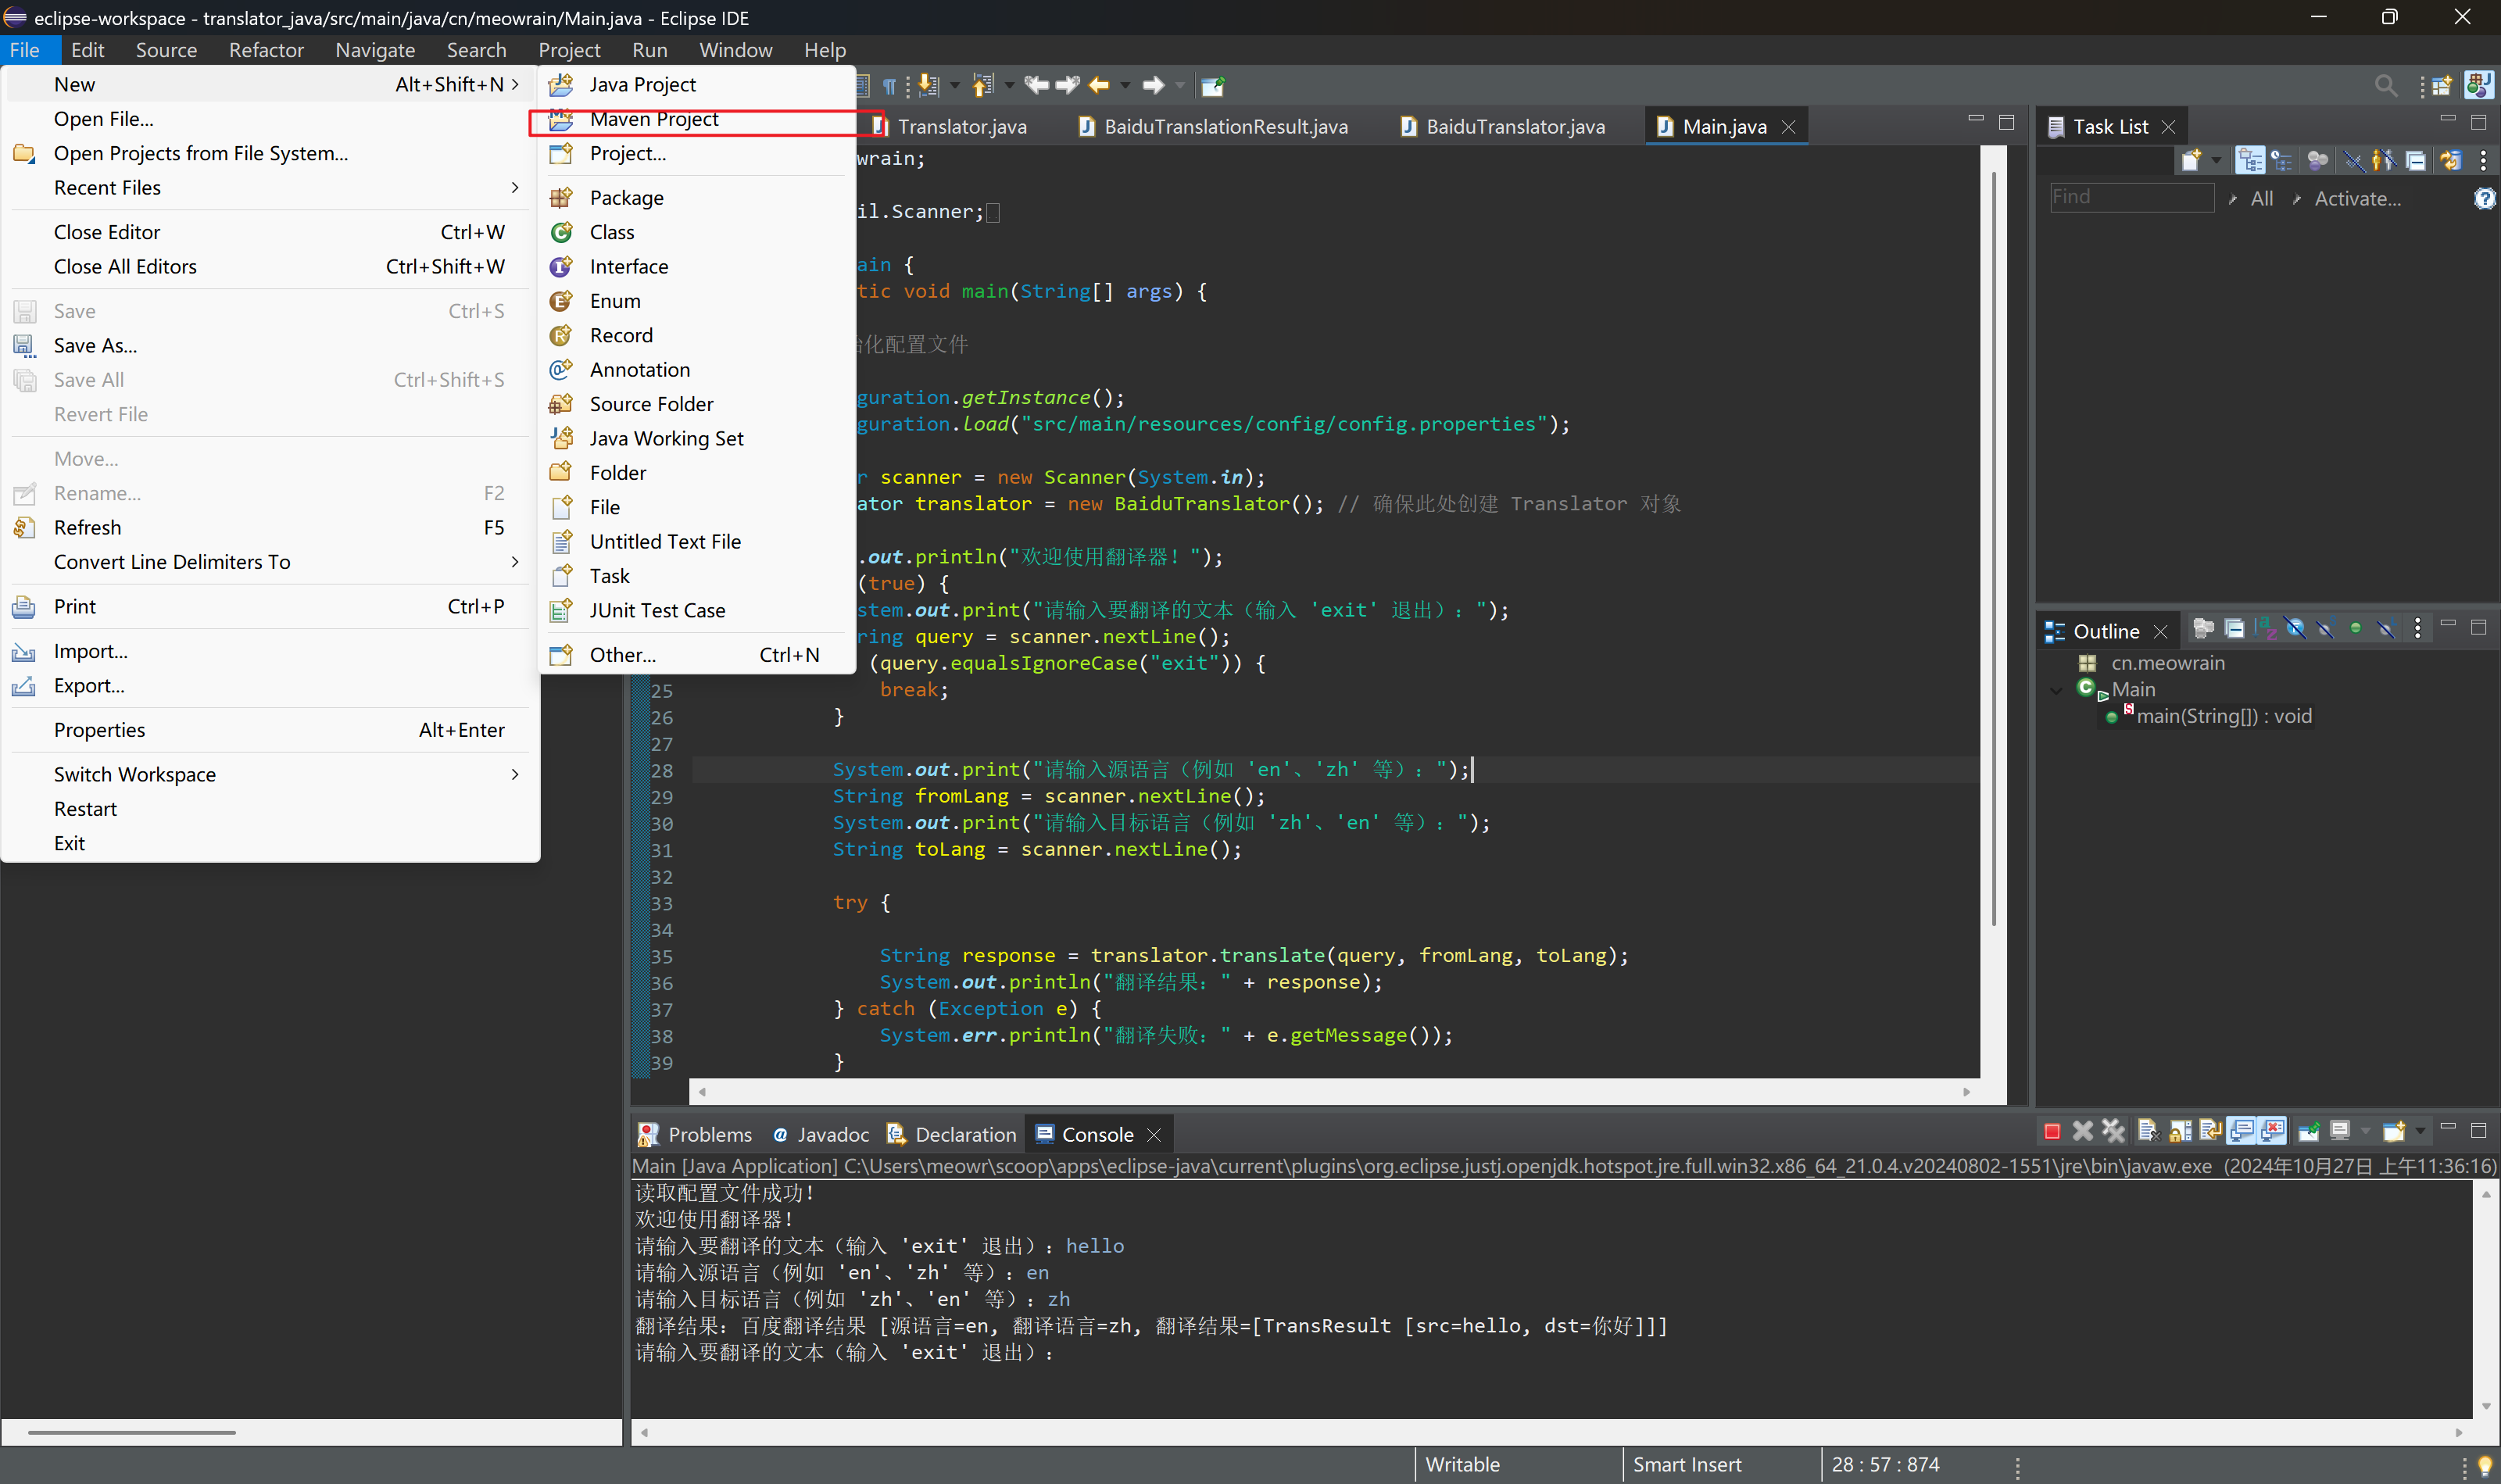
创建maven项目
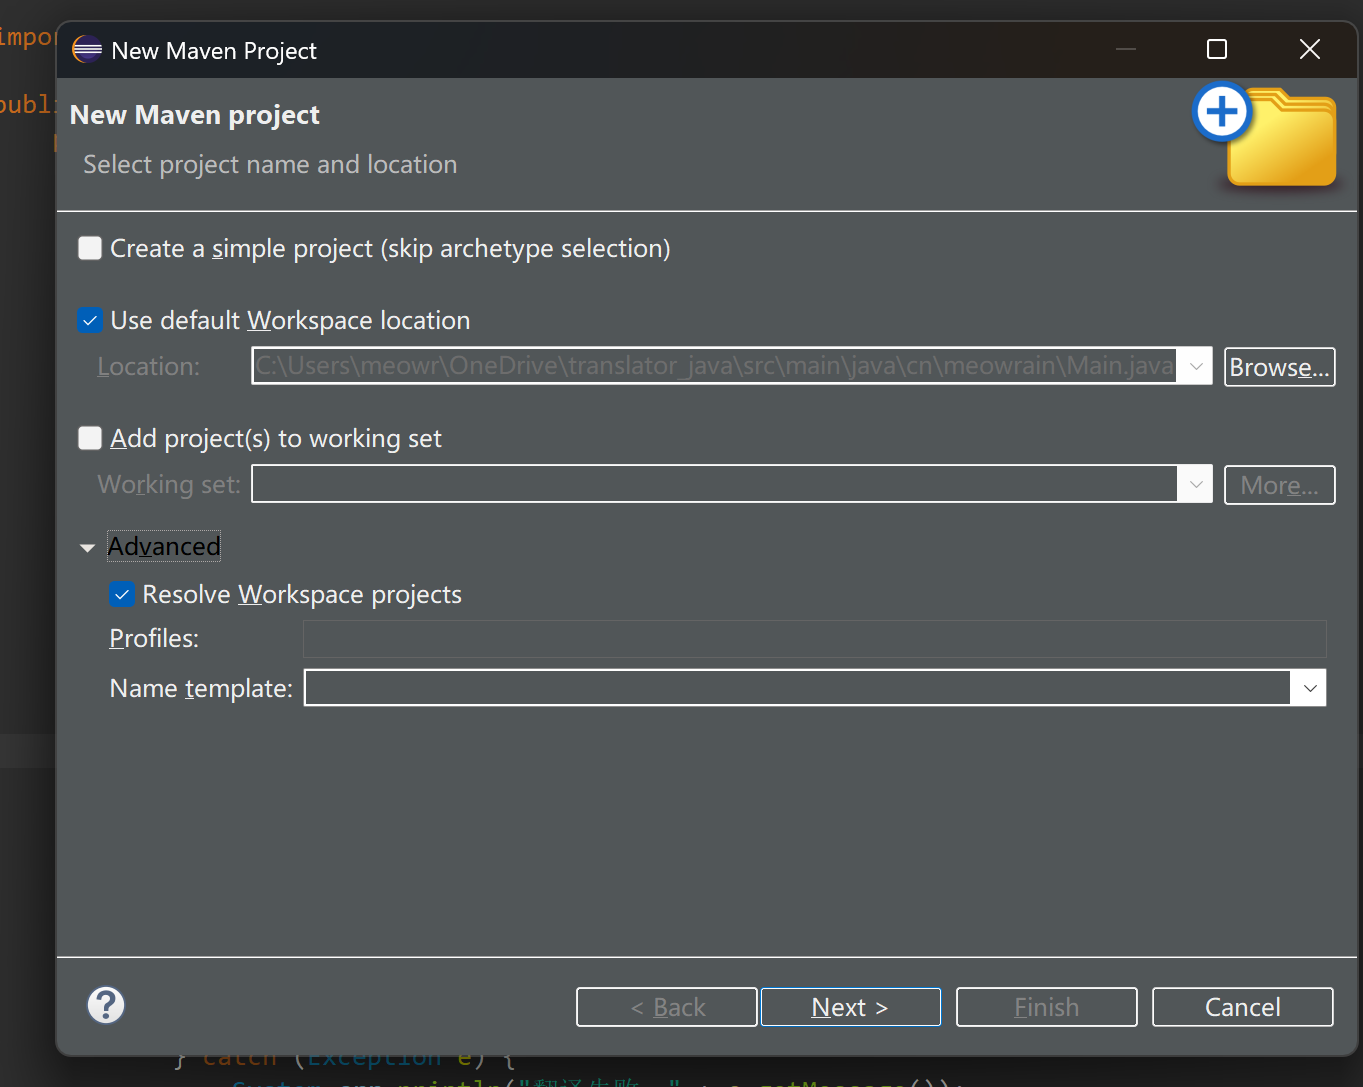
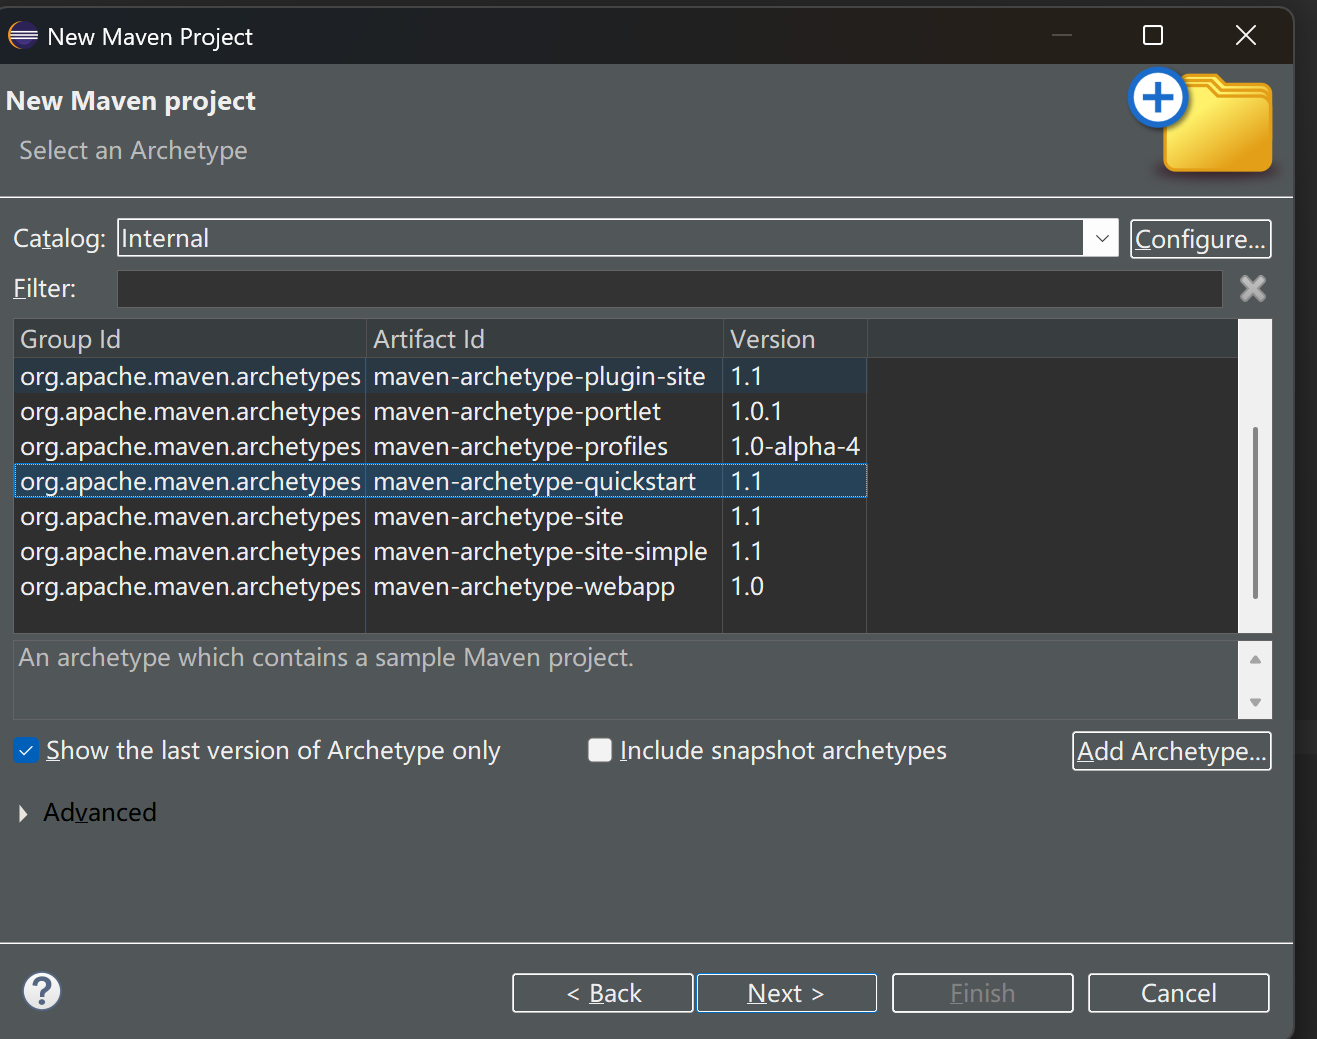
点击next
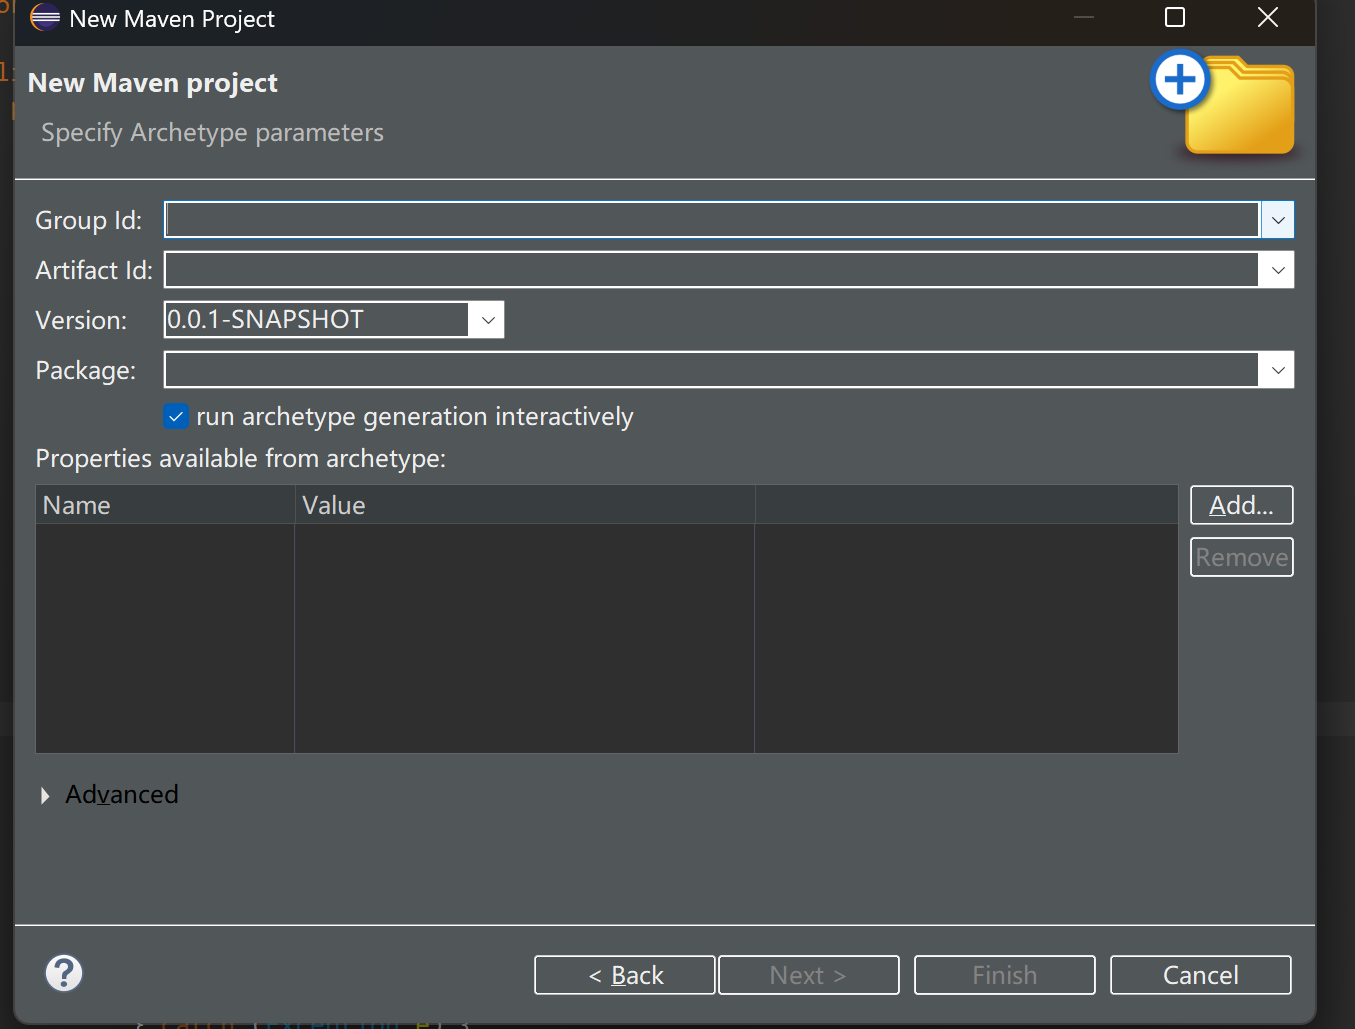
关于这些属性命名规范,见
https://maven.apache.org/guides/mini/guide-naming-conventions.html
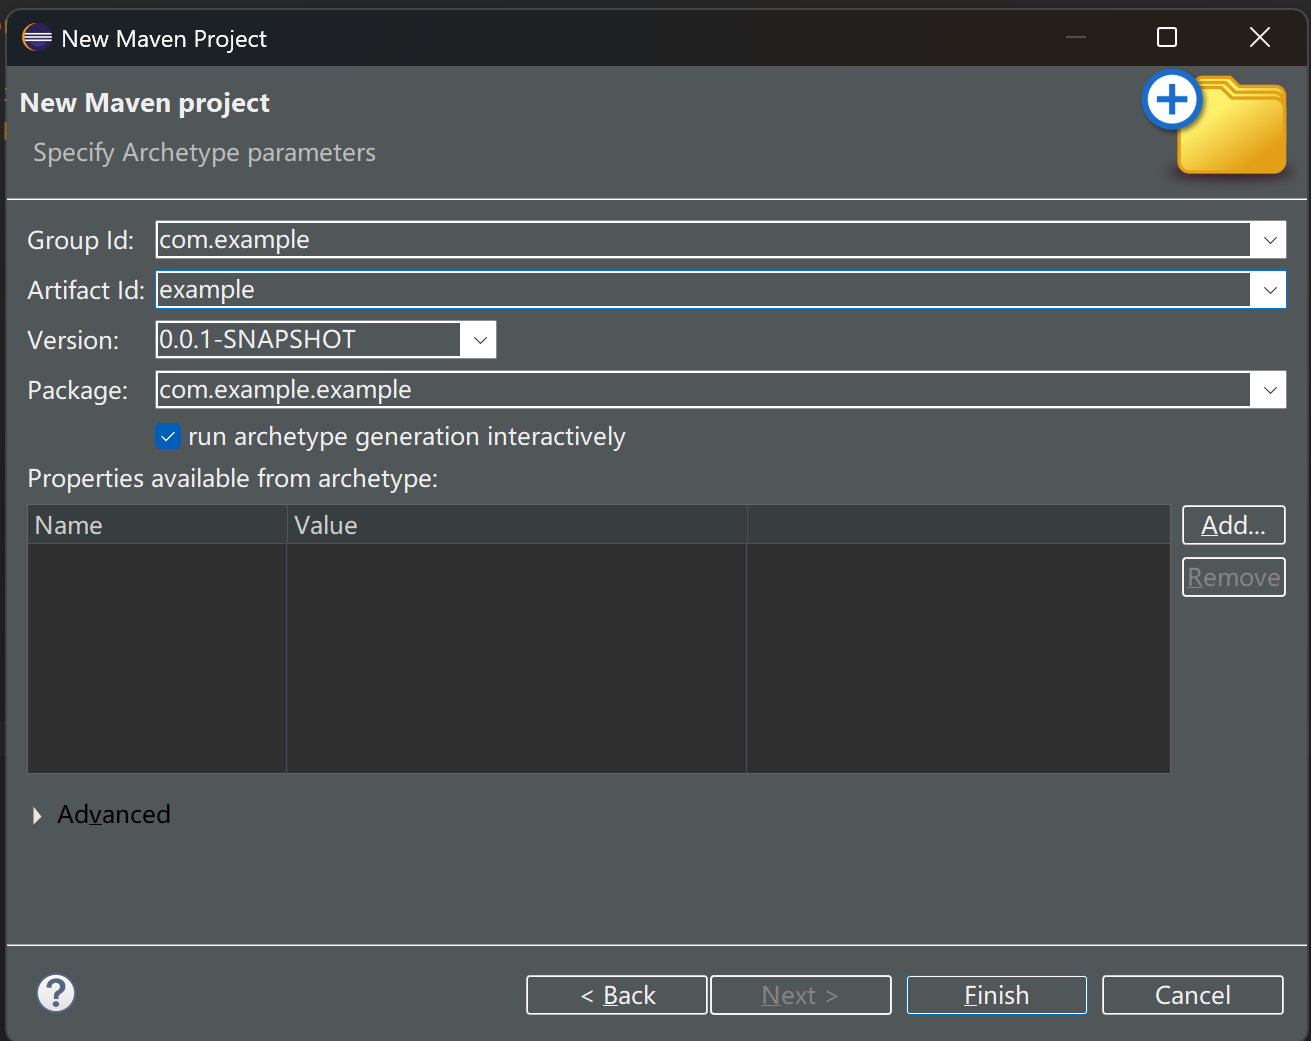
点击finish

maven就开始下载构建项目需要的东西了

输入y

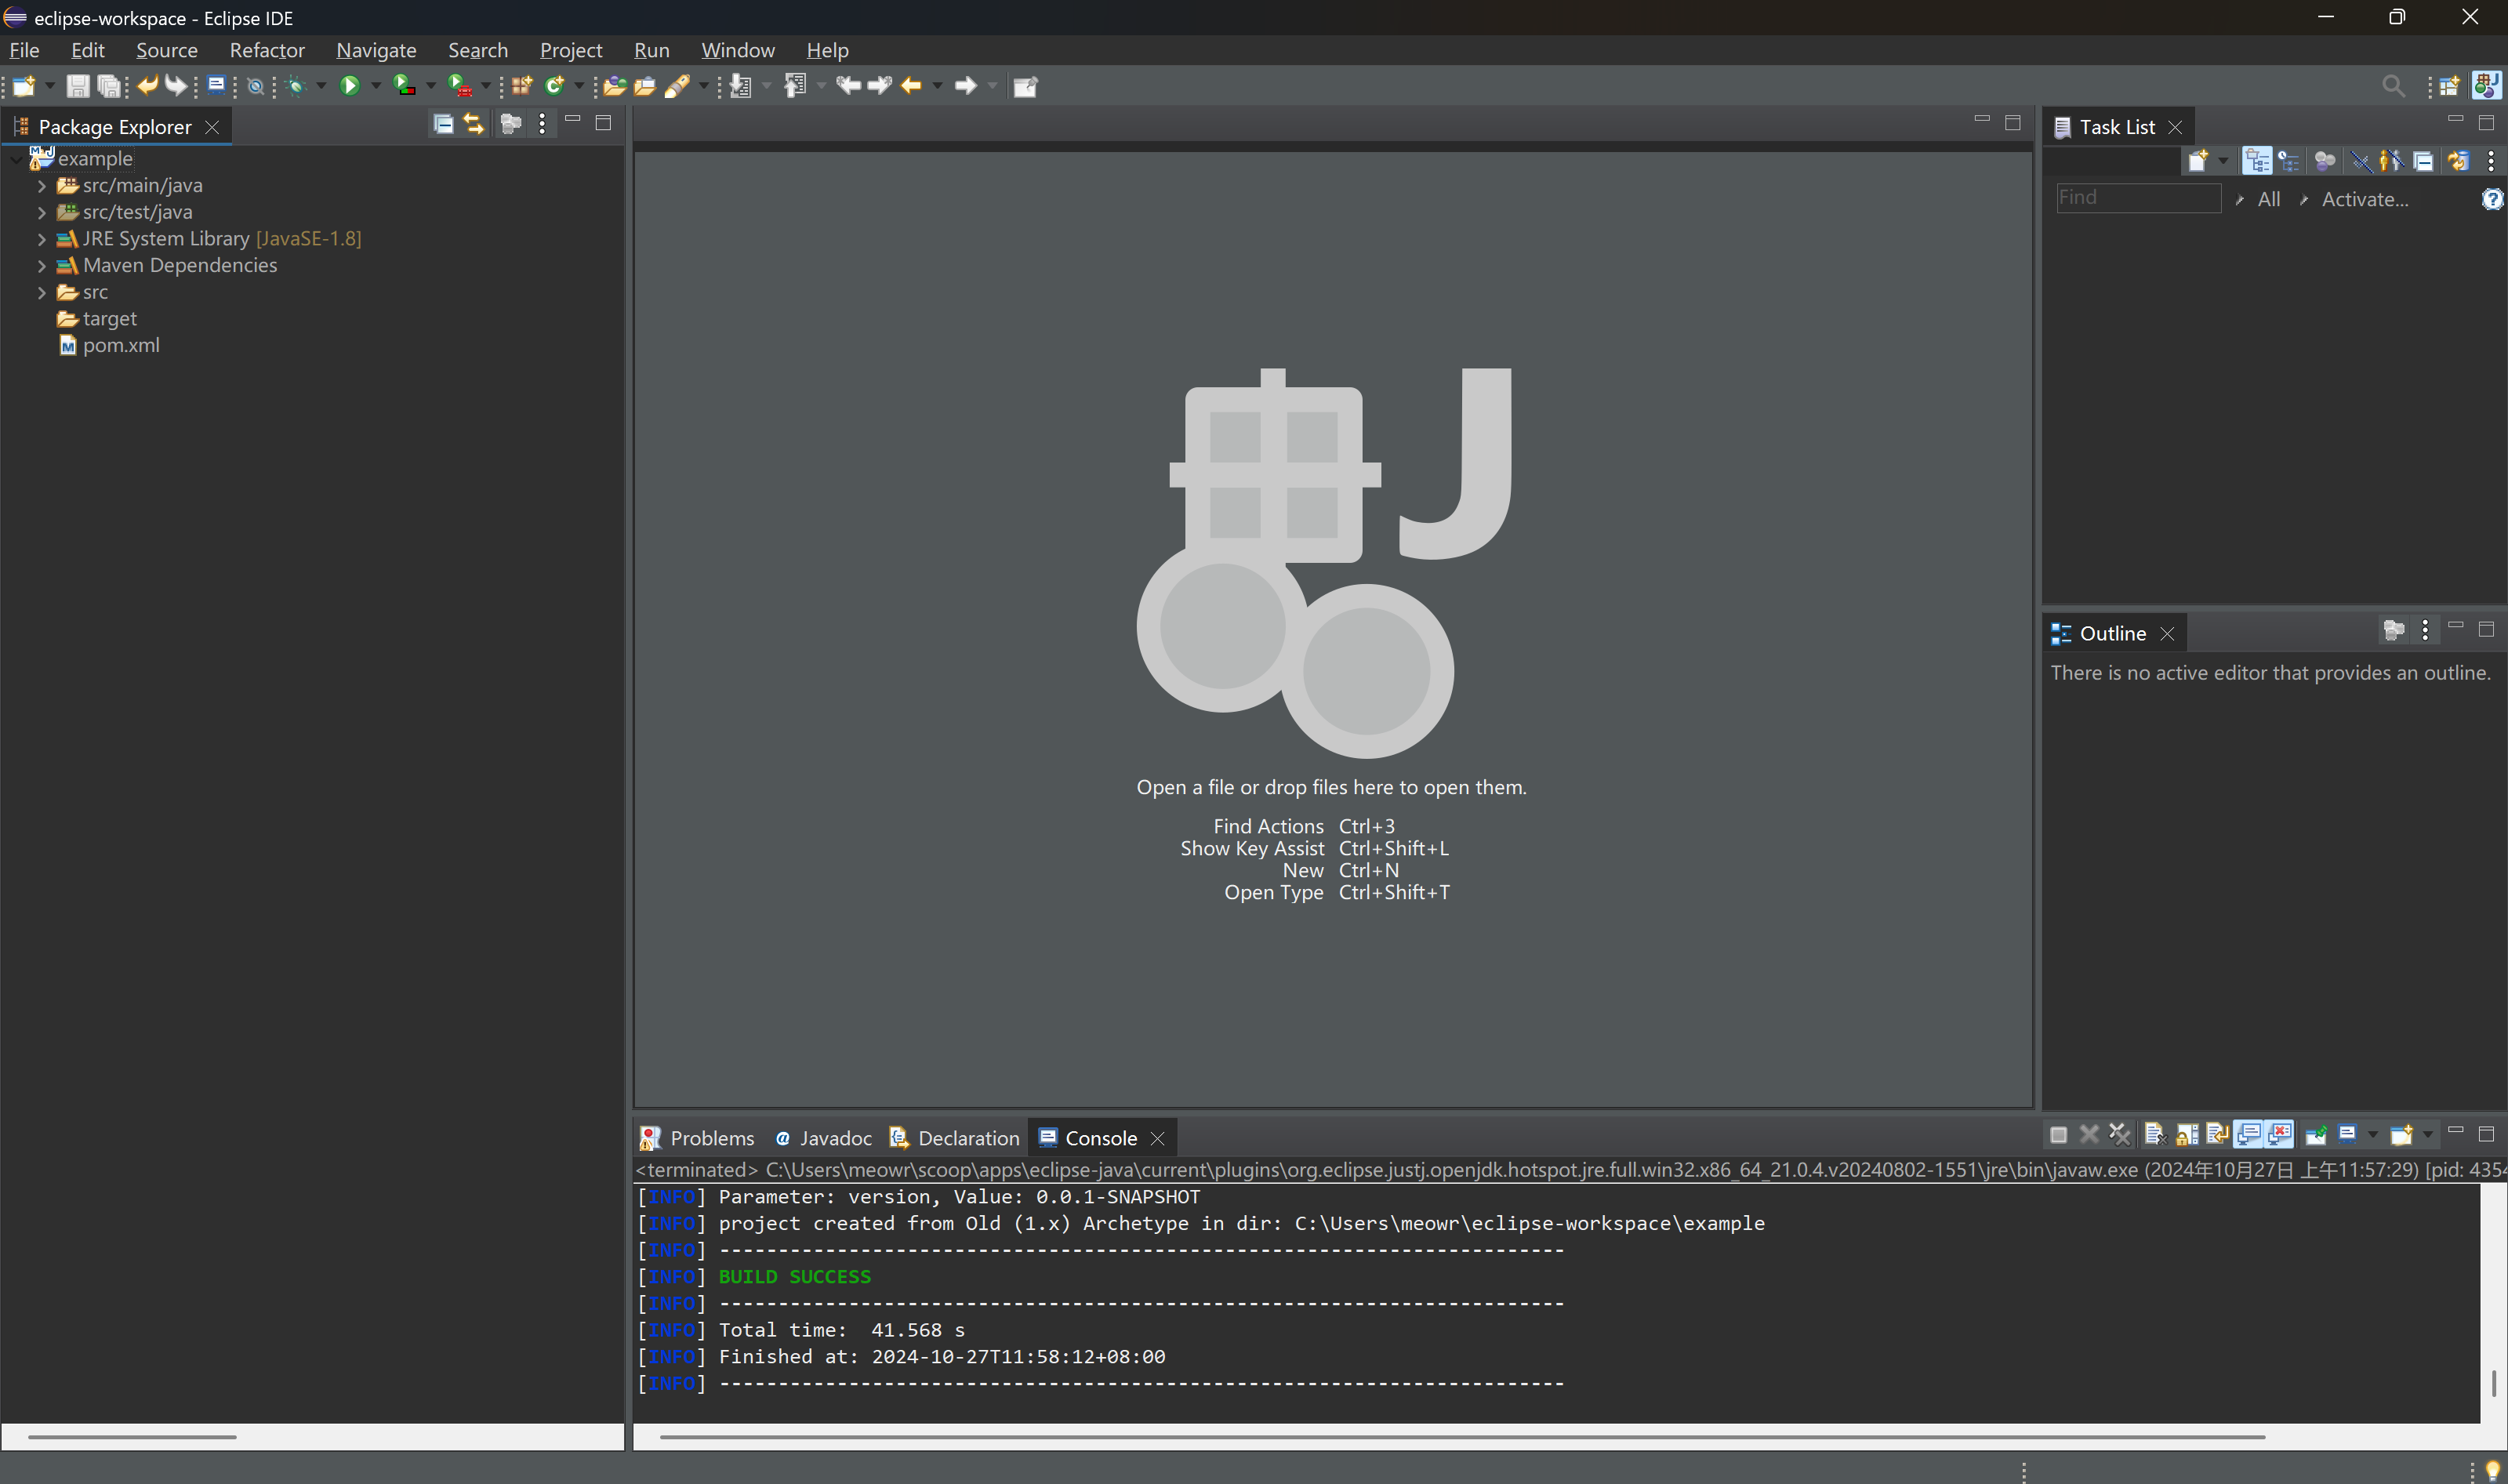
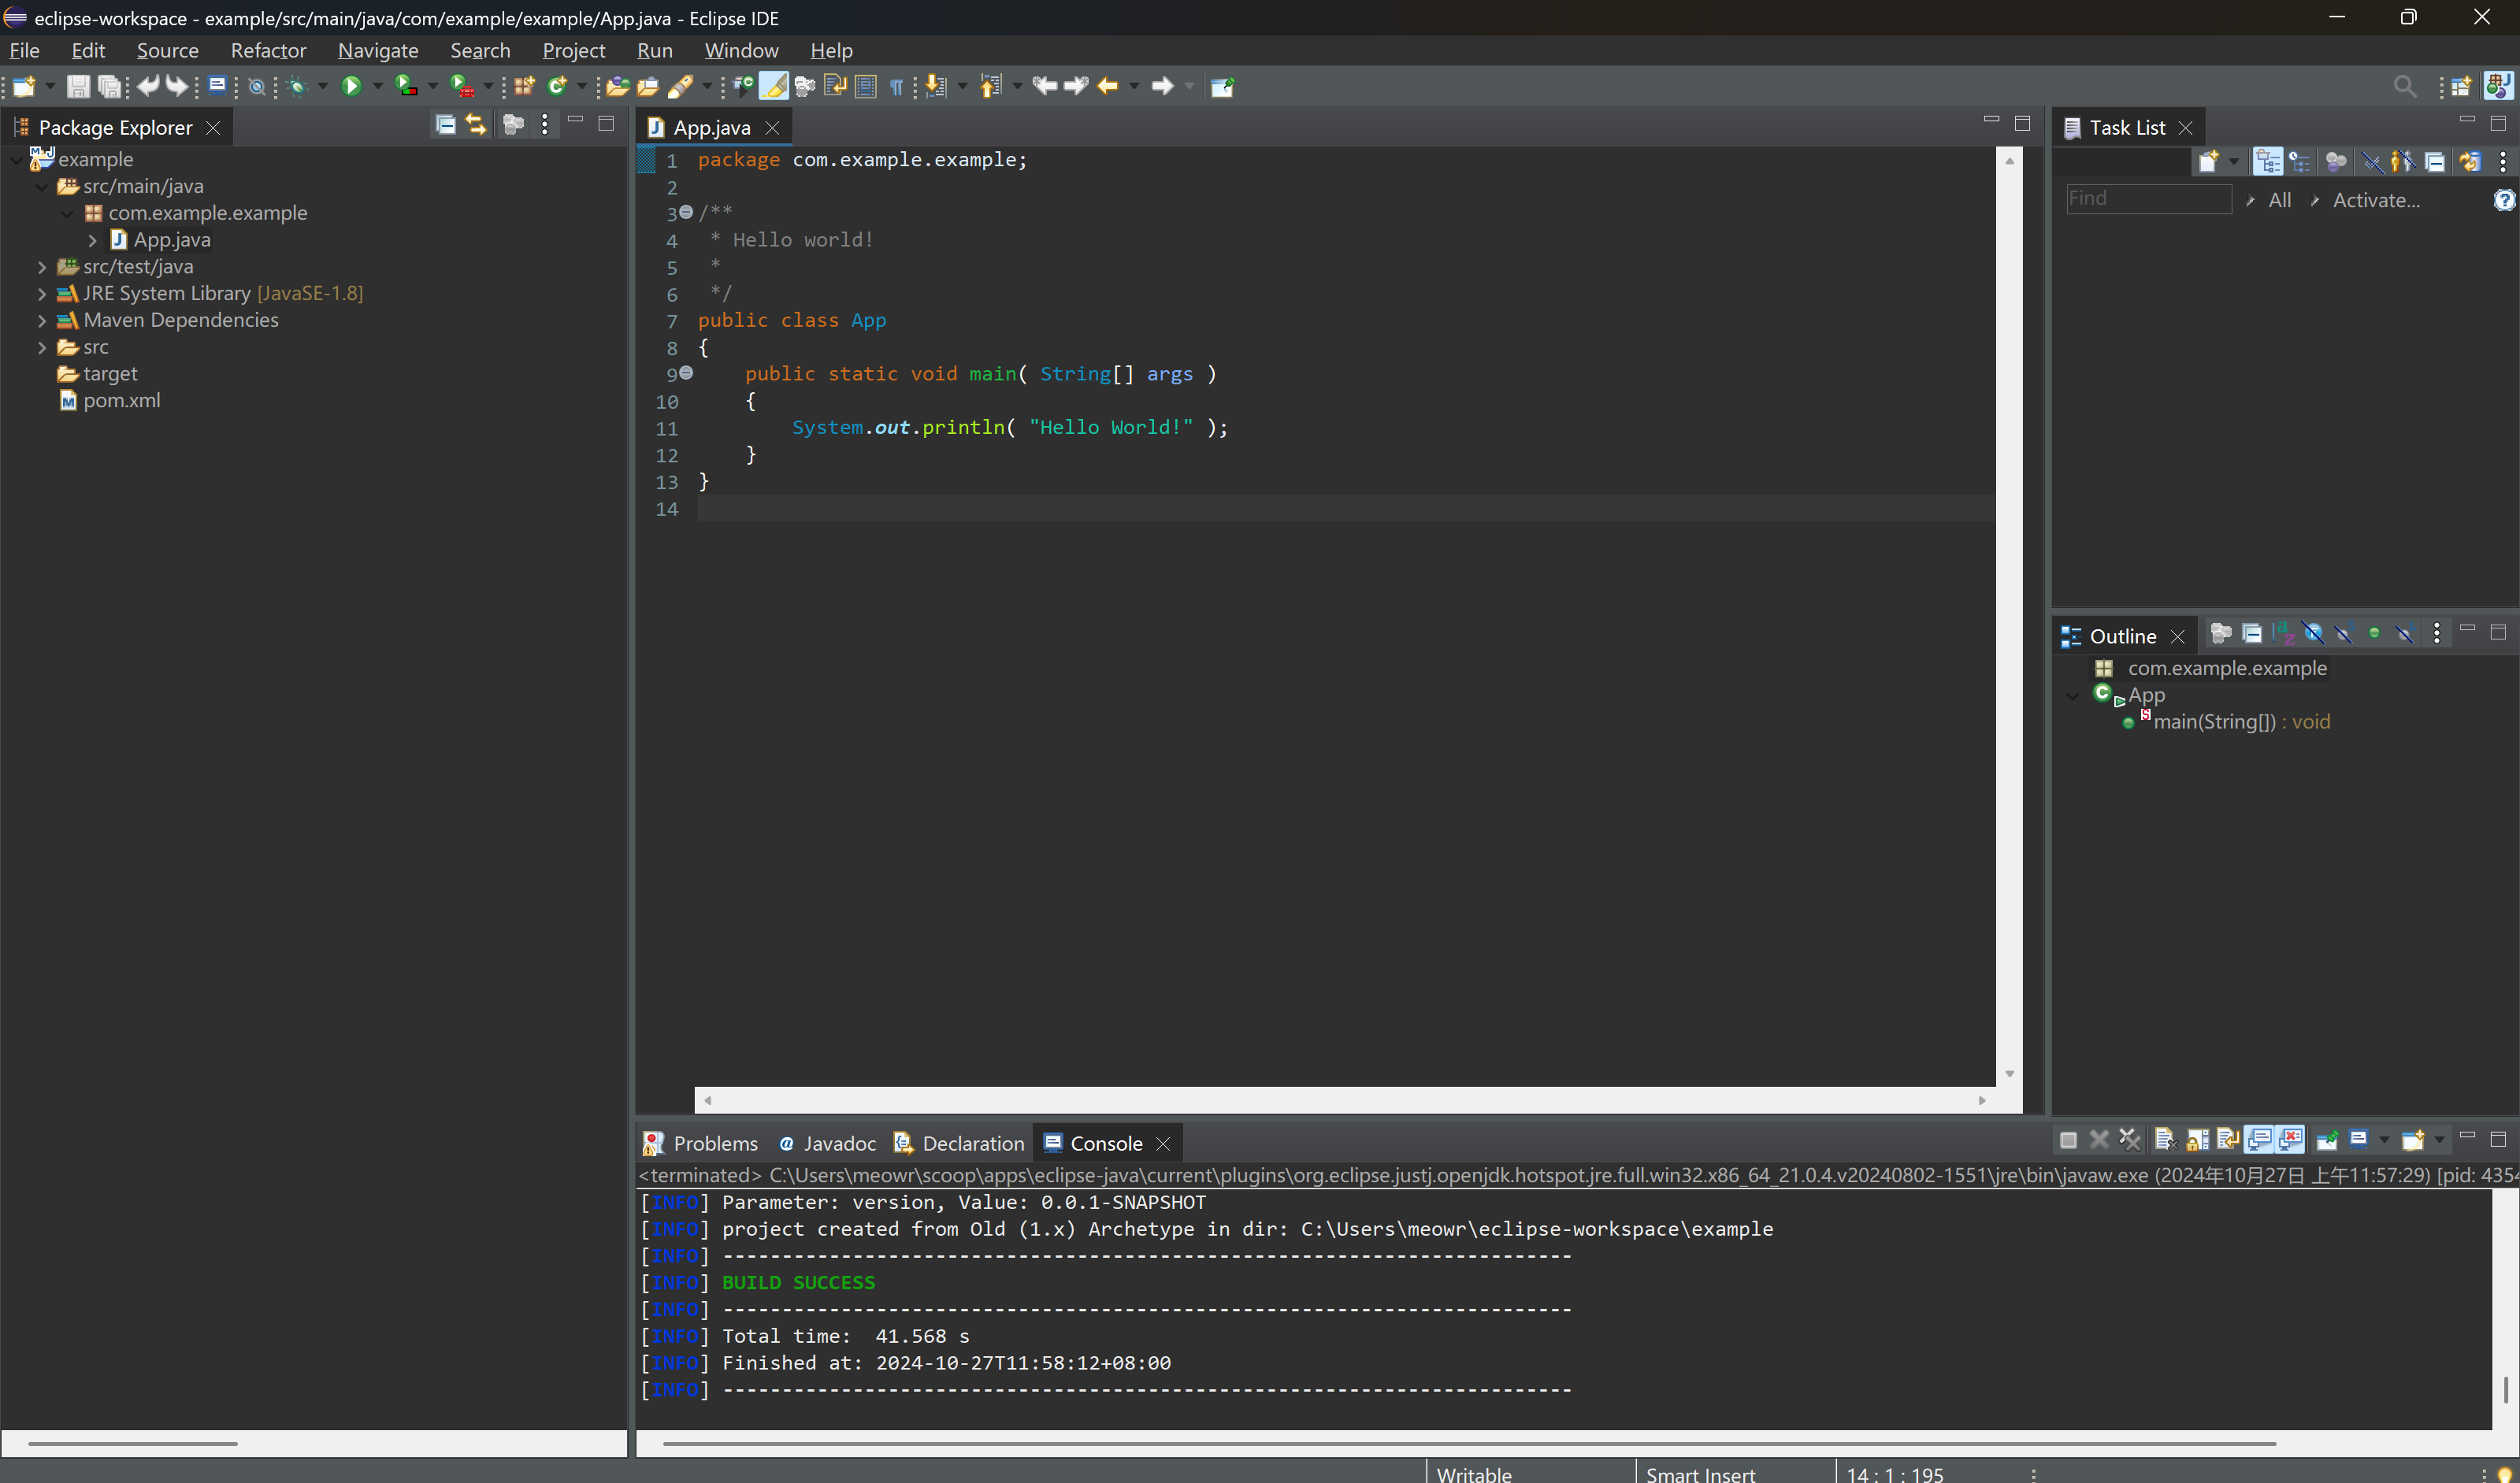
使用maven安装包
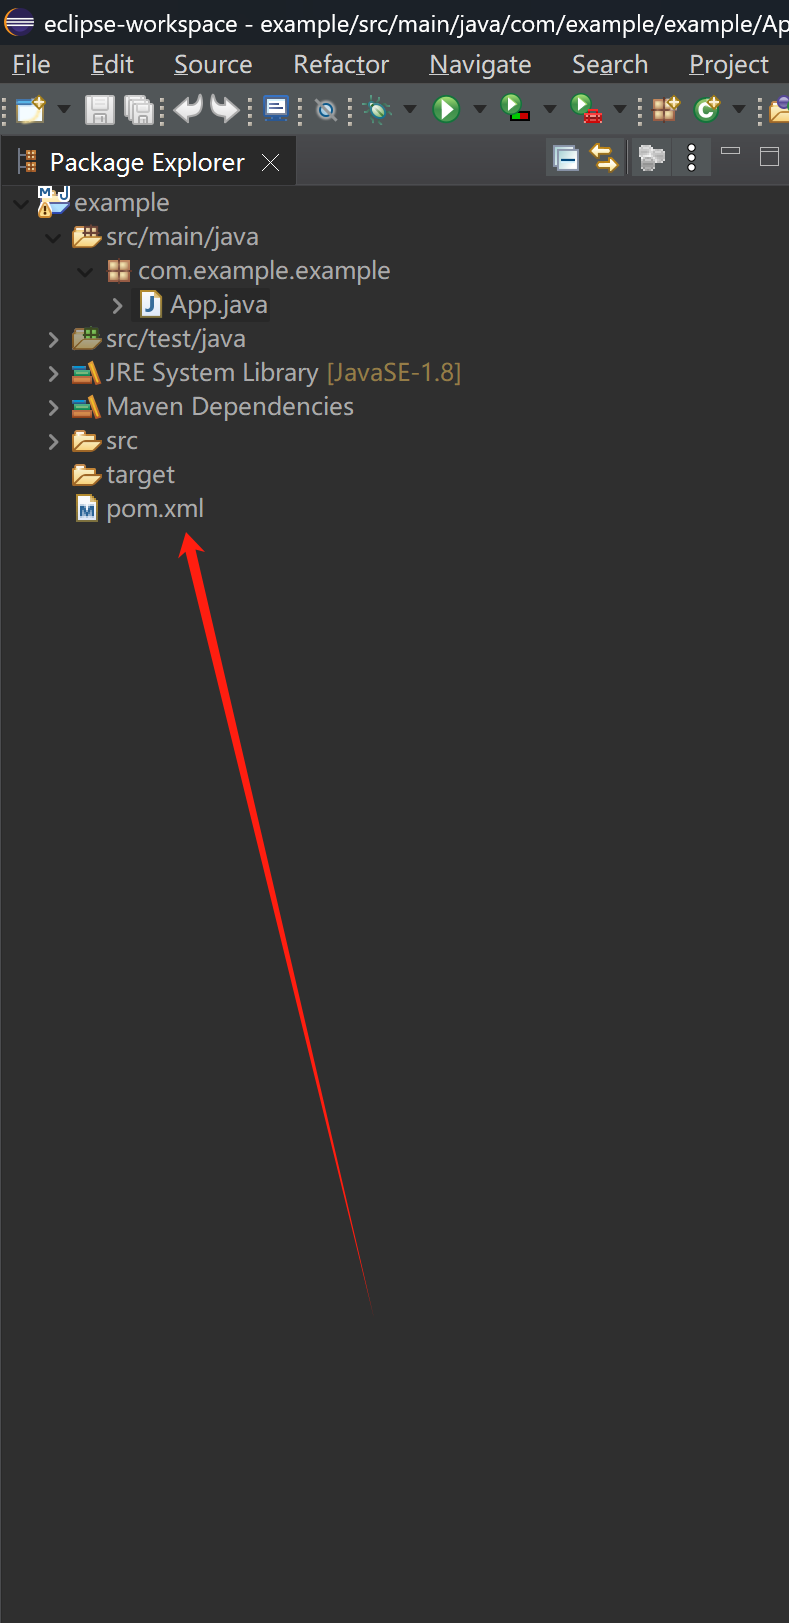
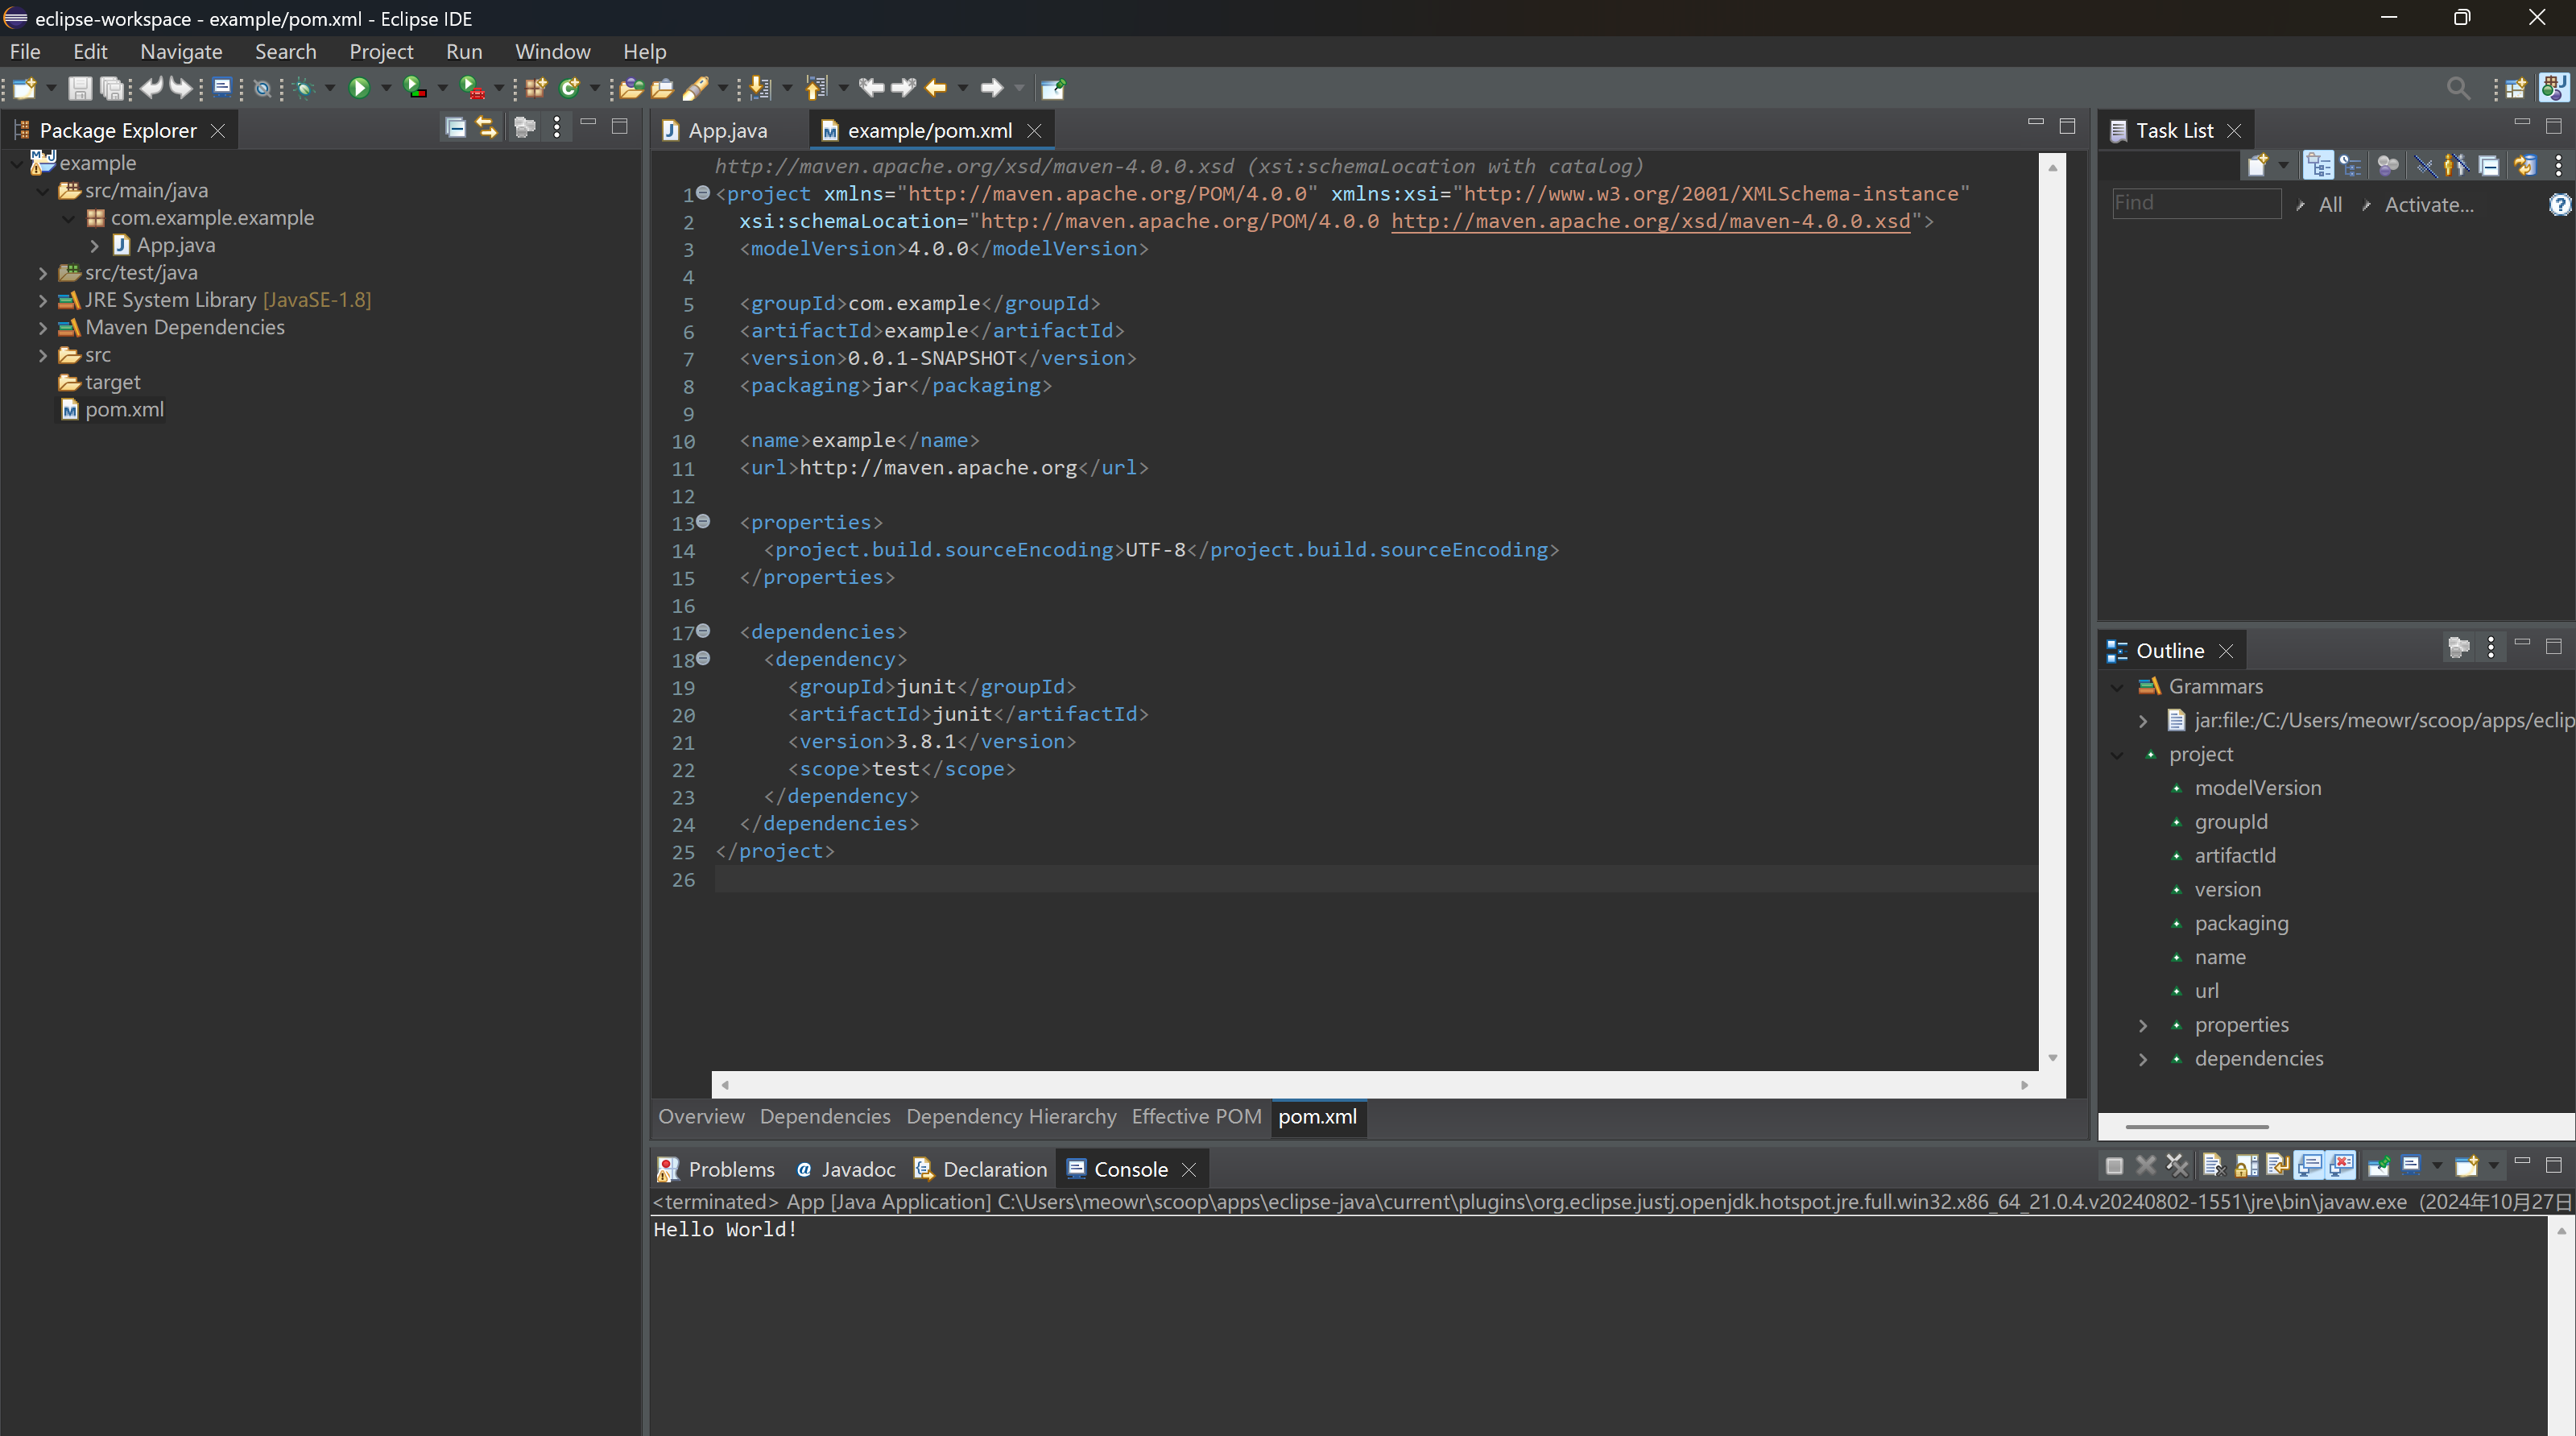
可以看到dependencies
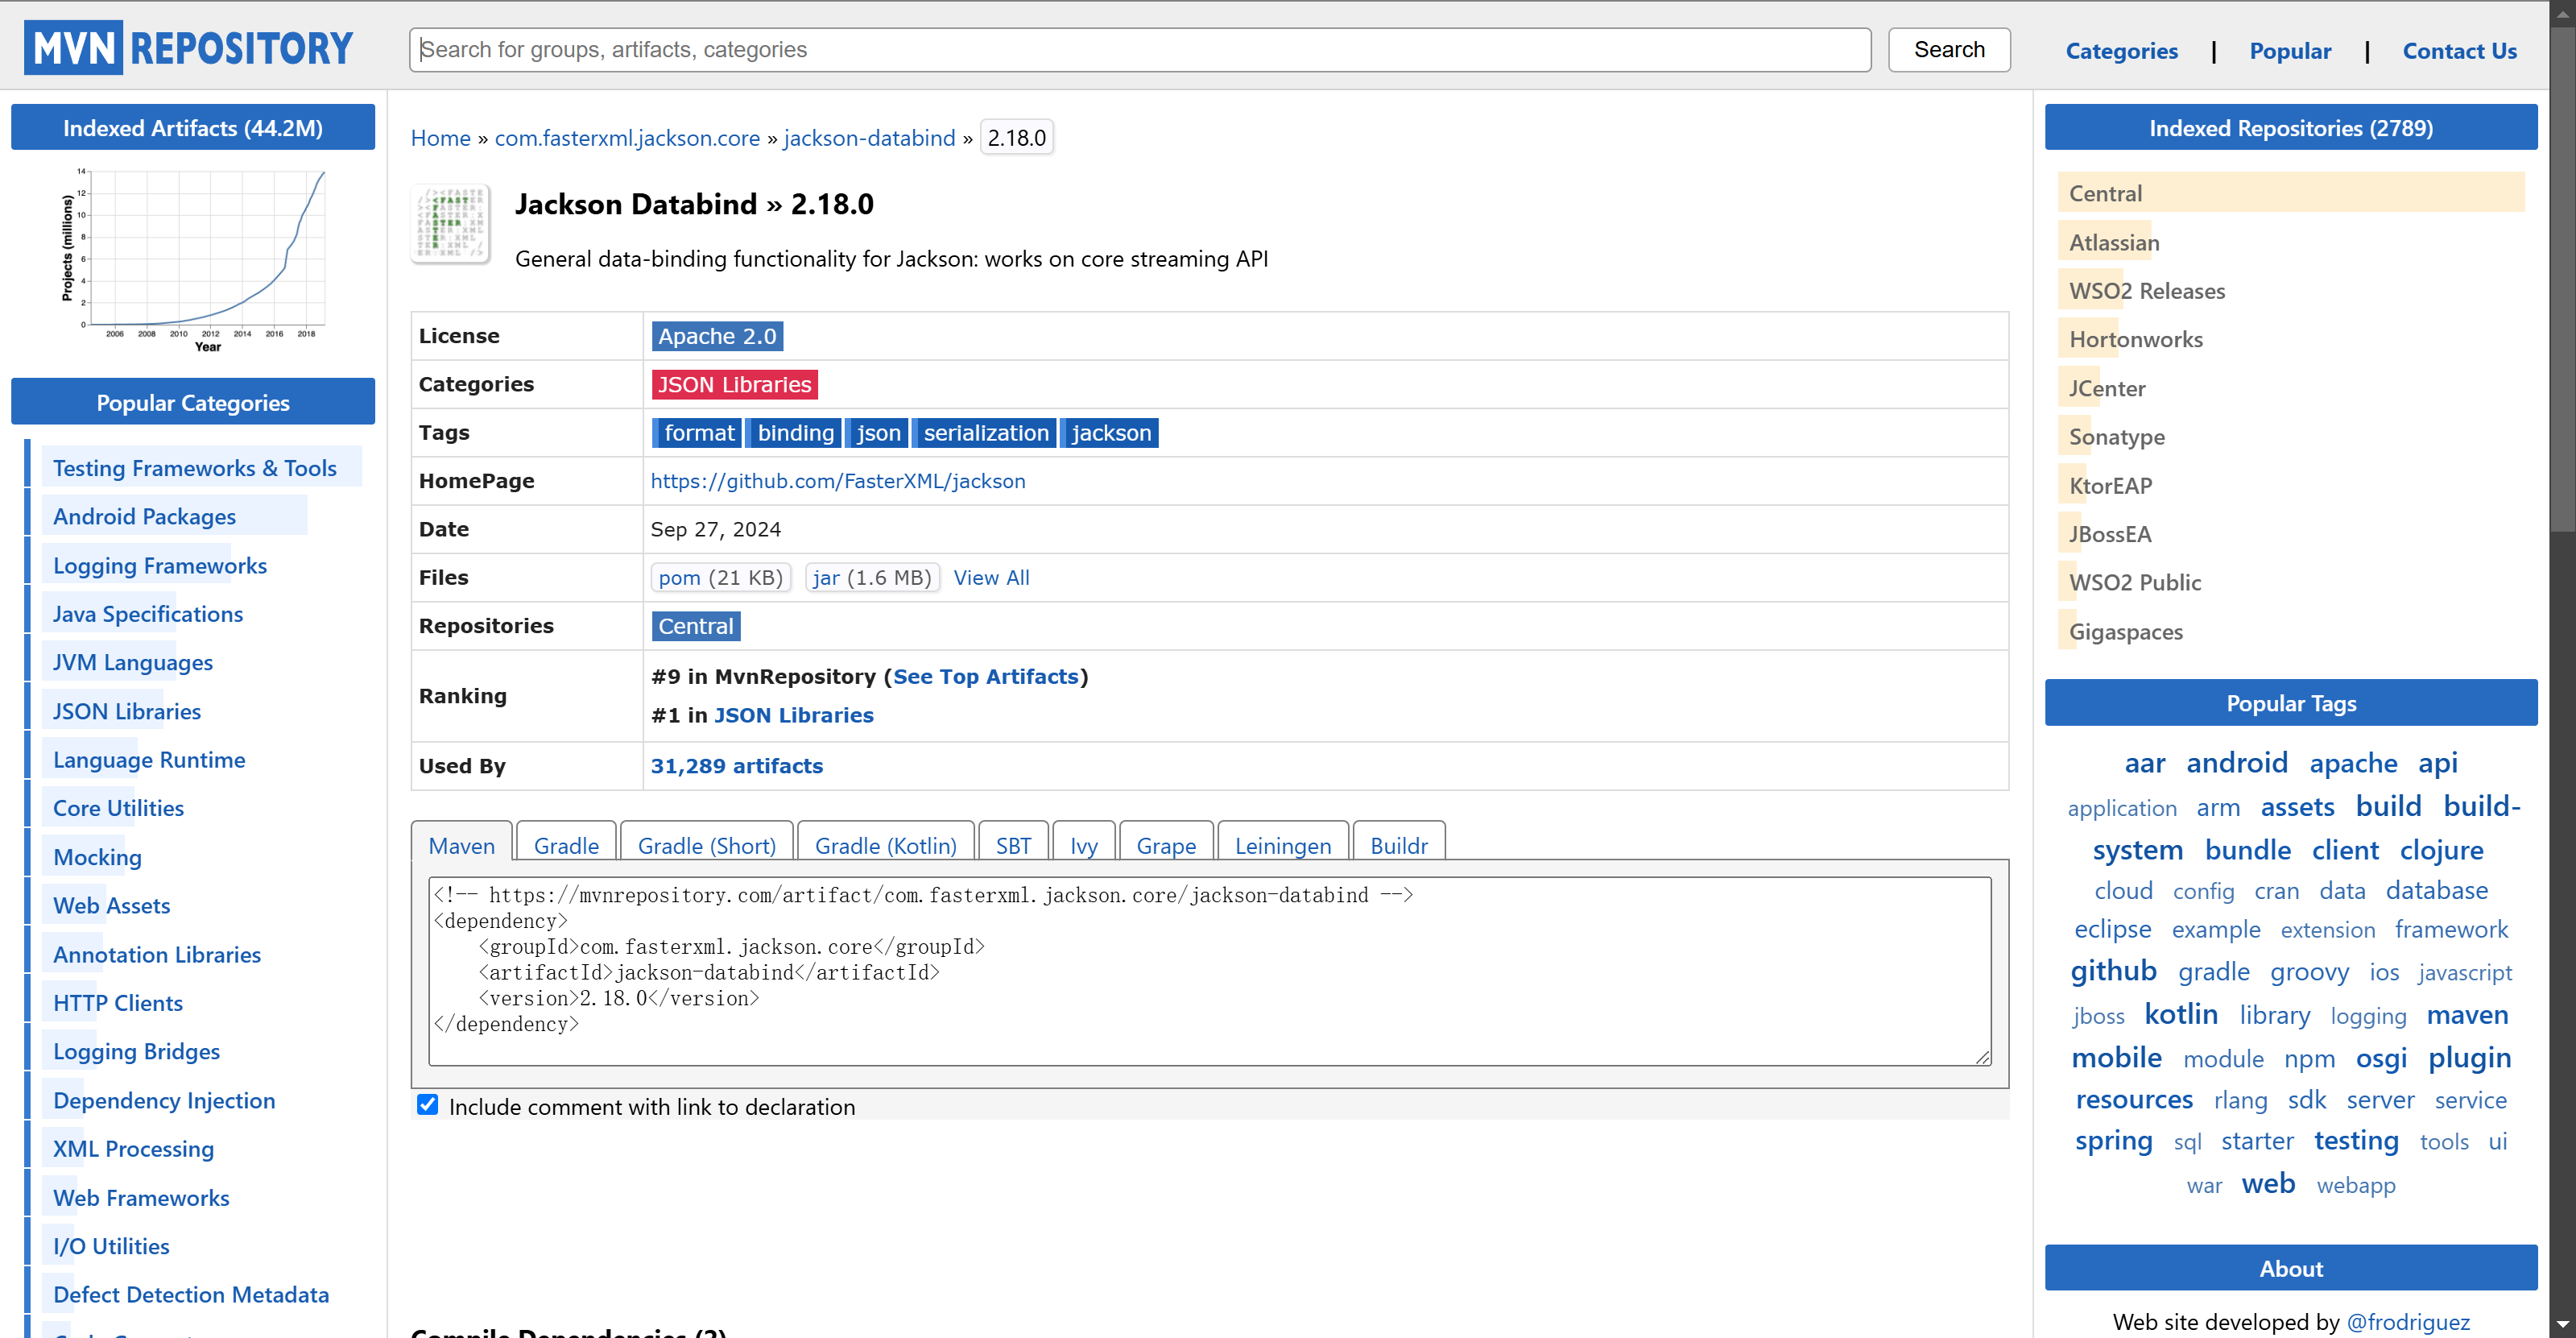
我们去maven仓库找我们想要的json处理包jackson
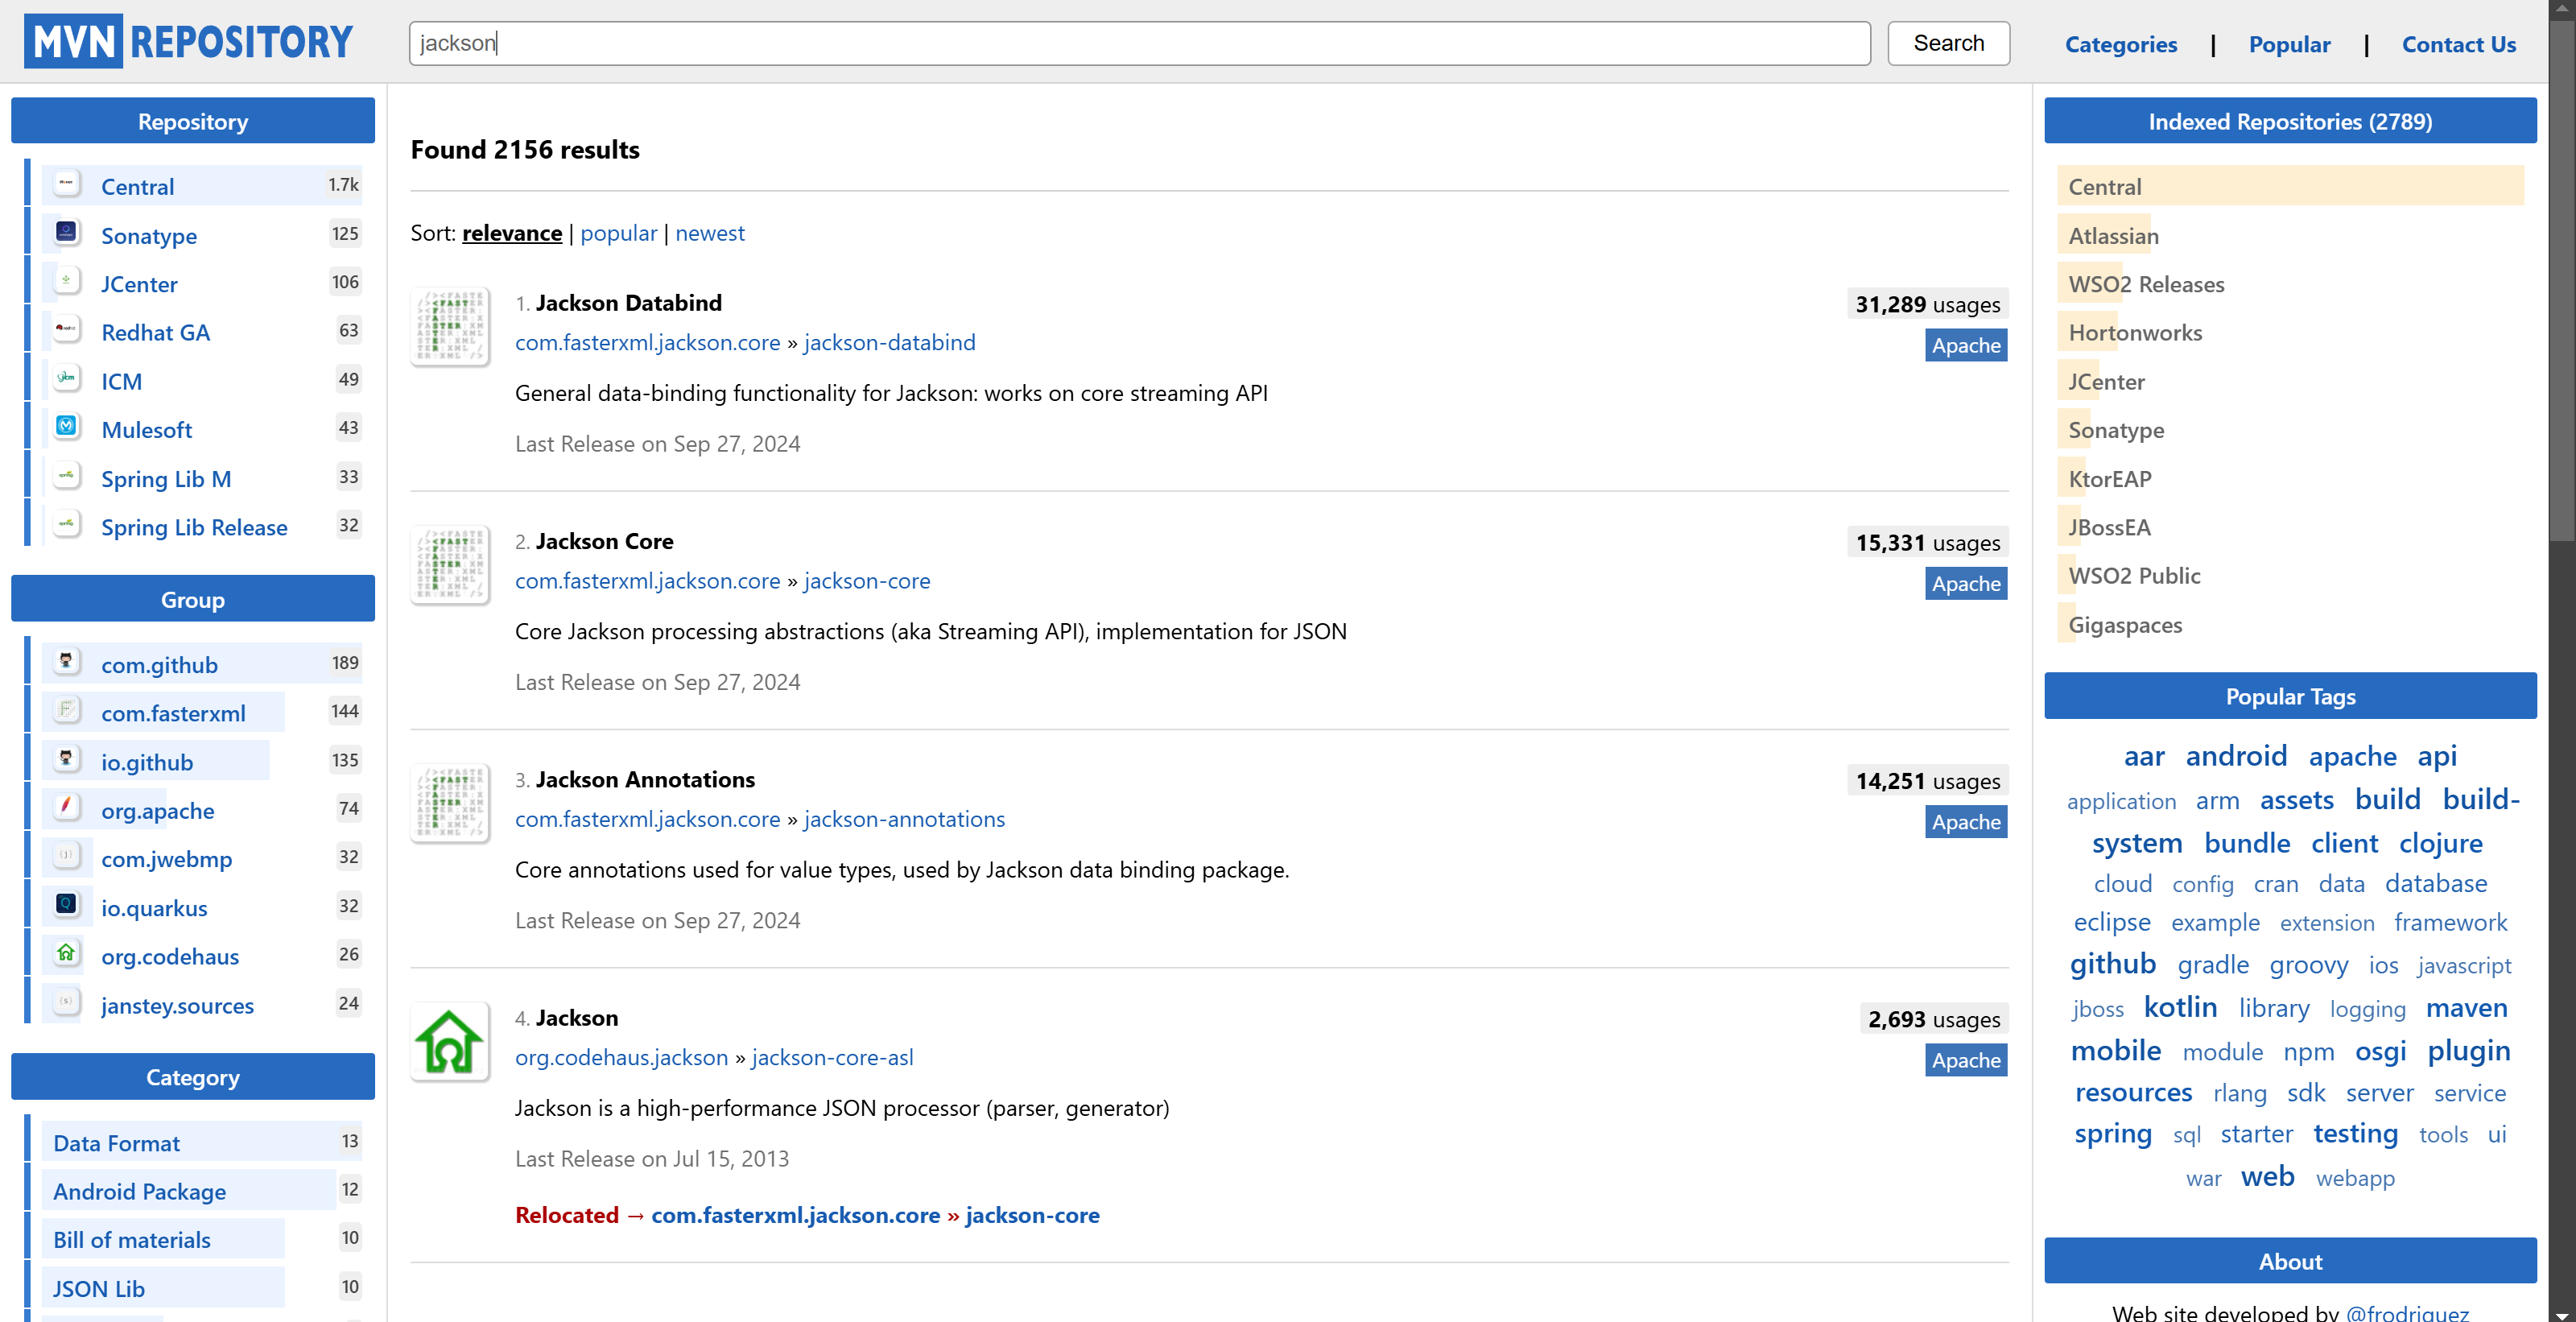
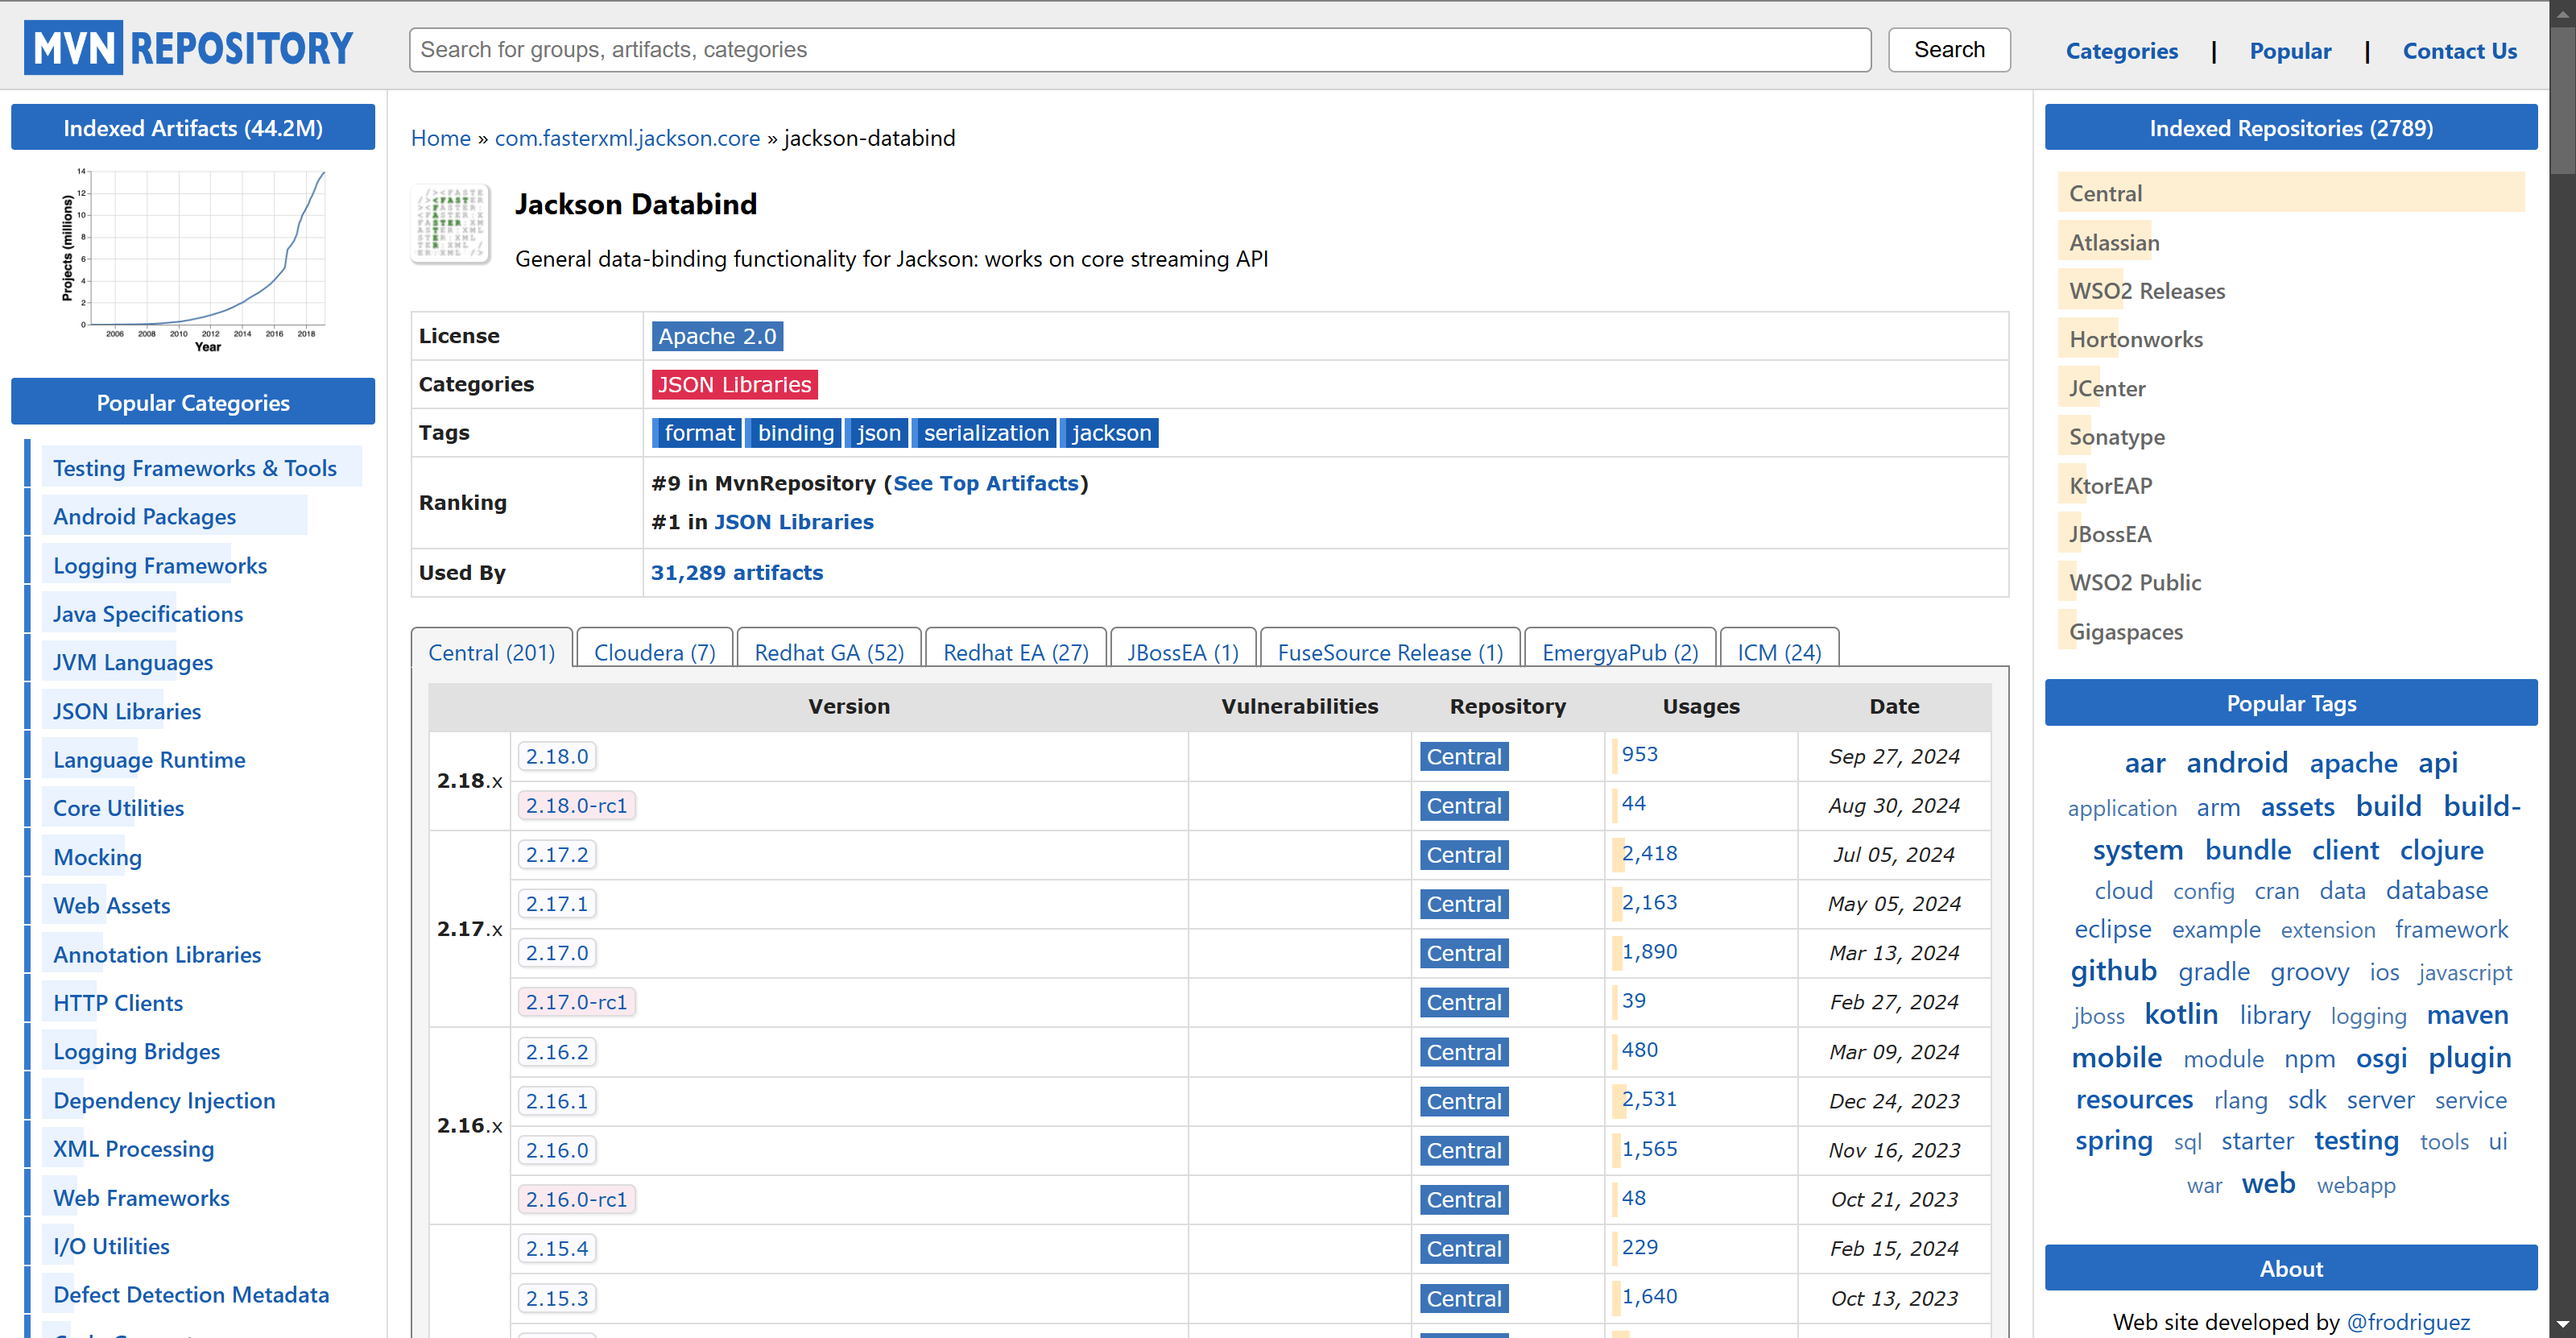
点击2.18.0
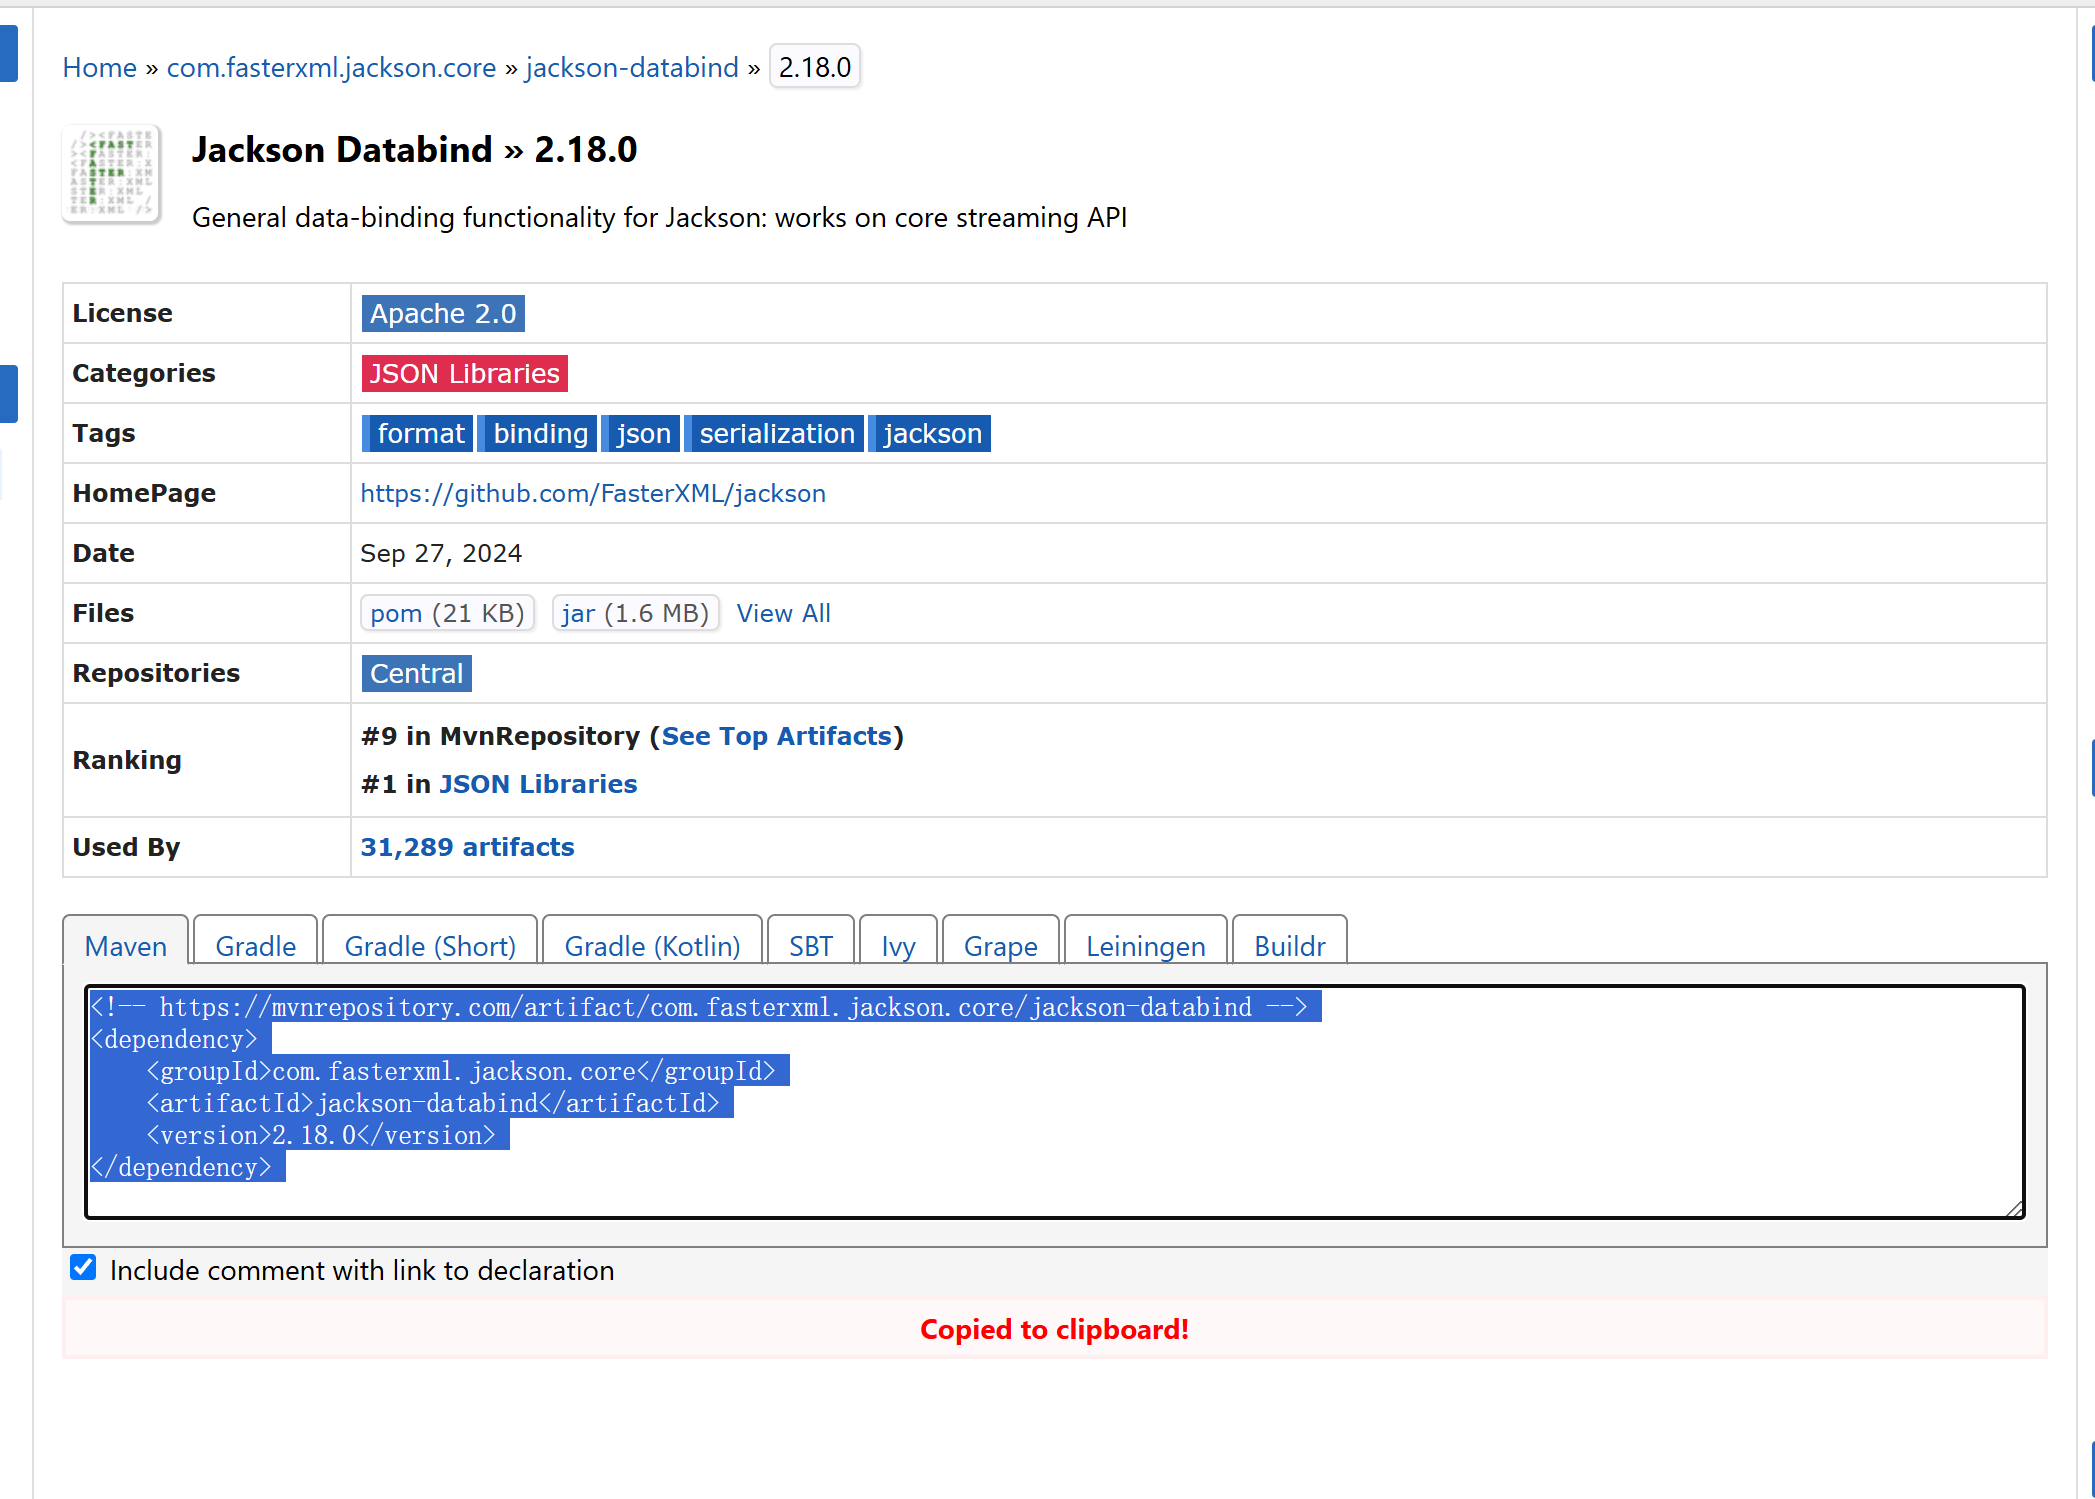
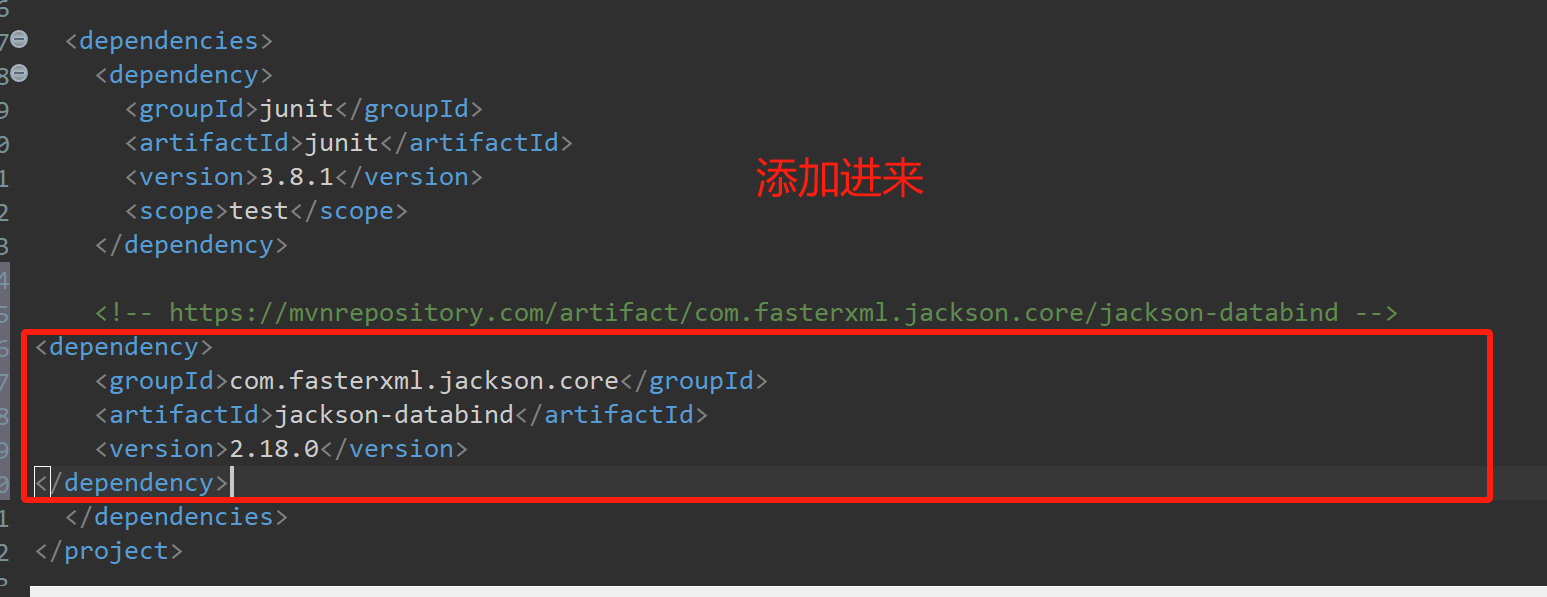
类似的,我再把其它两个包导入
    <!-- https://mvnrepository.com/artifact/com.fasterxml.jackson.core/jackson-databind -->
<dependency>
    <groupId>com.fasterxml.jackson.core</groupId>
    <artifactId>jackson-databind</artifactId>
    <version>2.18.0</version>
</dependency>
<!-- https://mvnrepository.com/artifact/com.fasterxml.jackson.core/jackson-core -->
<dependency>
    <groupId>com.fasterxml.jackson.core</groupId>
    <artifactId>jackson-core</artifactId>
    <version>2.18.0</version>
</dependency>
<!-- https://mvnrepository.com/artifact/com.fasterxml.jackson.core/jackson-annotations -->
<dependency>
    <groupId>com.fasterxml.jackson.core</groupId>
    <artifactId>jackson-annotations</artifactId>
    <version>2.18.0</version>
</dependency>
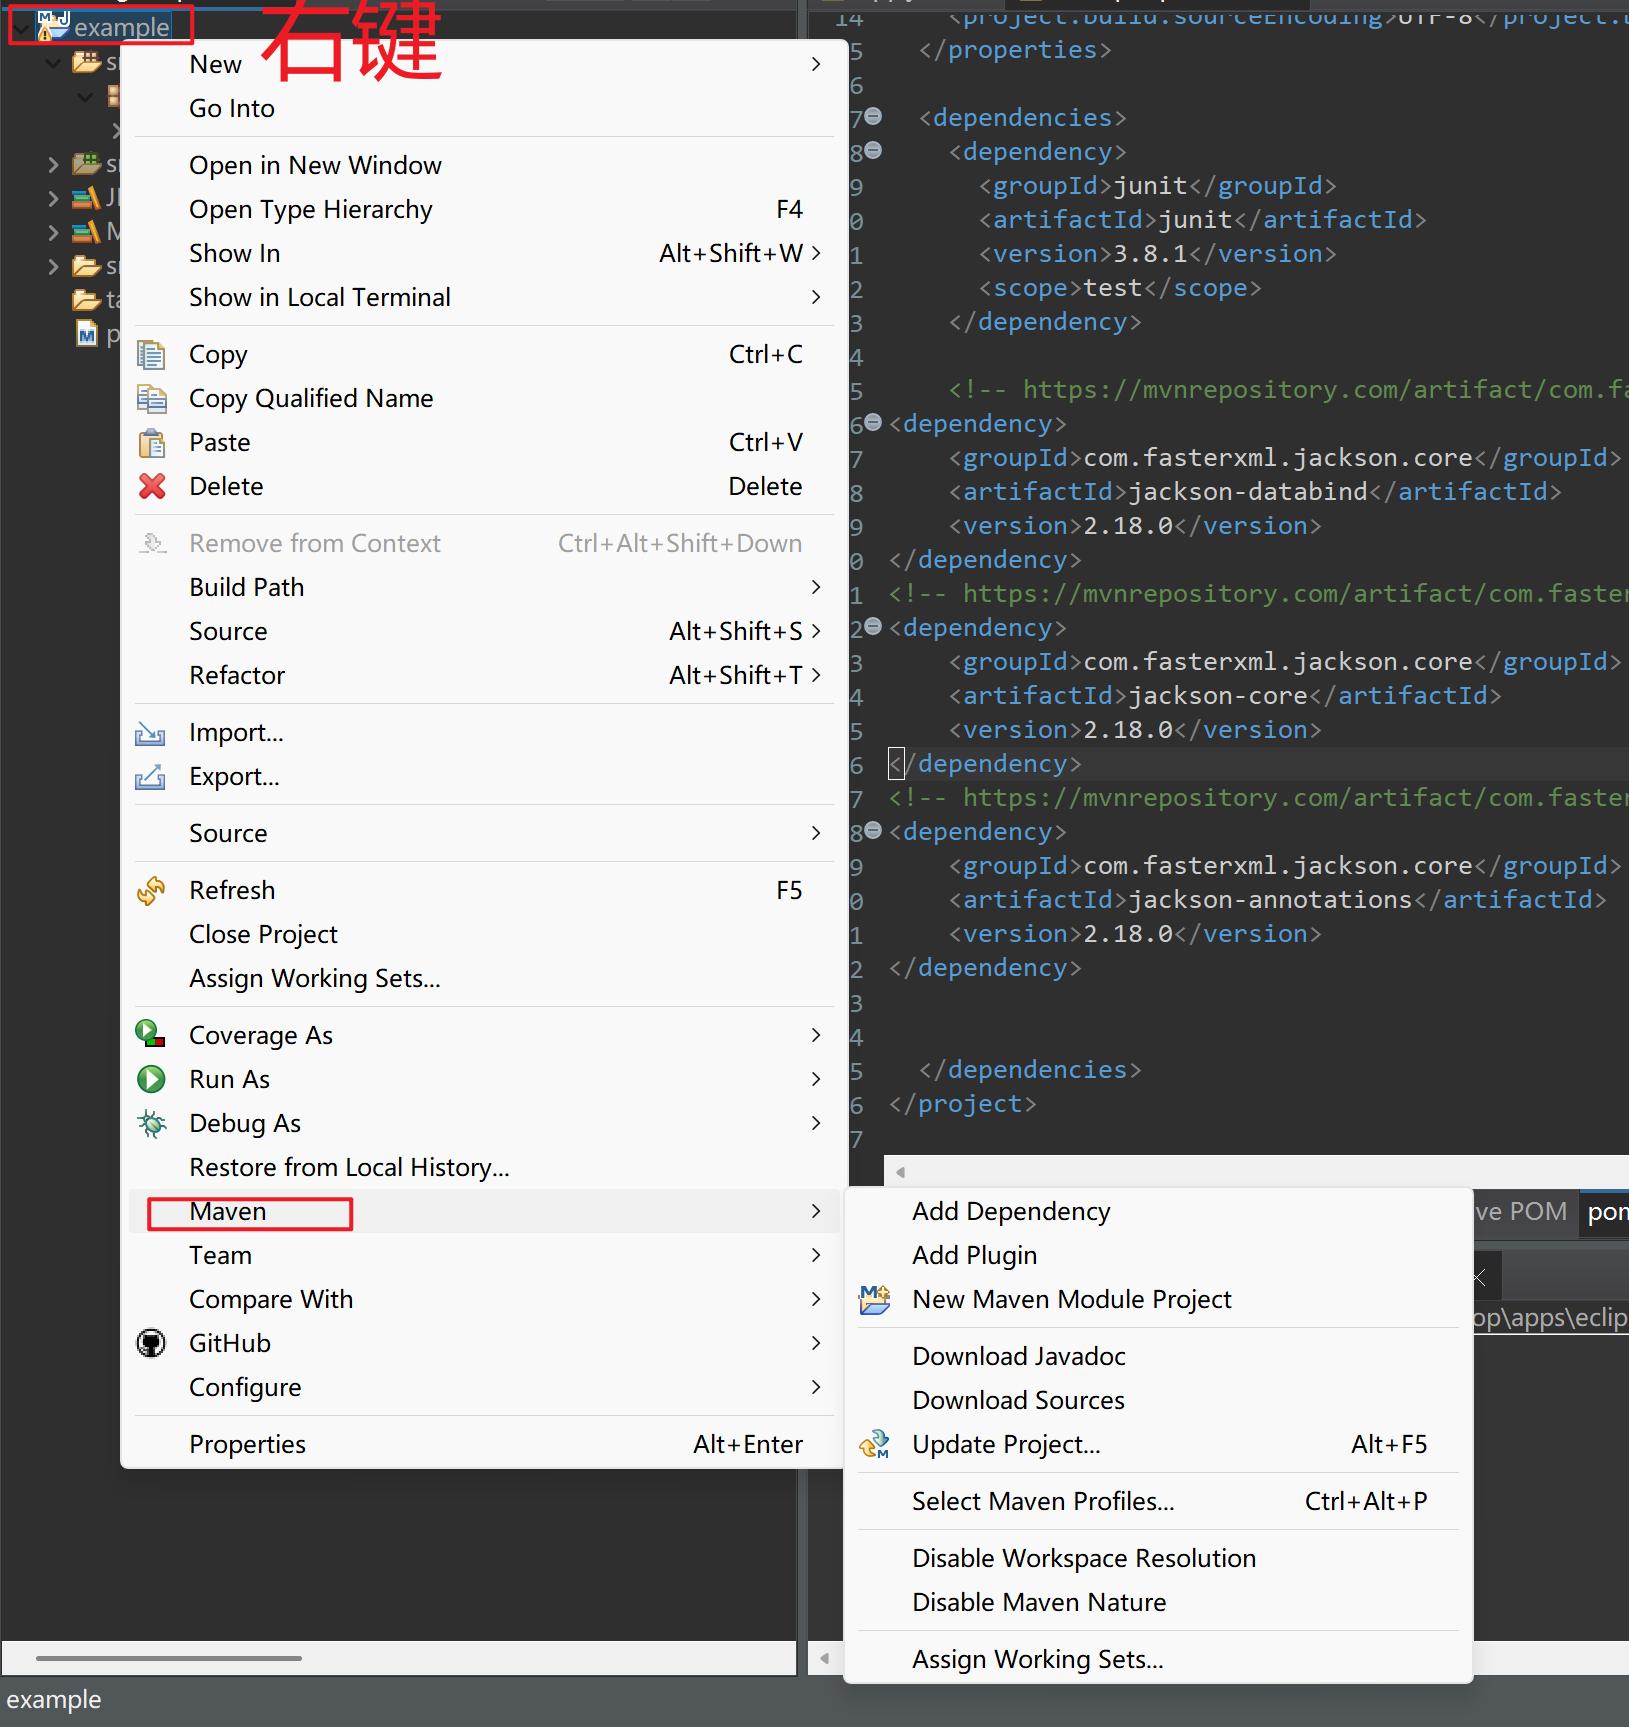
点击 Update Project
就可以更新了
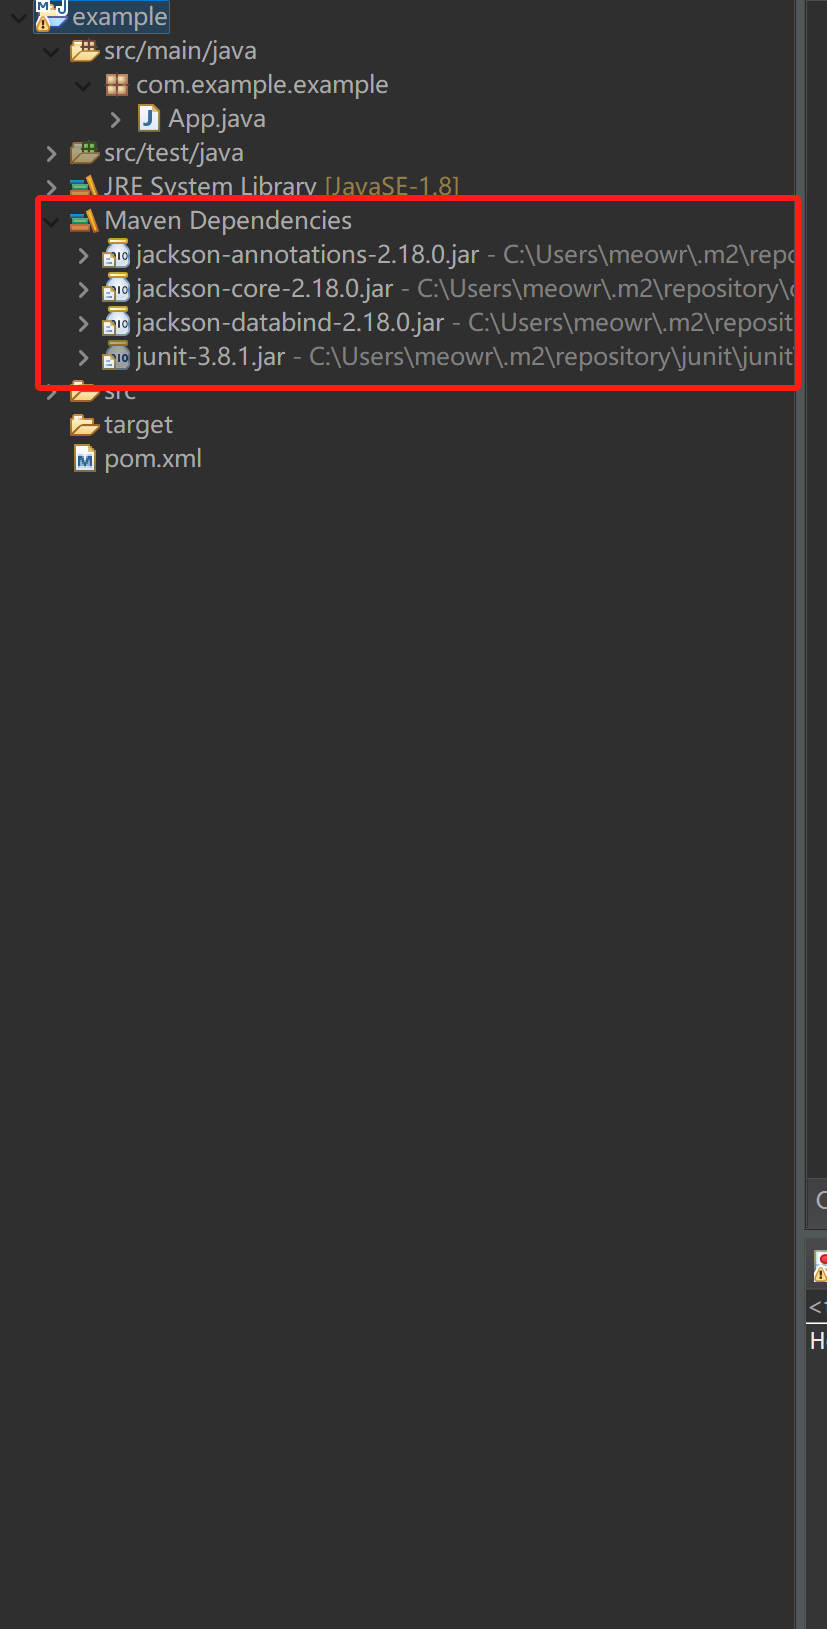
这里就能看到我们下的包了
然后我们写几个java文件调用一下试试
新建User.java
package com.example.example;

public class User {
    private int id;
    private String name;
    private String email;

    public User() {
    }

    public int getId() {
        return id;
    }

    public void setId(int id) {
        this.id = id;
    }

    public String getName() {
        return name;
    }

    public void setName(String name) {
        this.name = name;
    }

    public String getEmail() {
        return email;
    }

    public void setEmail(String email) {
        this.email = email;
    }
}
在Main.java中解析
package com.example.example;

import com.fasterxml.jackson.databind.ObjectMapper;

/**
 * Hello world!
 *
 */
public class App
{
    public static void main( String[] args )
    {
    	 String jsonString = "{\"id\": 1, \"name\": \"John Doe\", \"email\": \"john.doe@example.com\"}";

         ObjectMapper objectMapper = new ObjectMapper();

         try {
             // 将 JSON 字符串转换为 User 对象
             User user = objectMapper.readValue(jsonString, User.class);

             // 输出用户信息
             System.out.println("ID: " + user.getId());
             System.out.println("Name: " + user.getName());
             System.out.println("Email: " + user.getEmail());
         } catch (Exception e) {
             e.printStackTrace();
         }
    }
}
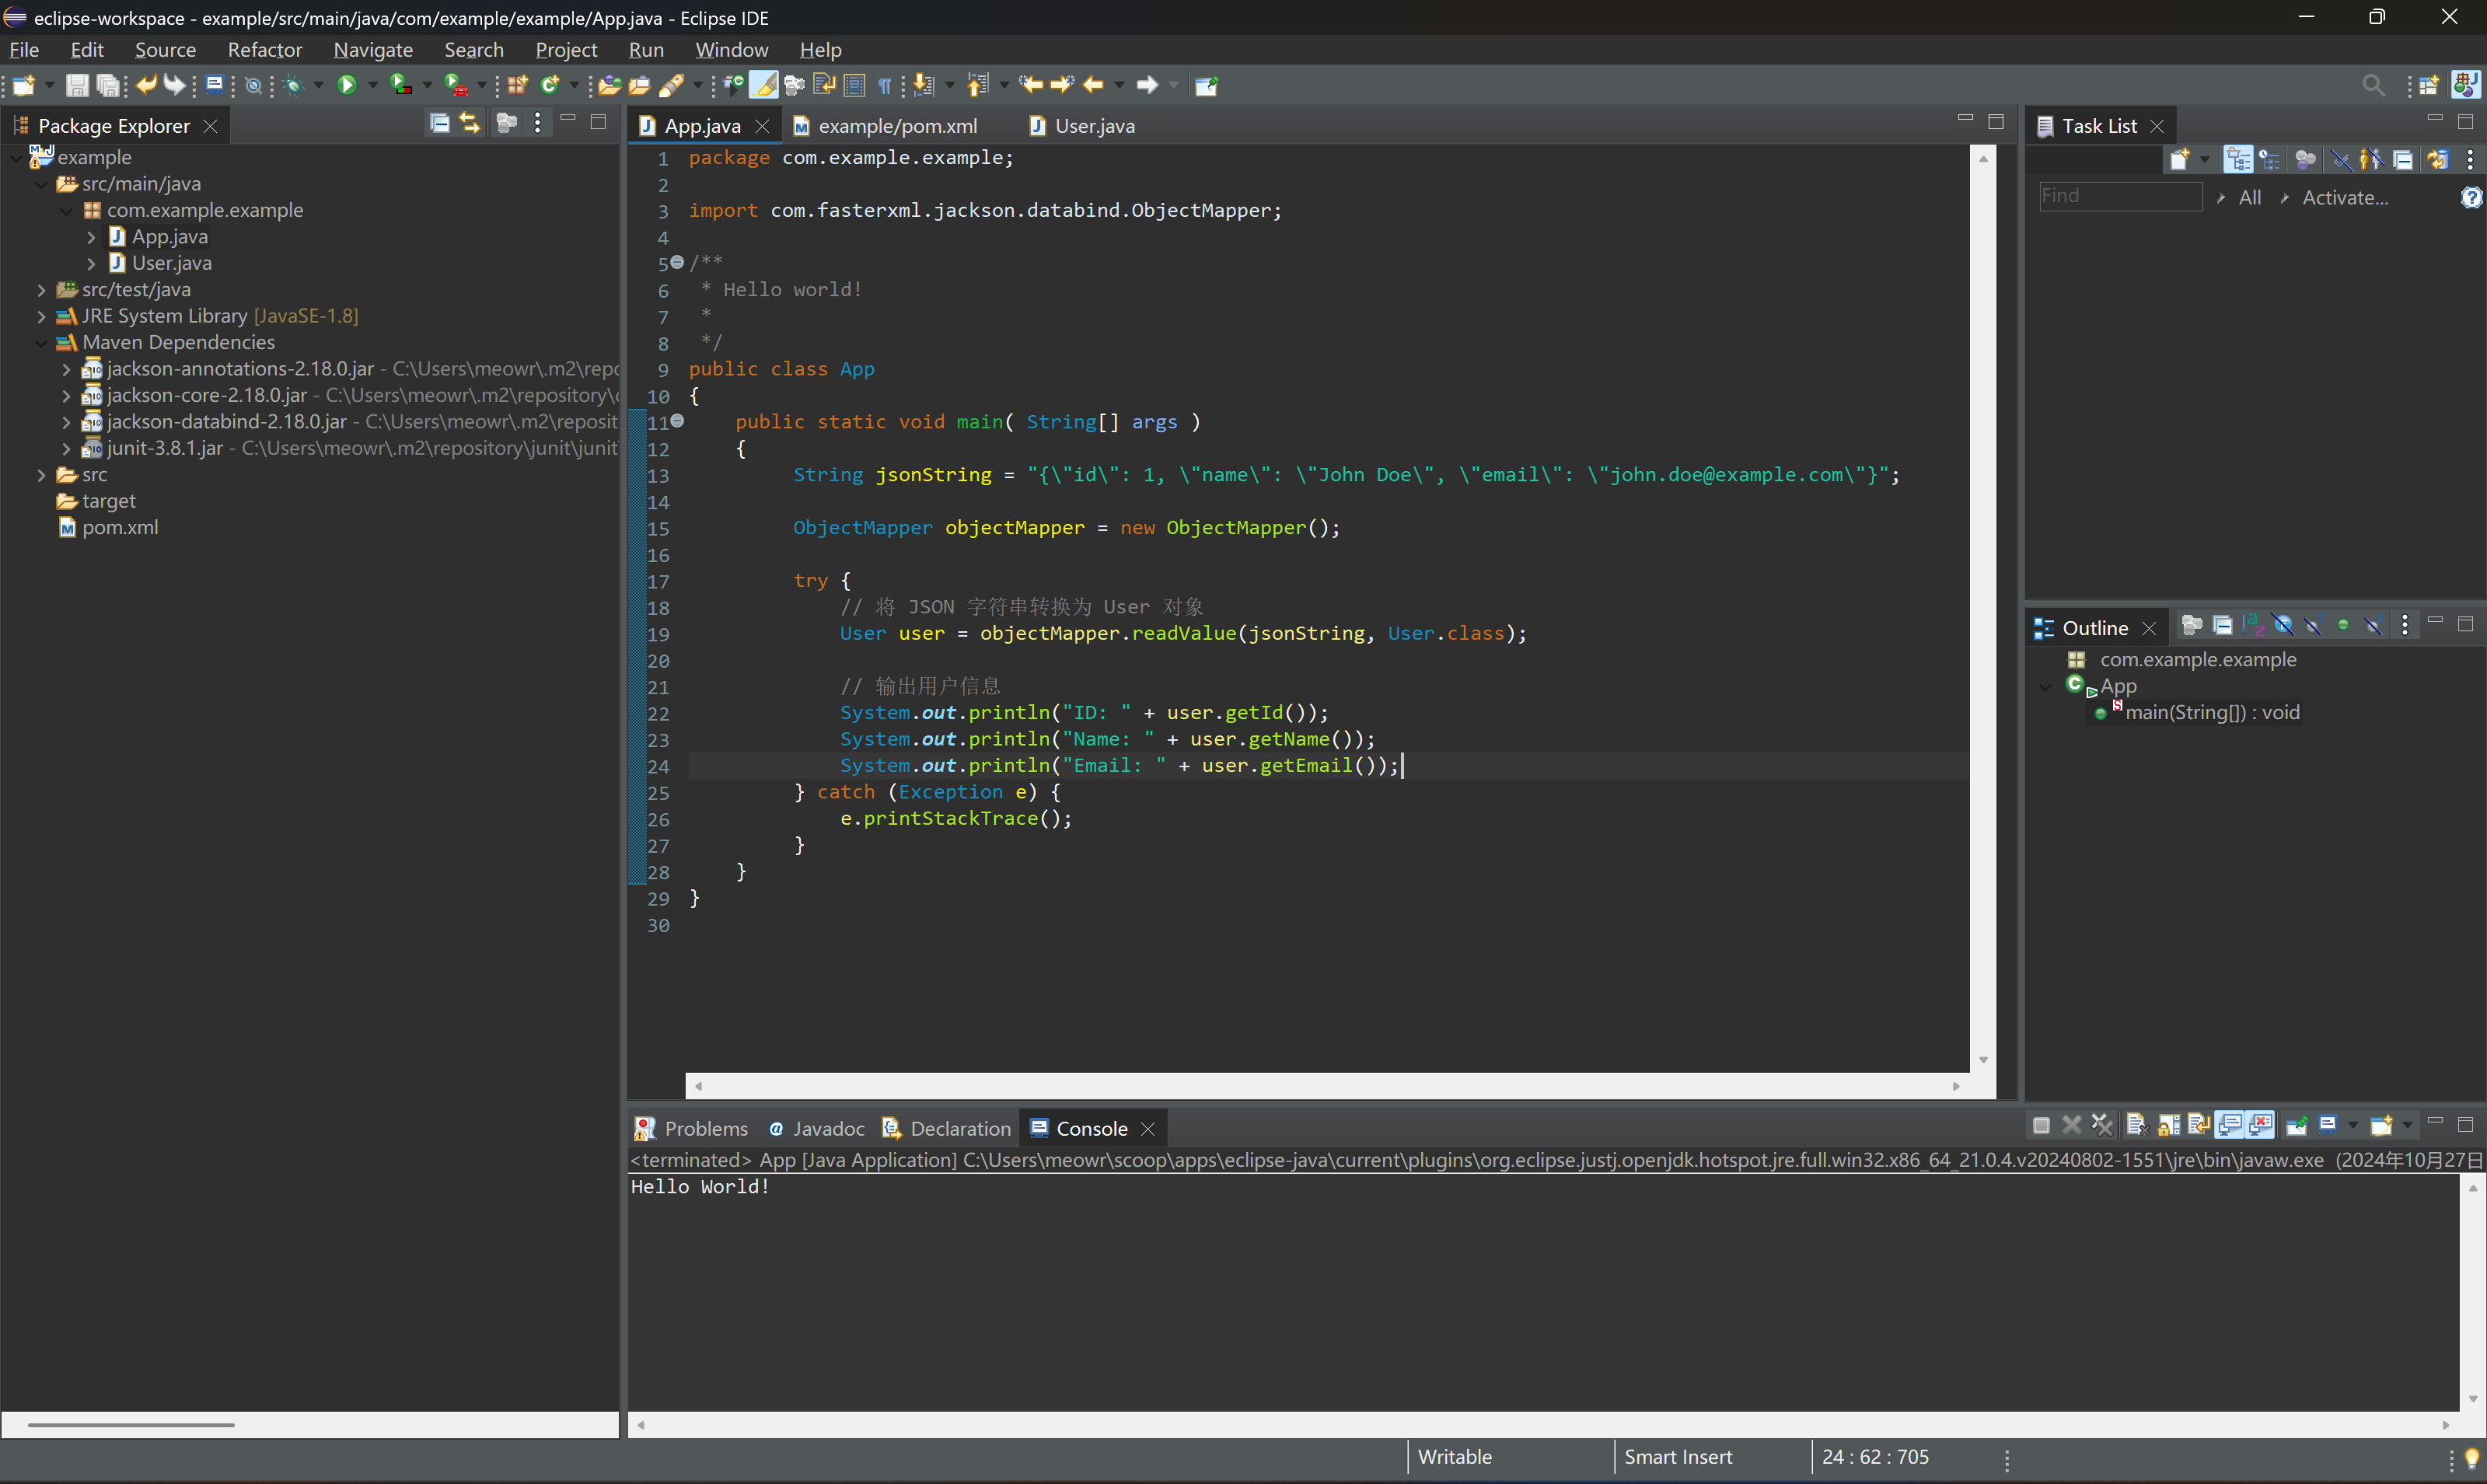
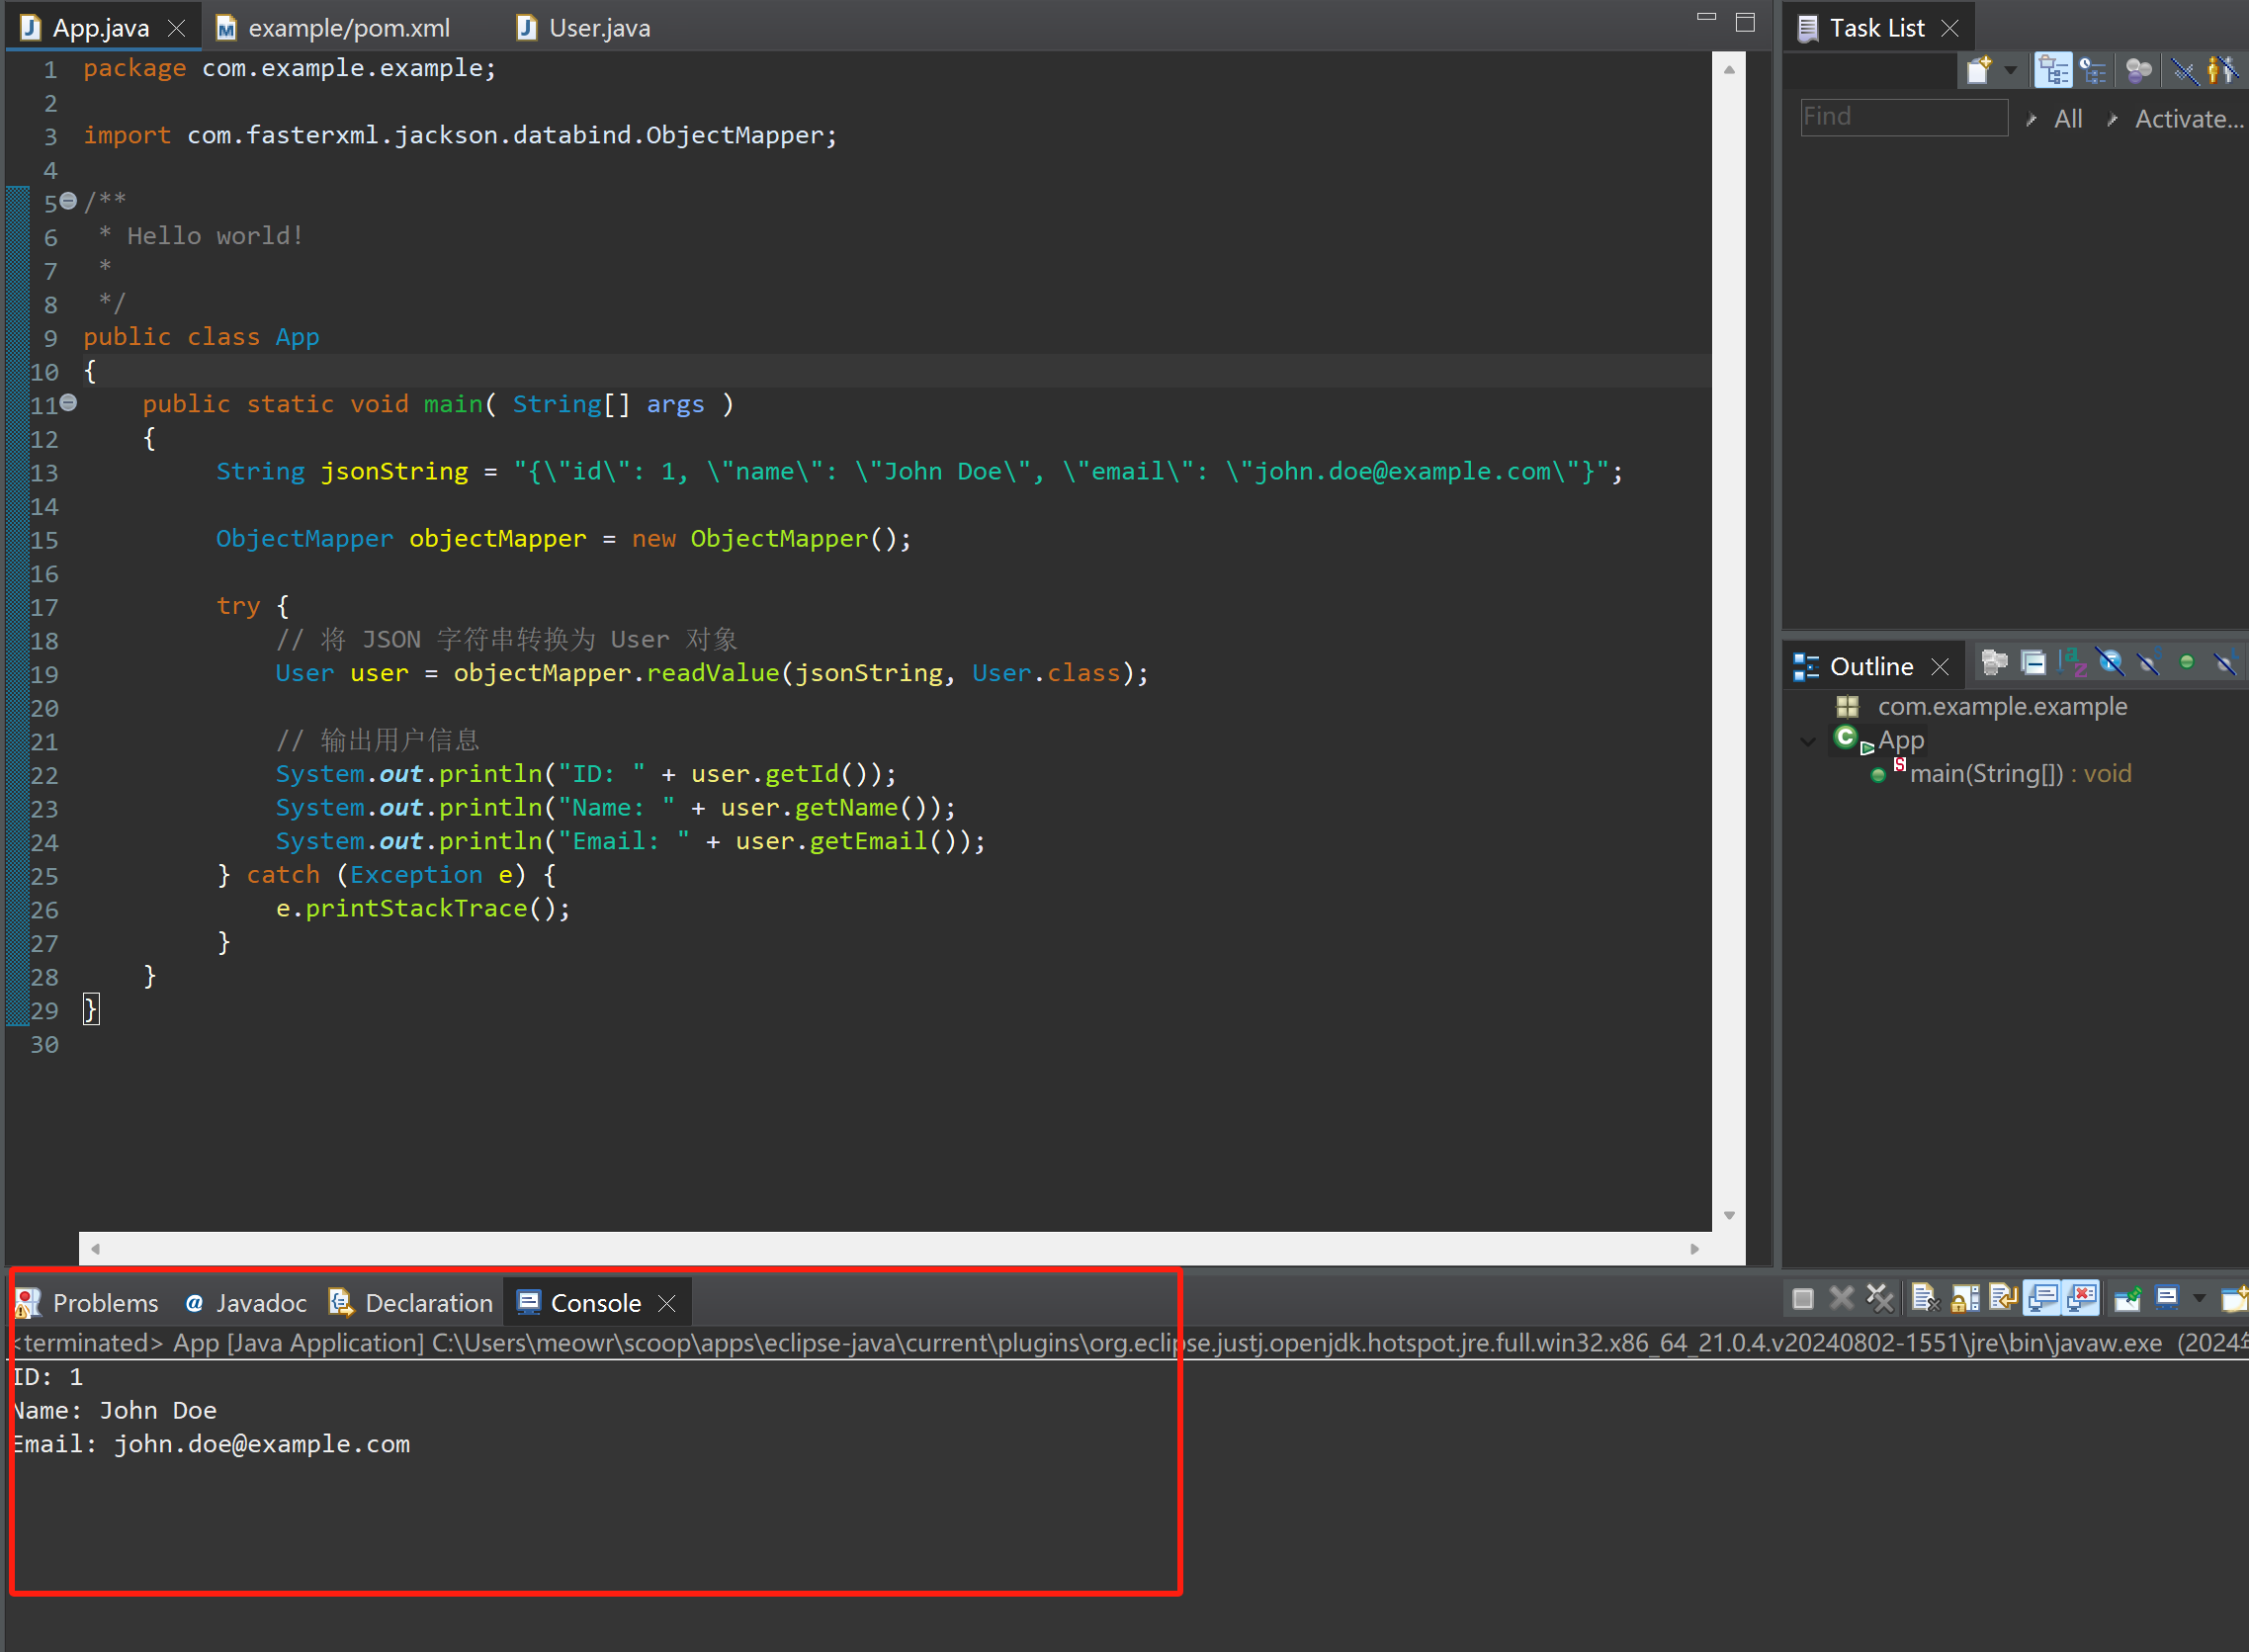
可以看到调用了库并成功解析json内容到我们的user对象中了
使用maven我们就不需要很麻烦的下载包再手动导入了!

